
Every sign shop knows the feeling. A customer approves their design at 3pm on a Thursday, expecting delivery by next Friday. Between that approval email and the moment the sign leaves your loading dock, a hundred things need to happen in the right order. Miss one step, and you’re reprinting, recutting, or worse—explaining to a customer why their grand opening sign won’t arrive on time.
The difference between shops that consistently hit deadlines and those that scramble? A documented production workflow that everyone follows. Not a complicated ERP system or a wall of Gantt charts. Just a clear sequence of steps, with defined handoffs and quality gates.
This guide walks through each stage of the sign manufacturing process, from the moment you receive customer files to the point where the finished product ships. Whether you’re running a three-person operation or managing a team of twenty, these workflows scale. We’ve distilled this from watching hundreds of sign shops operate—the ones that run smoothly share common patterns, regardless of their size or specialisation.
Understanding the Sign Manufacturing Process
Why a Structured Workflow Matters
A sign that looks perfect on screen can fail in production for dozens of reasons. The customer’s logo was 72 DPI. The Pantone colour they specified doesn’t exist in vinyl. The mounting holes were dimensioned from the wrong edge. Each of these problems costs time and materials to fix—if you catch them at all before shipping.
Structured workflows catch these issues early, when they’re cheap to fix. A file review that takes ten minutes can prevent a four-hour reprint. A material check before cutting saves the £200 sheet of aluminium composite you’d otherwise scrap.
Beyond error prevention, workflows create predictability. When each job follows the same path through your shop, you can accurately estimate completion times. Your team knows what’s expected at each stage. New employees learn faster because there’s a defined process to follow, not tribal knowledge locked in senior staff’s heads.
The maths is straightforward: a shop that spends 15% of production time on rework has 15% less capacity than a shop that gets it right the first time. Over a year, that’s the difference between taking on fifty more jobs or turning them away.
Common Production Bottlenecks in Custom Sign Shops
Three bottlenecks appear in nearly every sign shop we’ve observed:
File preparation. Customer files arrive in every format imaginable, often unsuitable for production. Staff spend hours converting, fixing, and clarifying before manufacturing can begin. The solution isn’t faster file prep—it’s clearer requirements upfront and better intake processes.
Material staging. Production stalls because the right substrate isn’t cut to size, or the vinyl colour is on backorder, or nobody checked whether there’s enough LED strip for the job. This bottleneck disappears when material prep happens before jobs hit the production queue.
Quality review handoffs. Jobs sit waiting for approval between stages. The person who needs to sign off is busy with customers, or the approval process isn’t defined. Building explicit checkpoints with assigned reviewers keeps work moving.
Design File Requirements
Accepted File Formats for Sign Production
Not all file formats are created equal for sign production. Here’s what actually works:
Vector formats (preferred):
- Adobe Illustrator (.ai) – native format, preserves all editing capability
- Encapsulated PostScript (.eps) – universal exchange format, works across platforms
- Scalable Vector Graphics (.svg) – increasingly common, especially from web designers
- AutoCAD Drawing Exchange (.dxf) – essential for CNC routing and laser cutting
Raster formats (acceptable with conditions):
- TIFF (.tif) – best for photographic elements, supports CMYK
- PDF (.pdf) – versatile, but check whether vectors are preserved
- PNG (.png) – acceptable for web-to-print, must verify resolution
Formats to convert or reject:
- JPEG (.jpg) – lossy compression causes artefacts on enlargement
- GIF (.gif) – limited colour palette, never suitable for print
- Microsoft Office formats – require conversion and verification
The key question with any file: can it scale to production size without quality loss? A 500x500 pixel logo looks fine on a business card. Blow it up to a 3-metre wide sign, and you’re looking at a blocky mess.
Resolution and Size Specifications
Resolution requirements depend on viewing distance. A sign viewed from 50 metres doesn’t need the same detail as one viewed from 2 metres.
General guidelines:
- Signage viewed under 3 metres: 150 DPI minimum at final size
- Signage viewed 3-10 metres: 75-100 DPI at final size
- Signage viewed over 10 metres: 35-50 DPI at final size
Always request files at 100% scale or with clear dimension specifications. “Make it big” isn’t a size. Neither is “A3 but scaled up.” Get exact millimetre dimensions before production begins.
For vector files, resolution isn’t a concern—they scale infinitely. But verify that text is converted to outlines and that there are no linked images at inadequate resolution.
Colour Profiles and Pantone Matching
Colour consistency is one of the trickiest aspects of sign production. What appears on a customer’s monitor won’t match what comes off your printer without proper colour management.
For printed signage:
- Request files in CMYK colour space, not RGB
- Ask for Pantone references for brand colours
- Maintain calibrated colour profiles on your RIP software
- Keep printed colour swatches from your actual output devices
For vinyl and painted signage:
- Match Pantone colours to available vinyl or paint colours
- Document substitutions when exact matches aren’t available
- Get written approval for colour substitutions before production
A common issue: customers provide RGB files with colours that don’t exist in CMYK. That vibrant electric blue on their screen becomes muddy teal when printed. Catch this in file review, not after you’ve printed a 4-metre banner.
Pre-flight Checklist Before Production
Before any job moves to production, verify:
- File format is suitable for production method
- Resolution is adequate for viewing distance
- Dimensions match order specifications
- Colours are in correct colour space (CMYK for print)
- Fonts are outlined or embedded
- Bleed and margins are correct
- No spelling errors (customer sign-off on proofs)
- Special finishes or materials are noted
- Mounting and installation requirements are documented
This checklist takes five minutes. Skipping it can cost hours.
Production File Formats
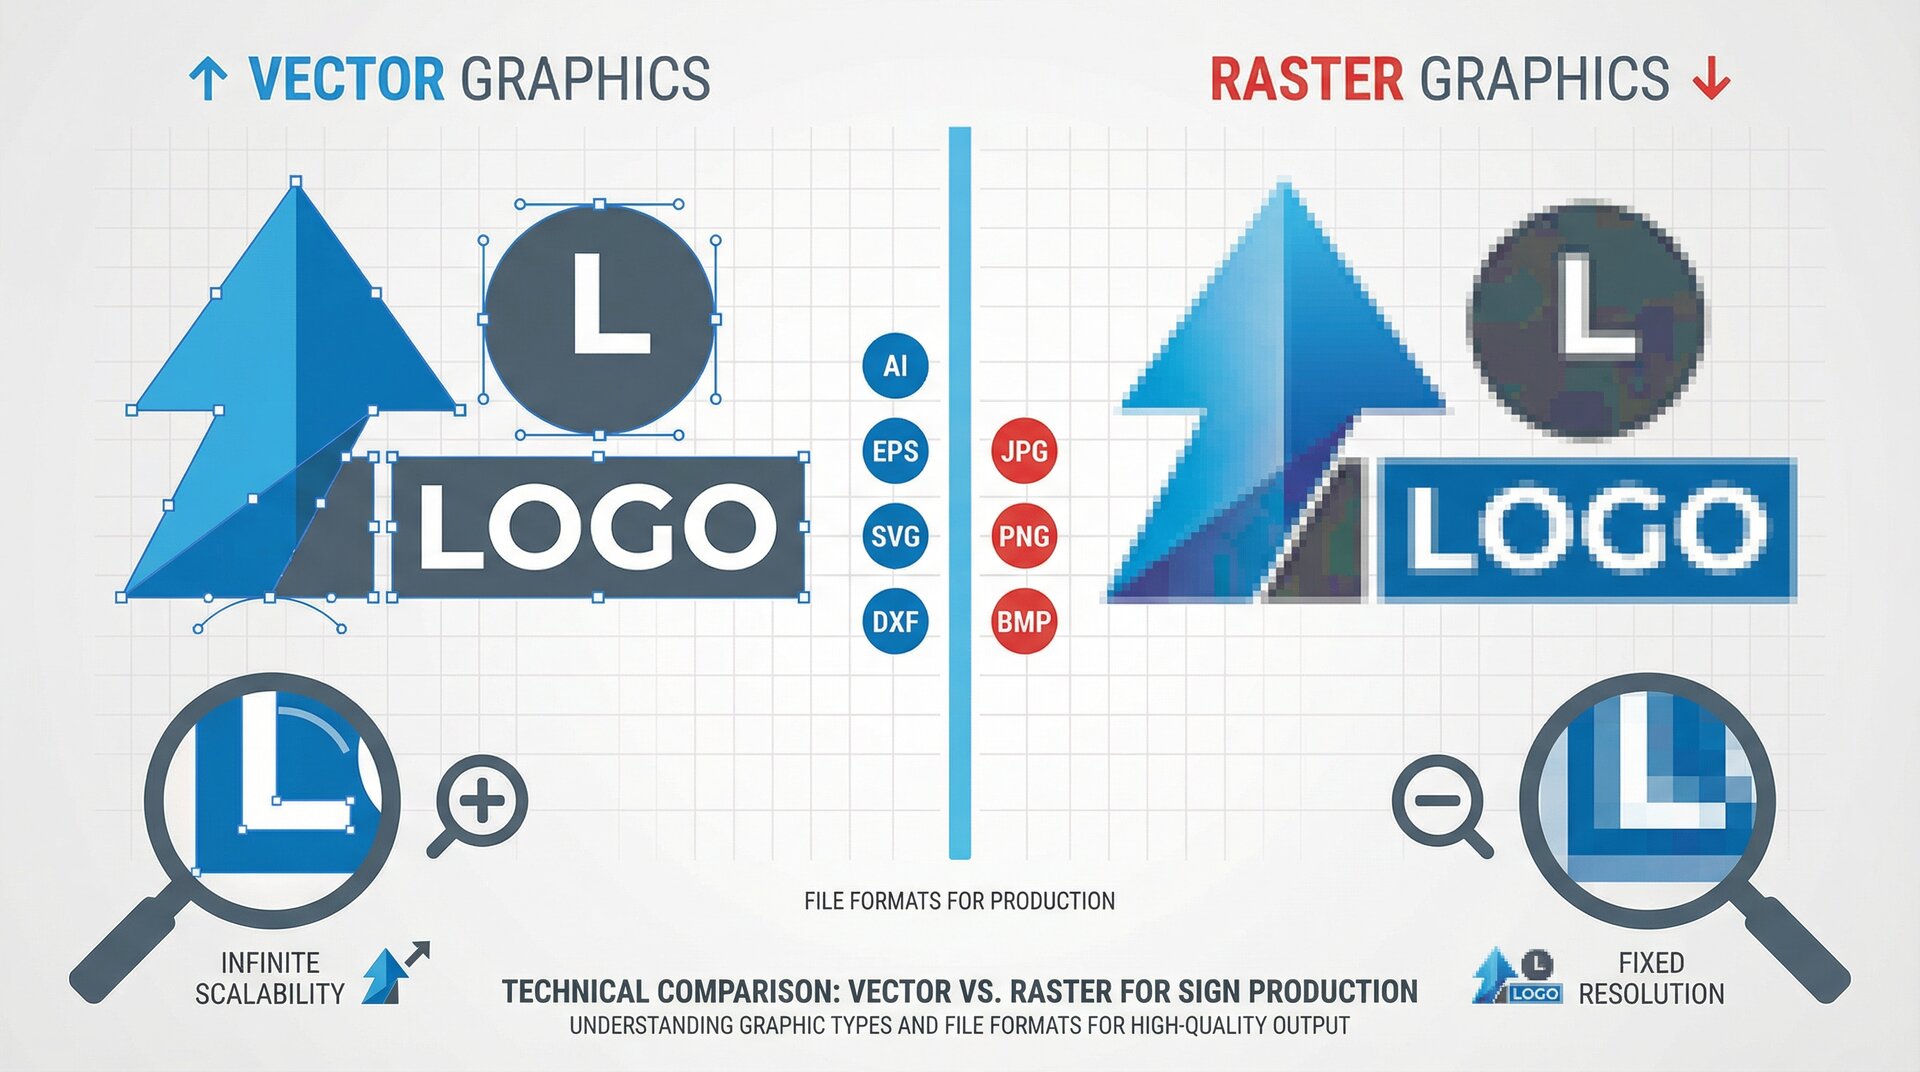
Vector vs Raster: When to Use Each
The rule is simple: use vector for anything that can be vector, raster only when you must.
Use vector for:
- Text and typography
- Logos and brand marks
- Geometric shapes and patterns
- Cut paths for vinyl, routing, or laser
- Any element that needs to scale
Use raster for:
- Photographs
- Complex gradients that don’t render well as vectors
- Textured backgrounds
- Photorealistic imagery
Many signs combine both. A shop fascia might have a vector logo, vector text, and a raster photographic background. Keep these elements on separate layers so each can be processed appropriately.
Converting Customer Files for Manufacturing
Customer files rarely arrive production-ready. Common conversions include:
RGB to CMYK: Use your design software’s conversion, then check for colour shift. Warn customers if their brand colours will appear different.
Raster to vector: Tools like Adobe Illustrator’s Image Trace work for simple graphics. Complex images need manual tracing or should remain raster. Never auto-trace photographs.
Office formats to production formats: Copy/paste from Word loses quality. Request original assets or recreate from scratch.
PDF extraction: Embedded vectors in PDFs can be extracted, but verify nothing was rasterised during PDF creation.
Document every conversion. When a customer asks why their sign looks different from their screen, you need to show what you received and what you changed.
Creating Cut-Ready Files for CNC and Laser
CNC routers and laser cutters need specific file preparation:
Path requirements:
- All paths must be closed (no open endpoints)
- No overlapping paths (cause double cuts)
- Minimum feature size appropriate for tool diameter
- Inside corners radiused for router bit size
Layer organisation:
- Separate layers for cut-through, engrave, and score
- Consistent colour coding across jobs
- Clear layer naming conventions
Toolpath considerations:
- Add tabs for parts that would fall during cutting
- Consider cut sequence to prevent material shift
- Account for kerf (material removed by cutting)
Test complex designs on scrap material before committing to expensive substrates.
Print-Ready Files for Large Format
Large format printing has its own requirements:
File preparation:
- Flatten transparency effects
- Convert spot colours to process
- Embed all linked images
- Add appropriate bleed (typically 10mm minimum)
RIP settings:
- Match media profile to actual substrate
- Set appropriate ink limits for material
- Configure cutting marks if required
- Verify colour management is active
Tiling for oversize prints:
- Plan seam locations to avoid faces, text, and critical elements
- Add overlap for alignment
- Mark tile sequence clearly
Material Preparation Workflows
Substrate Selection and Inventory Management
Material selection happens before production begins, not when the job hits the floor. Each sign type has appropriate substrates:
Exterior signage:
- Aluminium composite (Dibond, Alupanel): durable, stable, cuts cleanly
- Acrylic: excellent for illuminated signs, available in various finishes
- PVC foam board: lightweight, suitable for temporary signage
- Aluminium sheet: traditional, weathers well, accepts various finishes
Interior signage:
- Foamex/Foam PVC: lightweight, cost-effective
- Acrylic: premium appearance, good for reception signs
- MDF: paintable, suitable for dimensional letters
- Corrugated plastic: temporary and exhibition use
Maintain minimum stock levels for commonly used materials. Waiting three days for substrate delivery kills production schedules.
Track material usage by job. This data helps with estimating, identifies waste patterns, and ensures you reorder before running out.
Cutting and Sizing Raw Materials
Raw sheet materials need cutting to job size before production. This stage is often overlooked in workflow planning but creates significant bottlenecks when neglected.
Cutting workflow:
- Review upcoming job material requirements daily
- Batch similar cuts together for efficiency
- Optimise layouts to minimise waste (nesting software helps)
- Label cut pieces with job numbers immediately
- Stage cut materials in production sequence
Equipment maintenance:
- Panel saws need regular blade changes
- Guillotines require blade sharpening schedules
- Keep cutting surfaces clean and flat
Poor cuts at this stage compound through production. A sheet that’s 2mm out of square becomes a sign that’s 2mm out of square.
Surface Preparation Techniques
Surface prep determines how well inks, vinyls, and paints adhere. Skip this step and you get peeling, bubbling, and warranty claims.
For vinyl application:
- Clean with isopropyl alcohol
- Remove any protective film
- Ensure surface is completely dry
- Work in temperature-controlled conditions (15-25°C ideal)
For painting:
- Remove mill finish oils from metals
- Sand glossy surfaces for mechanical key
- Apply appropriate primer for substrate
- Allow full cure time between coats
For direct printing:
- Corona or plasma treat non-porous surfaces
- Match media settings to actual substrate
- Print adhesion test before production run
Document surface prep in job records. When a sign fails in the field, you need to verify whether prep was done correctly.
Material Waste Reduction Strategies
Material waste directly impacts profitability. Average sign shops waste 15-25% of substrate materials. Best-performing shops get this under 10%.
Strategies that work:
Nesting optimisation: Software calculates optimal part placement on sheets. Even basic nesting reduces waste by 5-10% compared to manual layout.
Offcut inventory: Track and store usable offcuts. A 400mm strip left from one job might be perfect for the next.
Standard sizes: Where possible, design to standard sheet sizes. Custom sizes from suppliers cost more and create more waste.
Mistake reduction: The cheapest way to reduce waste is getting it right the first time. Proper file prep and proofing prevent scrapped production runs.
Remnant sales: Some shops sell offcuts to hobbyists, schools, or other businesses. It won’t make you rich, but it beats paying for disposal.
The Sign Manufacturing Process: Step by Step
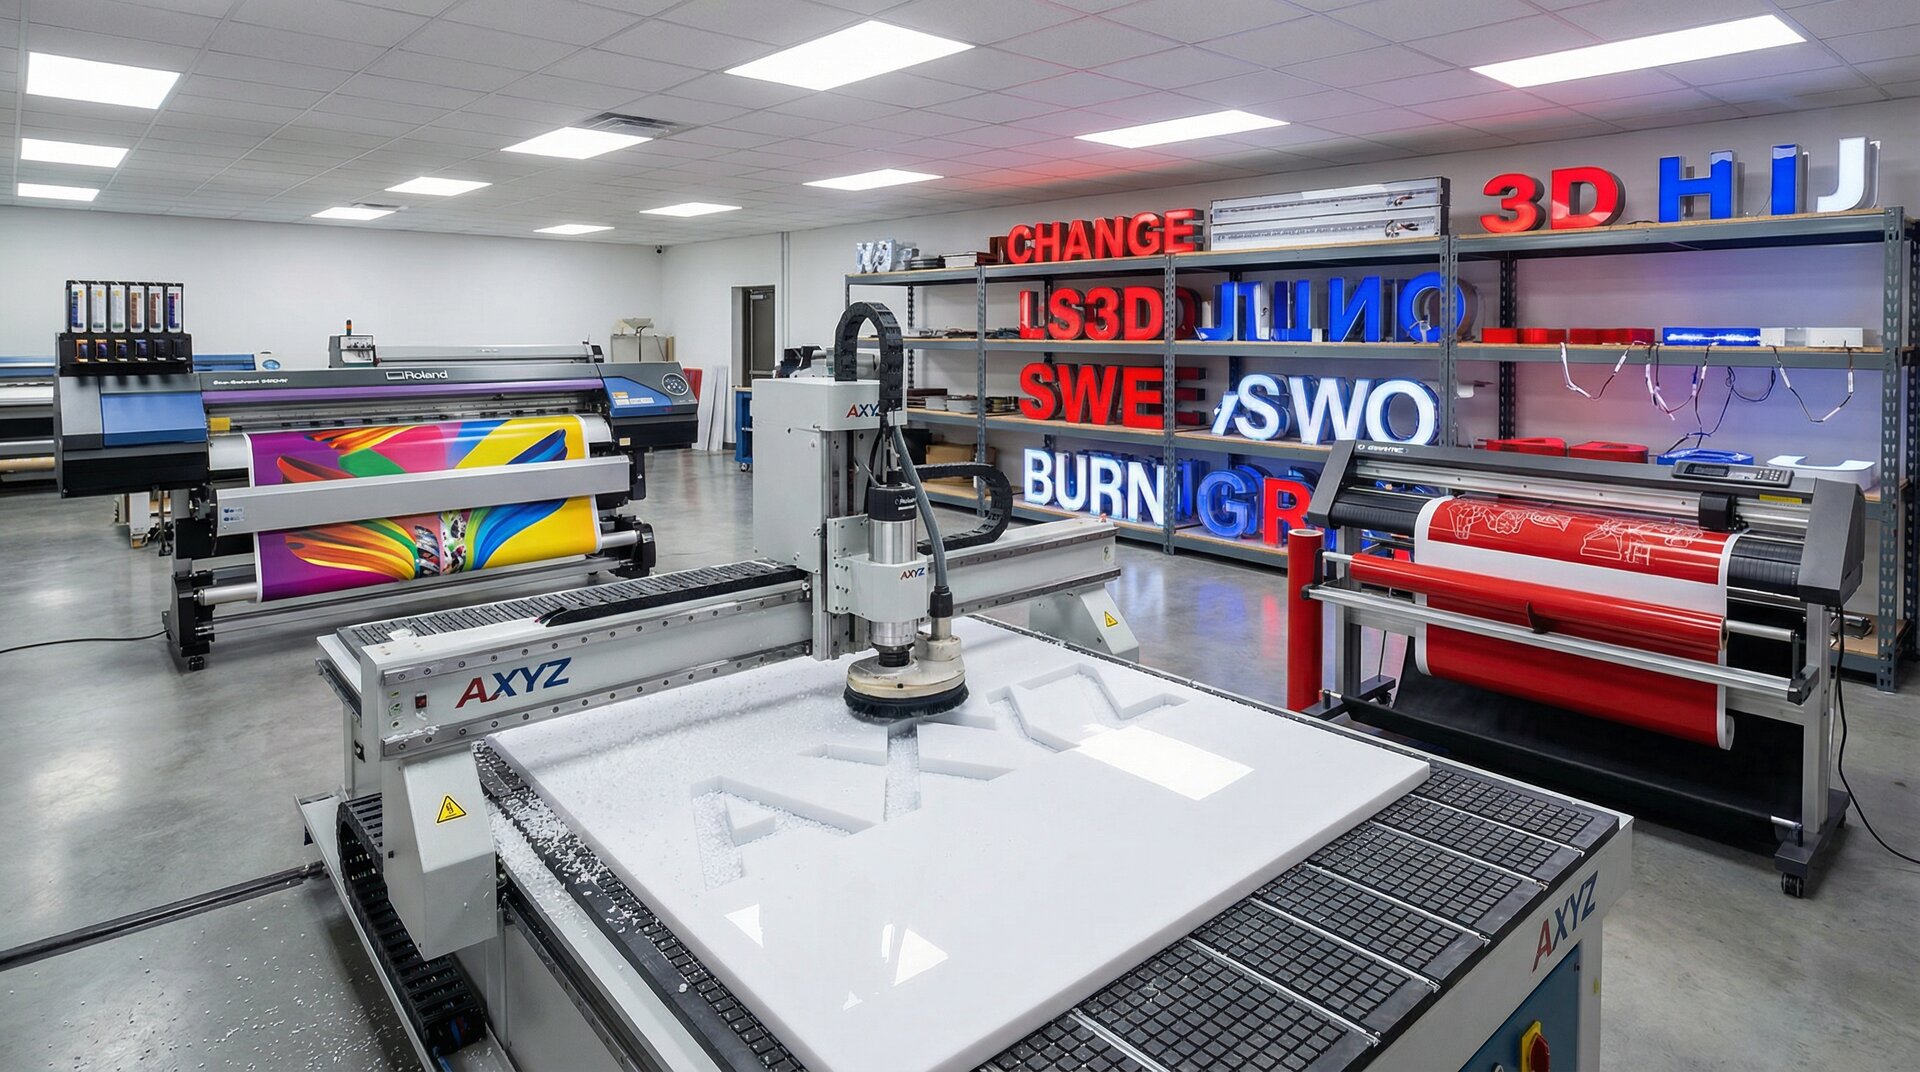
Routing and Cutting Operations
CNC routing is the backbone of dimensional signage. Modern routers handle everything from simple letter shapes to complex 3D carving.
Routing workflow:
- Load verified toolpath file
- Select appropriate bits (up-cut, down-cut, compression)
- Secure substrate—vacuum tables for flat stock, clamps for thick material
- Set origin point and verify workpiece dimensions
- Run air pass to verify paths before cutting
- Execute cutting sequence
- Remove tabs and deburr edges
Common routing issues:
- Bit wear causing rough edges: change bits on schedule, not when they fail
- Material shift during cutting: improve hold-down or reduce feed rates
- Burning on acrylic: reduce speed, increase feed, verify bit sharpness
- Splintering on composites: use correct bit geometry, proper speeds/feeds
Laser cutting follows similar principles but requires attention to exhaust extraction (especially for plastics) and power settings for different materials.
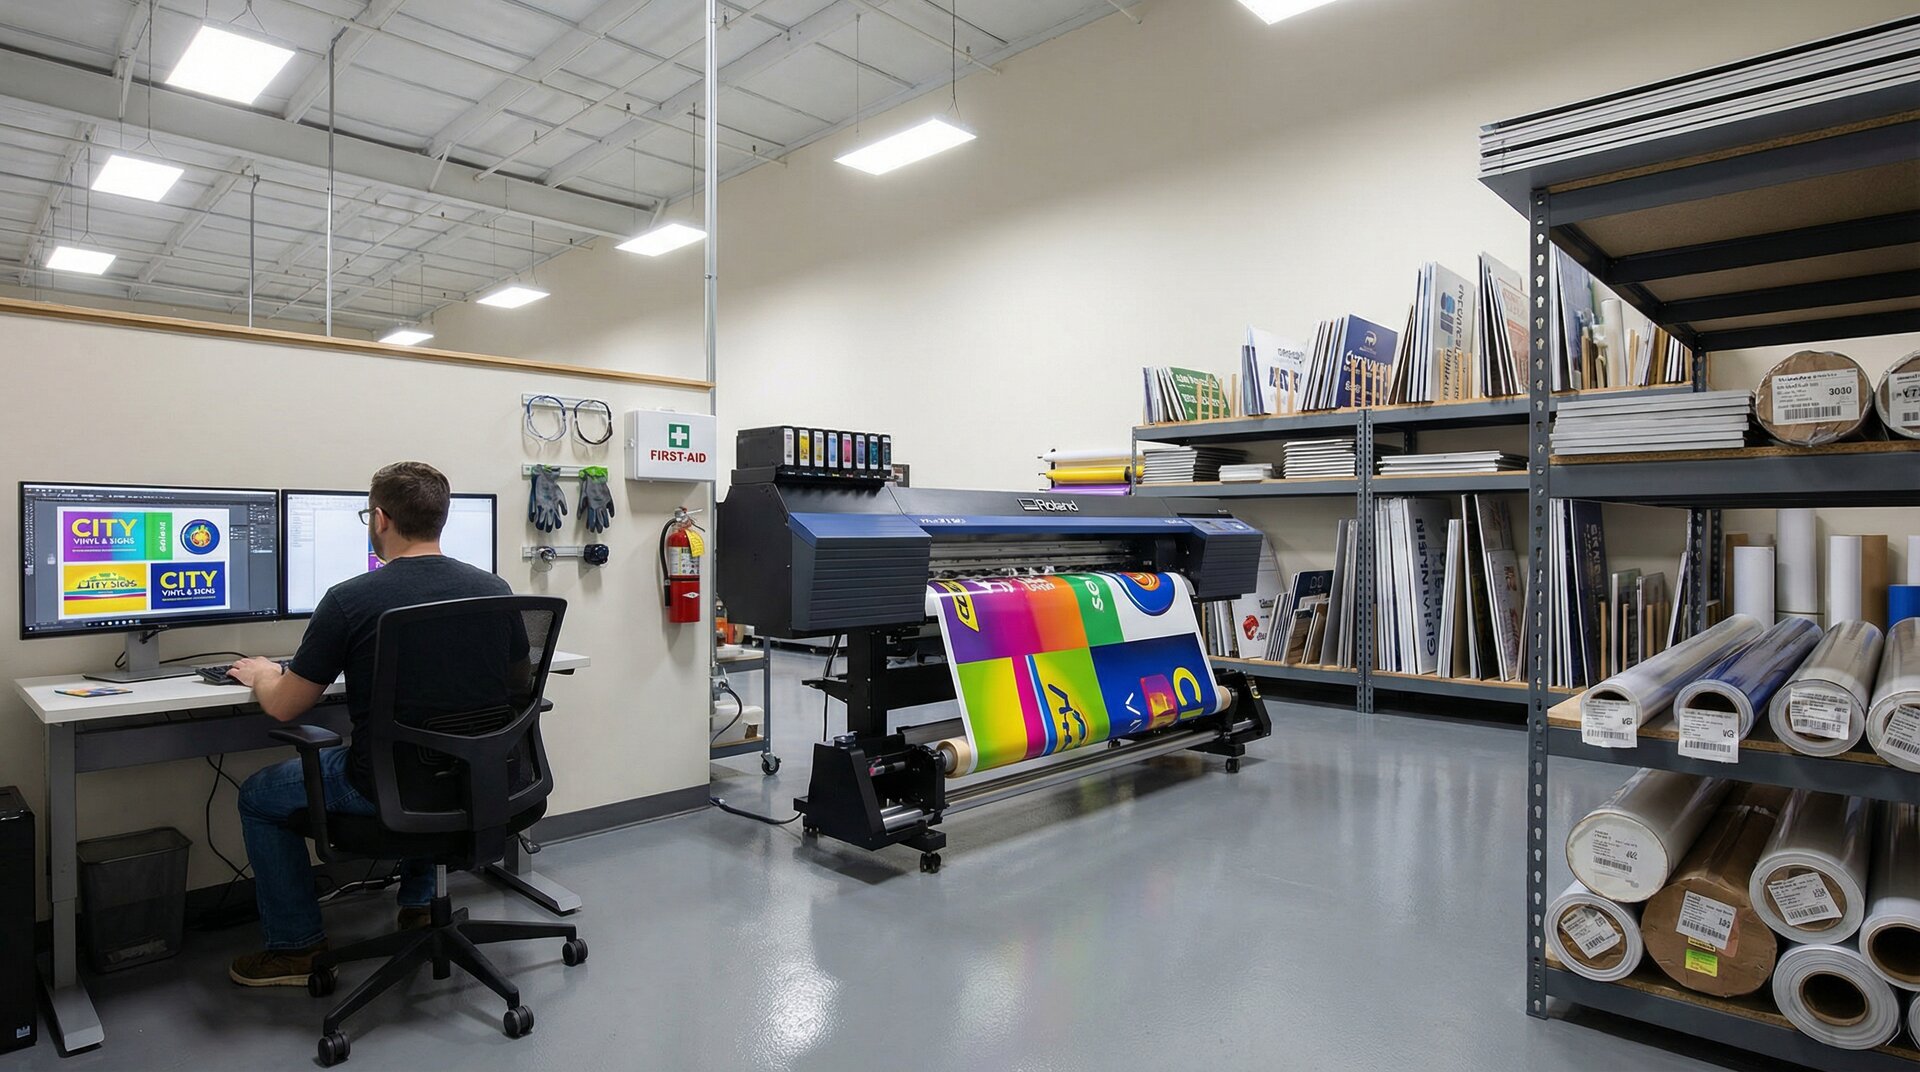
Printing and Finishing
Large format printing spans from vinyl banners to rigid substrates to vehicle wraps.
Print workflow:
- Load correct media profile
- Perform nozzle check and head cleaning if needed
- Verify colour output against reference
- Print job with appropriate passes and resolution
- Allow adequate dry/cure time before handling
- Apply lamination if specified
- Trim to final size
Finishing operations:
- Lamination: protects from UV and abrasion
- Mounting: adhering prints to rigid substrates
- Cutting: trimming to shape after printing
- Routing: cutting printed panels to complex shapes
Don’t rush drying time. Laminating over wet ink causes silvering. Handling uncured UV prints causes smearing. Build appropriate cure time into your schedule.
Assembly and Component Integration
Many signs involve multiple components that must come together correctly.
Dimensional letter assembly:
- Returns attached to faces
- Threaded studs or mounting blocks installed
- LED modules wired and tested
- Trim caps fitted if applicable
Lightbox assembly:
- Frame sections joined
- Face panels fitted (allow for expansion)
- Internal lighting installed and wired
- Power supply mounted and connected
- All electrical connections tested before closure
Pylon and monument signs:
- Internal structure assembled
- Sign faces mounted to frame
- Access panels fitted
- Electrical systems installed and tested
- Weatherproofing verified
Create assembly jigs for repeated products. Jigs ensure consistency and speed assembly significantly.
LED and Electrical Installation
Electrical work requires competence and—depending on jurisdiction—may require licensed electricians for final connection.
LED installation basics:
- Calculate power requirements for module count
- Size power supply with 20% headroom
- Plan wire routing before assembly
- Use appropriate connectors for environment
- Test illumination before closing lightboxes
Common LED issues:
- Uneven illumination: module spacing incorrect or face too close
- Hotspots: inadequate diffusion layer
- Colour variation: mixing LED batches or modules from different manufacturers
- Premature failure: inadequate power supply, poor thermal management
Document all electrical work with photographs. When warranty service is needed, you need to see what was originally installed.
Quality Control Checkpoints
Pre-Production Quality Gates
Quality control starts before production begins. Pre-production checks catch issues when they’re cheapest to fix.
File review gate:
- Does the file match the order specifications?
- Are there any production issues (resolution, colour, format)?
- Has the customer signed off on the proof?
- Are all special requirements documented?
Material gate:
- Is the correct material in stock?
- Has the material been cut to size?
- Is surface preparation complete?
- Are all components available (LEDs, fixings, hardware)?
Scheduling gate:
- Is production time allocated?
- Are the right team members available?
- Is equipment scheduled and available?
- Is the delivery date achievable?
Jobs that pass all three gates are ready for production. Jobs that fail any gate need resolution before proceeding.
In-Process Inspection Points
Build quality checks into each production stage, not just at the end.
After cutting/routing:
- Dimensions within tolerance?
- Edges clean and free from defects?
- All features present and correct?
After printing:
- Colour matches approved proof?
- No print defects (banding, head strikes, missing nozzles)?
- Registration correct for multi-layer prints?
After assembly:
- Components aligned correctly?
- Fixings secure?
- No visible damage from handling?
After electrical installation:
- All modules illuminate?
- Even illumination across face?
- No visible wiring through sign face?
- Polarity correct?
Catching defects at each stage prevents compounding problems. A routing error caught before printing saves time. Caught after printing saves the print. Caught after assembly might scrap the entire job.
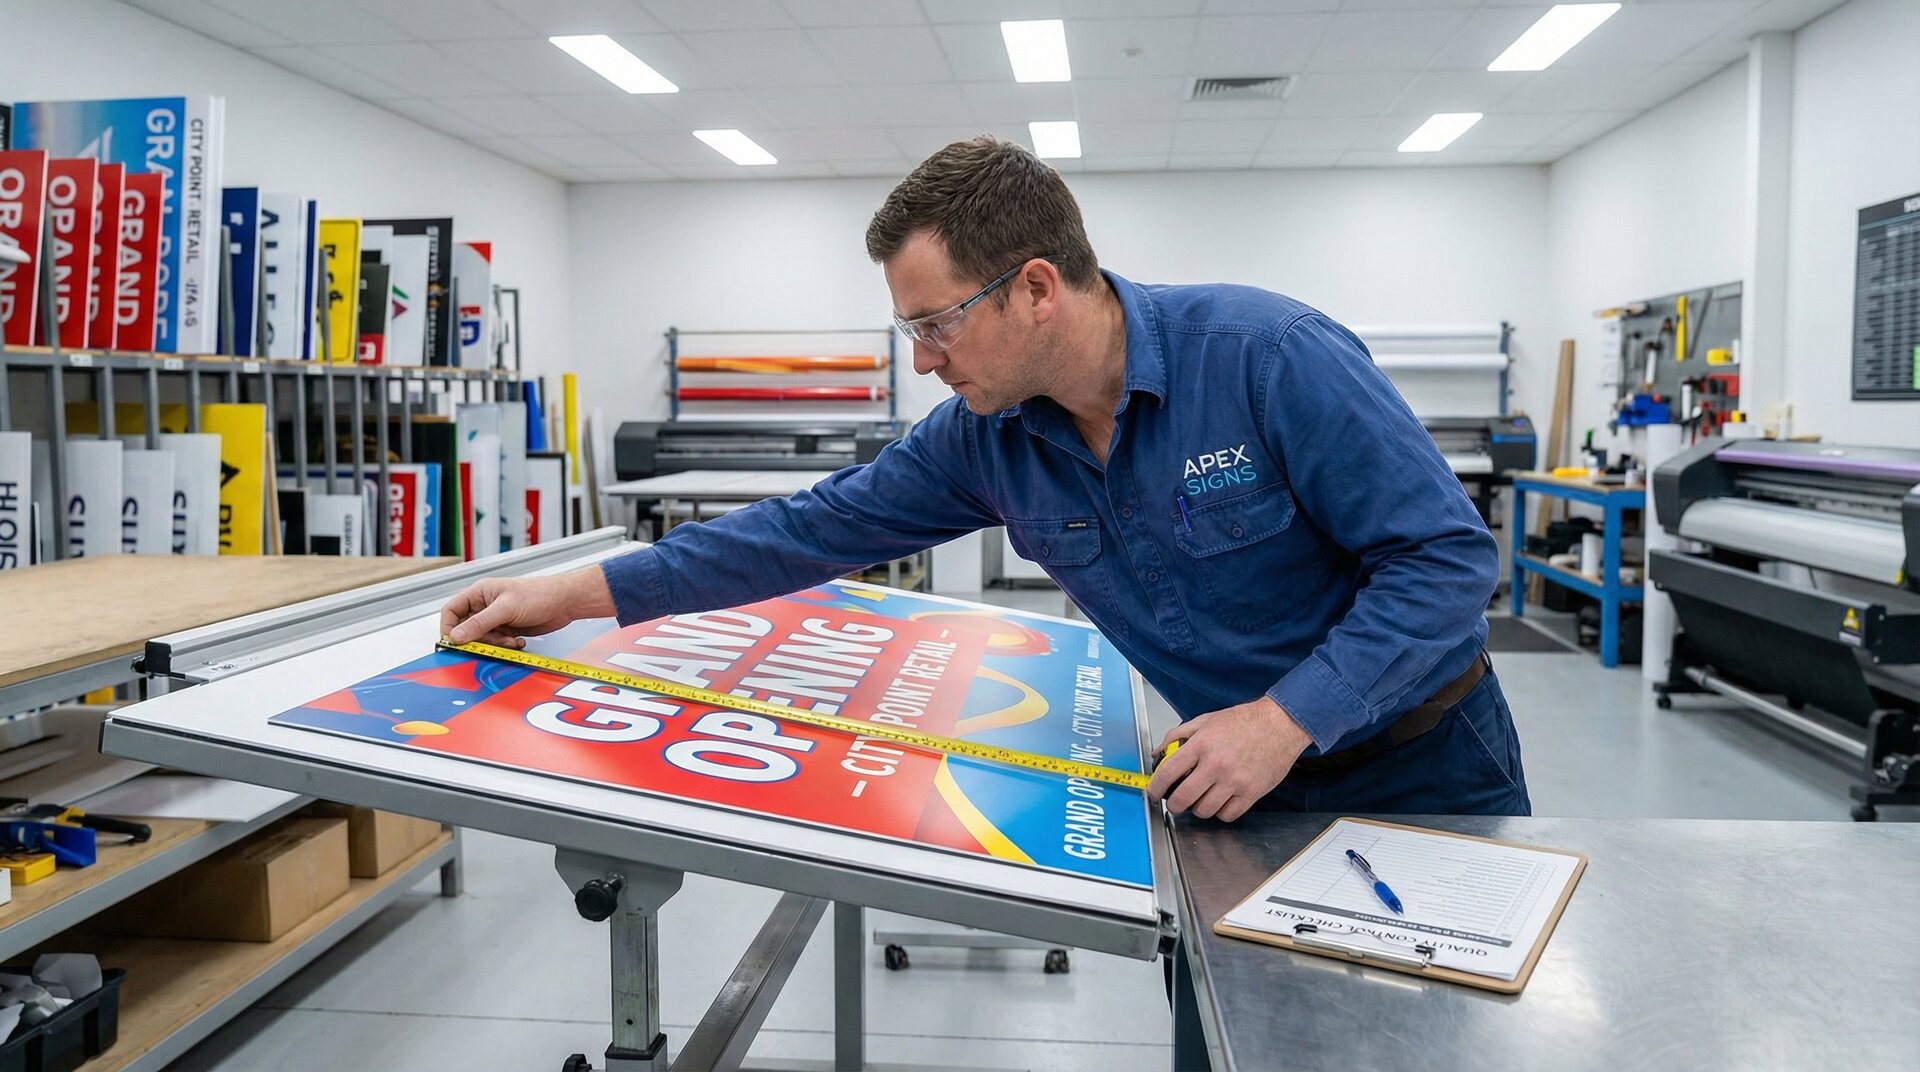
Final Quality Assessment Criteria
Before any sign leaves the shop, verify:
Visual inspection:
- No scratches, marks, or damage
- Colour consistent with approved proof
- Text correct and legible
- Finish uniform and appropriate
Dimensional verification:
- Overall size within specification
- Mounting points correctly positioned
- All components present
Functional testing:
- Electrical signs illuminate correctly
- Moving components operate properly
- Mounting hardware fits and secures
Documentation complete:
- Installation instructions included
- Warranty information provided
- Electrical certificates where required
Photograph every completed sign before packing. These images are invaluable for warranty claims, insurance, and portfolio use.
Documentation and Sign-Off Procedures
Quality control means nothing without records. Document:
Job file:
- Original customer files
- Production files
- Proof sign-off
- Material used (batch numbers for traceability)
- Production photographs
- Quality check records
- Any issues and resolutions
Sign-off protocol:
- Define who can approve jobs for shipping
- Require physical or electronic signature
- Record date and time of approval
- Note any exceptions or conditions
Maintaining these records protects you when customers claim problems. They also help identify patterns—if the same issue keeps appearing, your process needs adjustment.
Shipping and Packaging
Protective Packaging for Different Sign Types
Packaging prevents the damage that production quality ensures. Good packaging is invisible—customers don’t notice it. Bad packaging results in insurance claims and reprints.
Flat panel signs:
- Cardboard corners protect edges
- Bubble wrap or foam prevents surface damage
- Stack face-to-face to protect surfaces
- Strap bundles to prevent shifting
Dimensional letters:
- Individual wrapping for each letter
- Compartmented boxes prevent contact
- Padding fills void space
- Orientation matters—don’t stack heavy on light
Illuminated signs:
- Foam padding around electrical components
- “Fragile” and “This Way Up” marking essential
- Consider shipping face and back separately if large
- Include test instructions for customer verification
Acrylic and glass:
- Never stack without interleaving
- Protect edges with foam channels
- Mark packaging clearly as fragile
- Consider wooden frames for large pieces
Crating Large Format Signs
Signs over certain dimensions (typically 2m in any direction) require crating rather than cardboard packaging.
Crate construction:
- Plywood or OSB base sized for sign plus padding
- Timber frame around perimeter
- Padding that immobilises the sign within
- Weather protection if shipping open transport
- Lift points if weight requires mechanical handling
Crating workflow:
- Build base sized for sign plus 100mm padding all sides
- Position sign on foam padding
- Fill void with foam blocks or air pillows
- Apply protective covering to sign face
- Fix perimeter frame
- Add lid or wrapping
- Mark with handling instructions and orientation
- Label with address and contact numbers
Good crating is reusable. Design crates so that they can make the return journey for your installer to use again.
Carrier Selection and Tracking
Carrier selection impacts delivery reliability and damage rates.
Considerations:
- Tail-lift requirement for heavy items
- Inside delivery vs kerb-side
- Specialist handling capability
- Insurance coverage and claims process
- Tracking capability
- Delivery notification to recipient
Carrier management:
- Maintain relationships with reliable carriers
- Document damage rates by carrier
- Use tracking to proactively manage delays
- Share tracking information with customers
For valuable or fragile signs, dedicated logistics or your own delivery often costs less than damage claims.
Installation Documentation and Hardware
Every sign shipment should include what the installer needs:
Documentation:
- Installation instructions specific to this sign
- Electrical specifications and certificates
- Mounting pattern template or dimensions
- Contact number for queries
Hardware:
- All specified fixings
- Any special mounting brackets
- Touch-up paint for site finishing
- Warranty cards and care instructions
Create template documentation that can be customised per job. Don’t write installation instructions from scratch each time.
Streamlining Your Sign Production Workflow
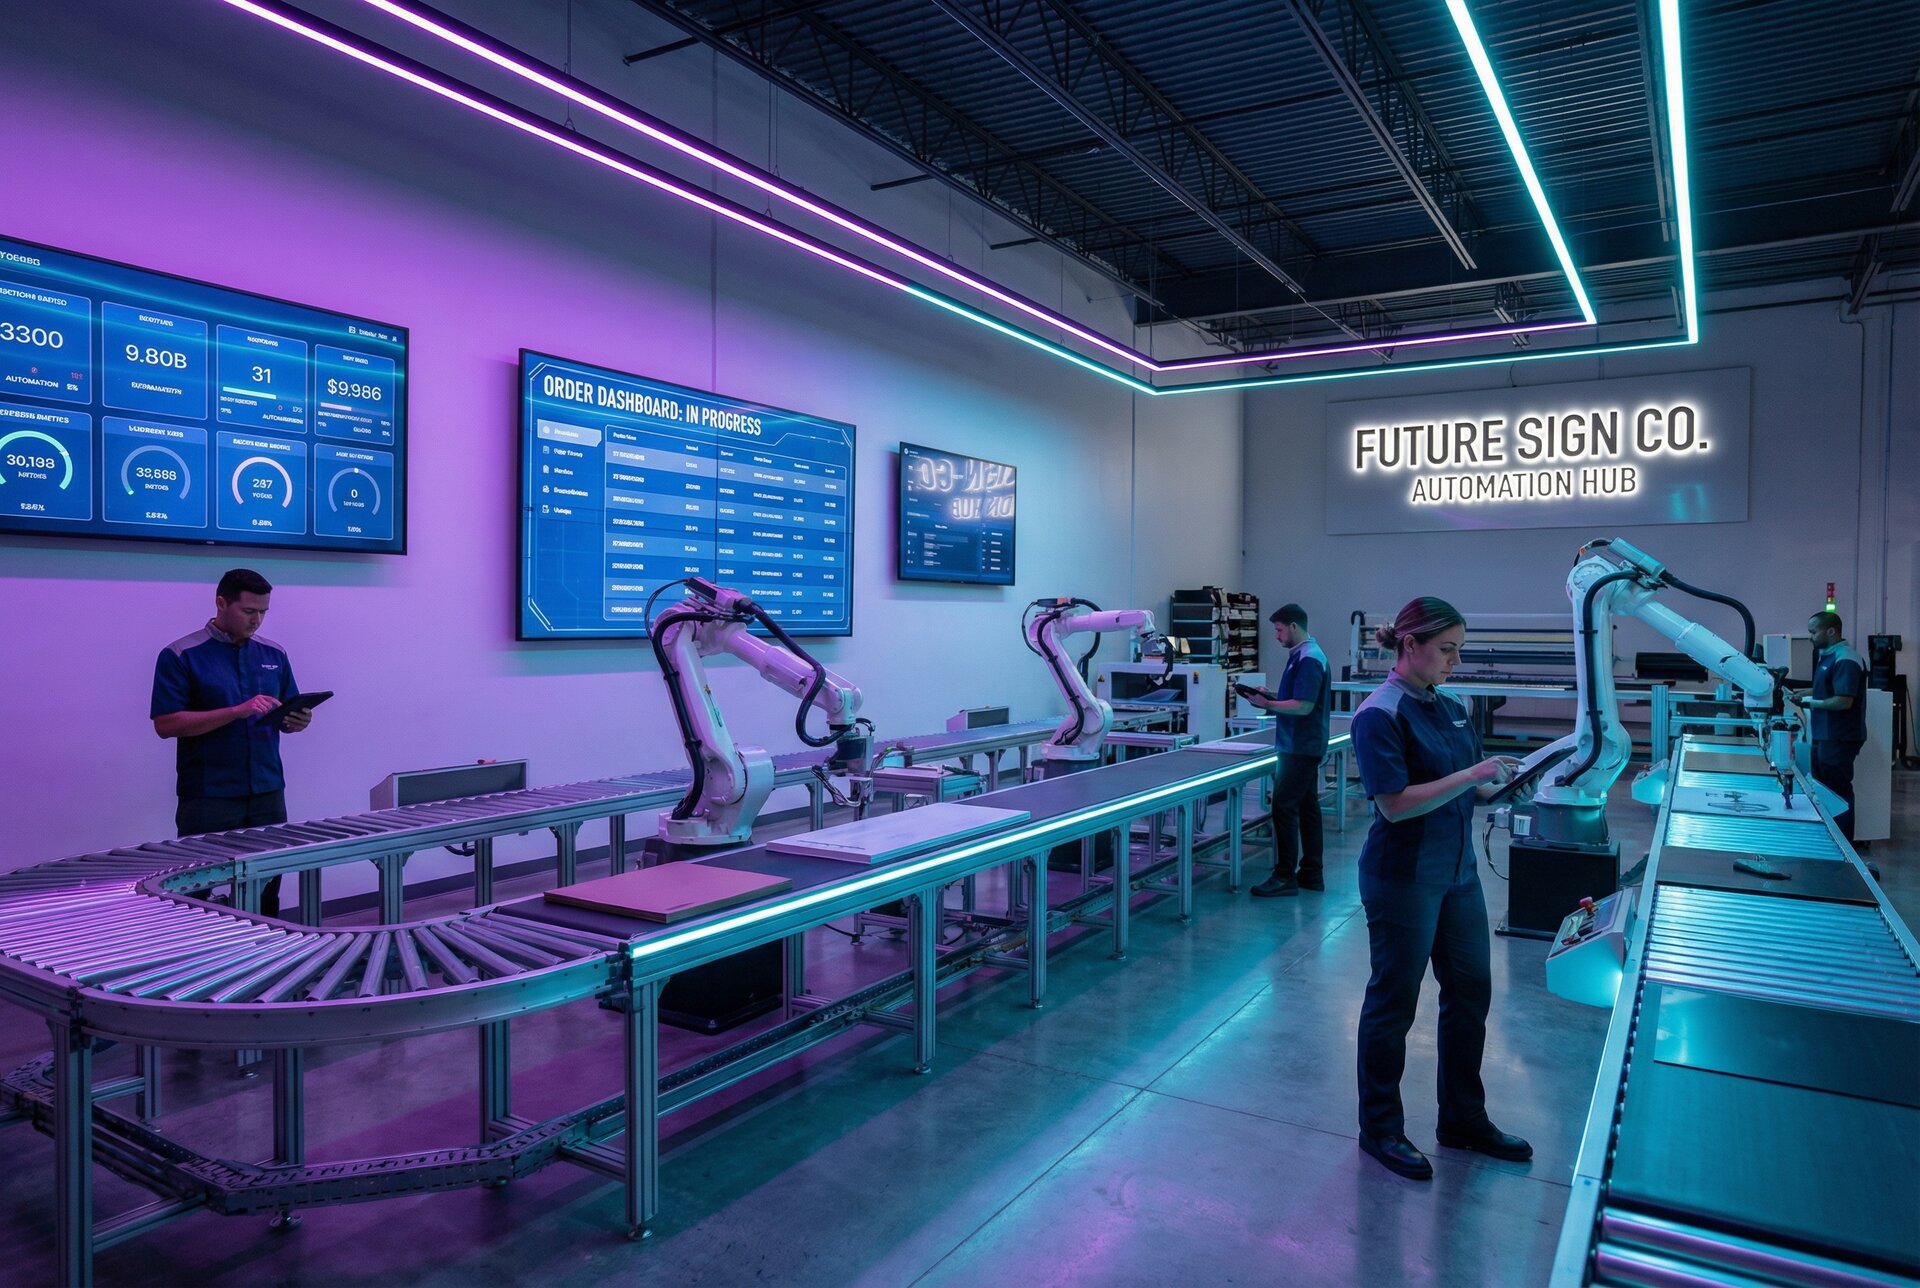
Automation Opportunities
Automation doesn’t mean robots. It means reducing manual repetition and eliminating error-prone handoffs.
High-impact automation opportunities:
Quote to production: Customer-approved quotes automatically generate job files, material lists, and production schedules. No manual re-entry means no transcription errors.
File processing: Automated pre-flight checks catch common issues before human review. Staff focus on genuine problems, not checking resolution for the hundredth time.
Production tracking: Barcode or RFID scanning at each stage updates job status automatically. Everyone knows where every job is without asking.
Delivery scheduling: Automated carrier booking and customer notification based on production completion. Shipping happens promptly without manual coordination.
Start with the most painful manual process and automate that first. You’ll learn what works for your shop before tackling less critical processes.
Software Tools for Production Management
Modern sign shops benefit from software that connects the workflow:
Design and production:
- CAD/CAM for file preparation and toolpath generation
- RIP software for colour management and print output
- Nesting software for material optimisation
Business management:
- Sign industry MIS (Management Information Systems)
- Job tracking and scheduling
- Customer relationship management
- Accounting and invoicing
Integration is key. Disconnected systems create data silos and require manual transfer. Look for software that shares data or can be connected through APIs.
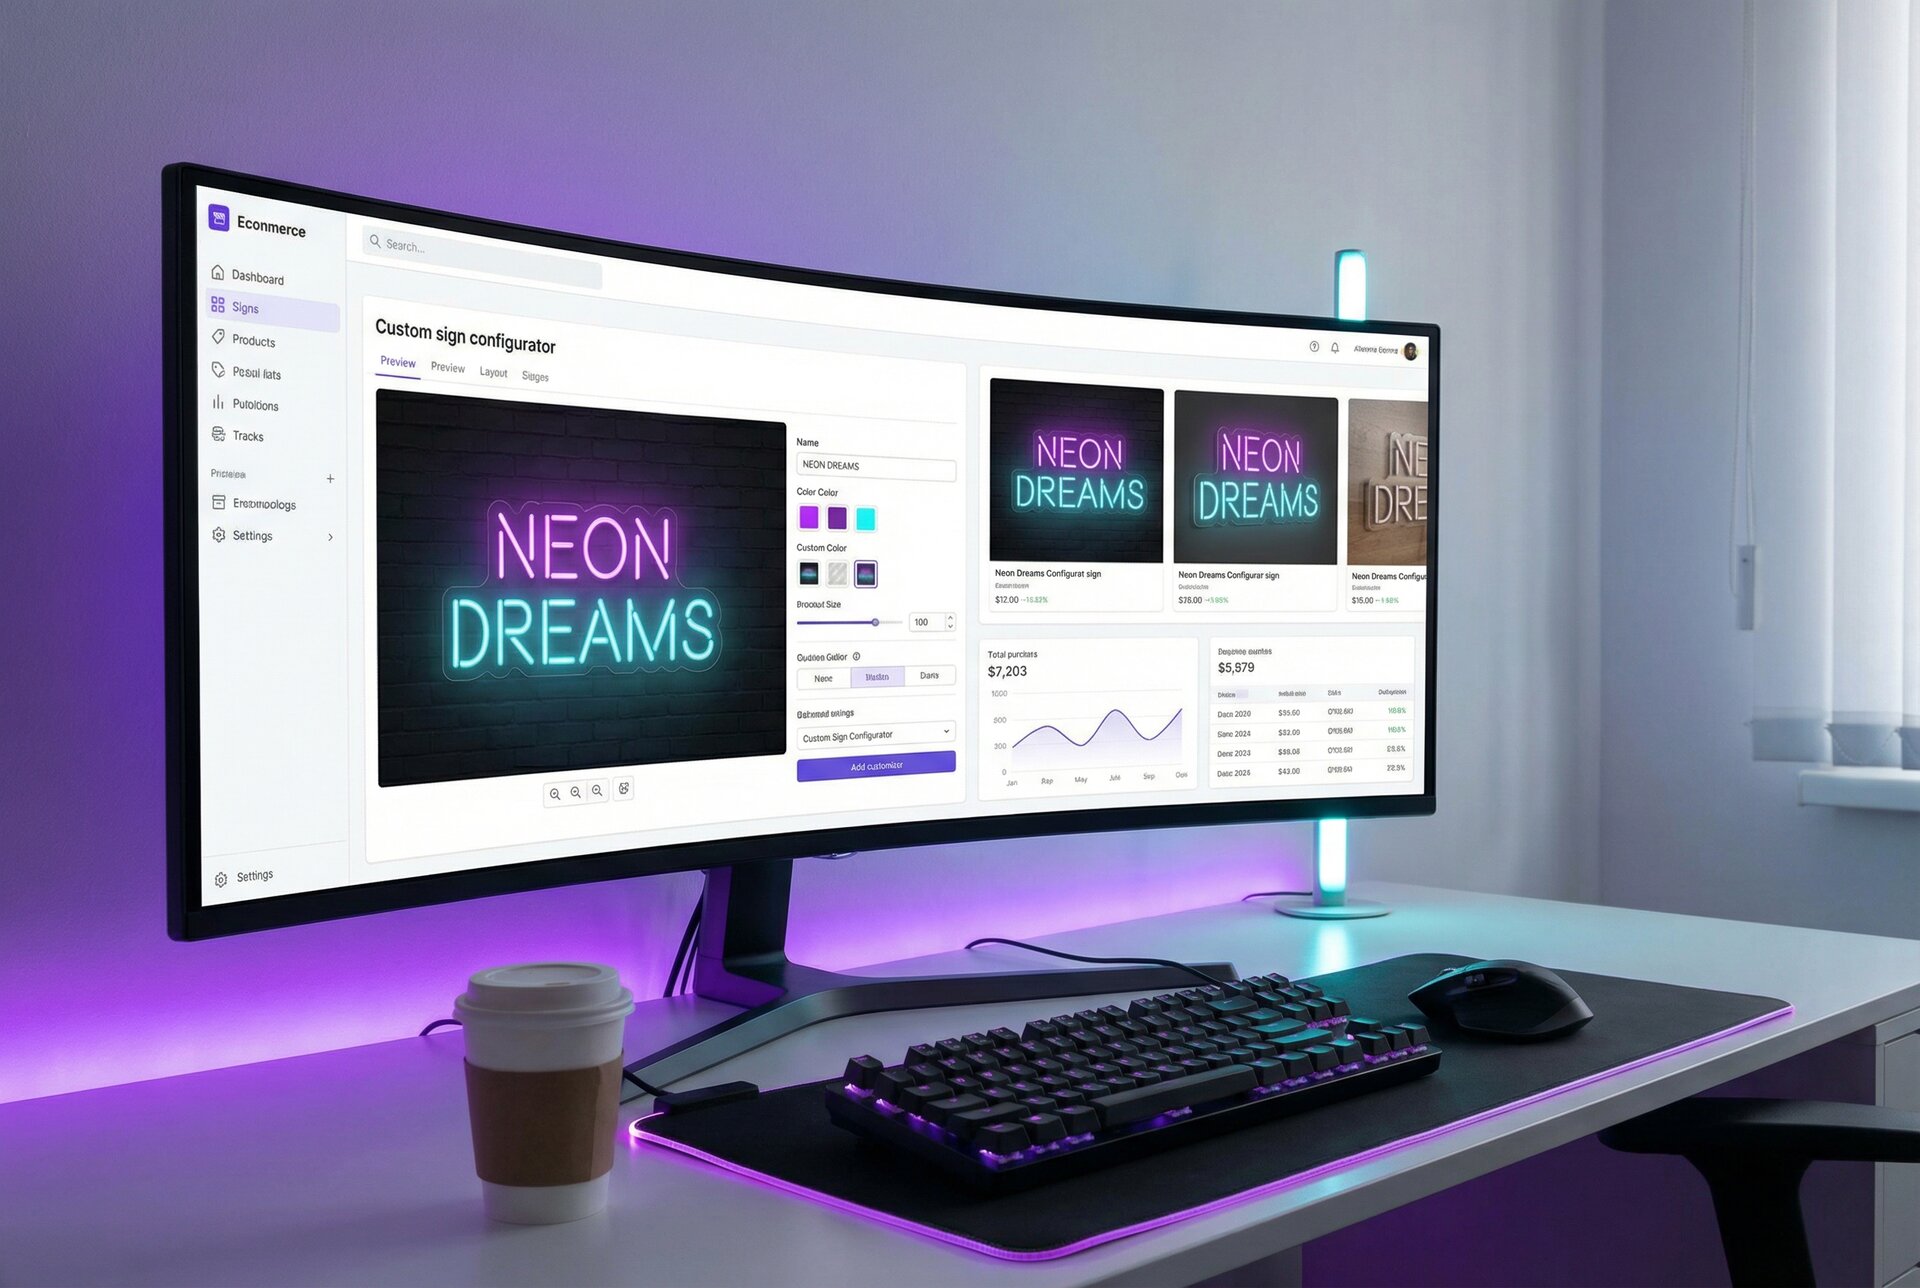
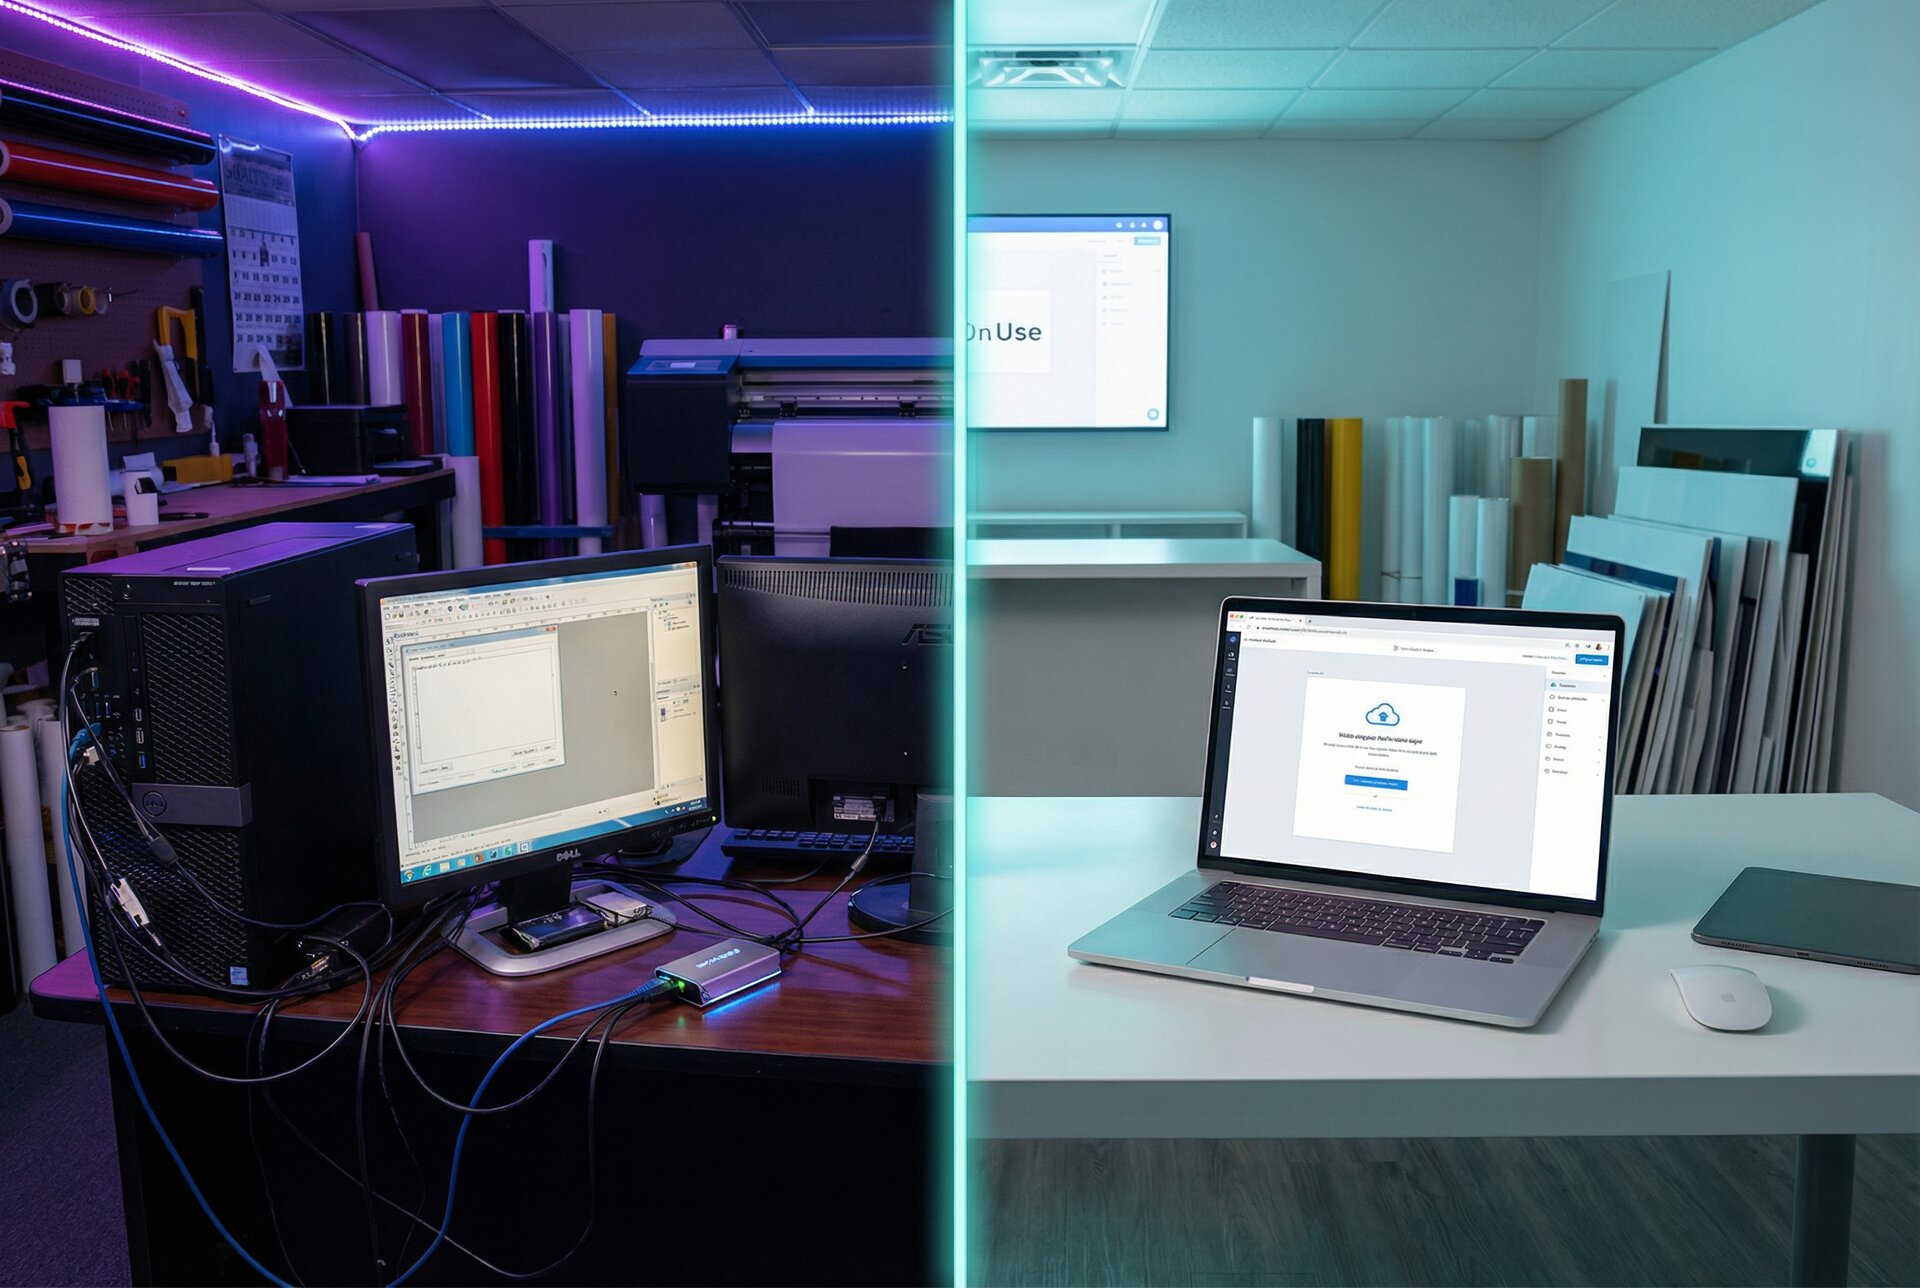
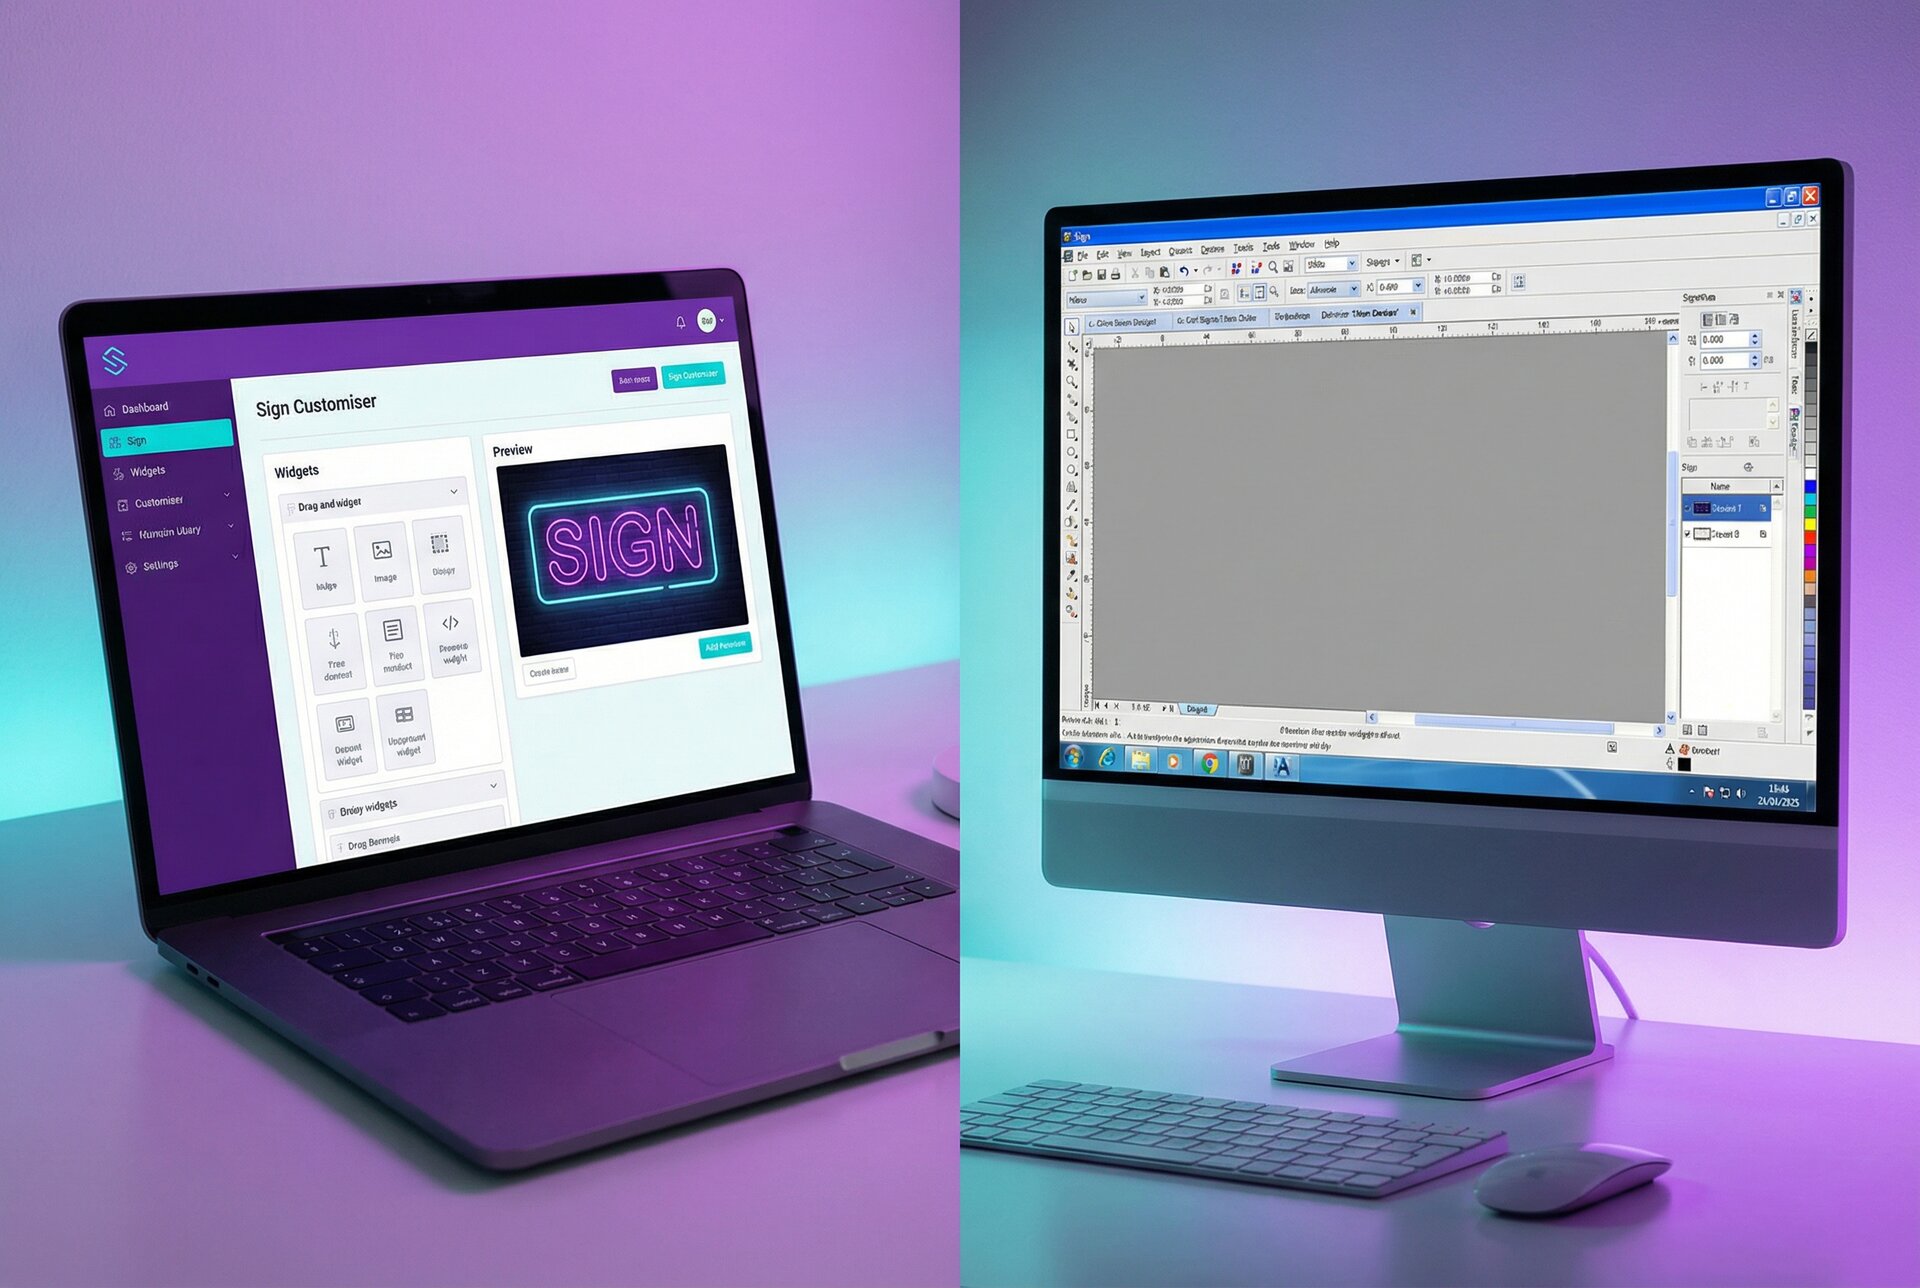
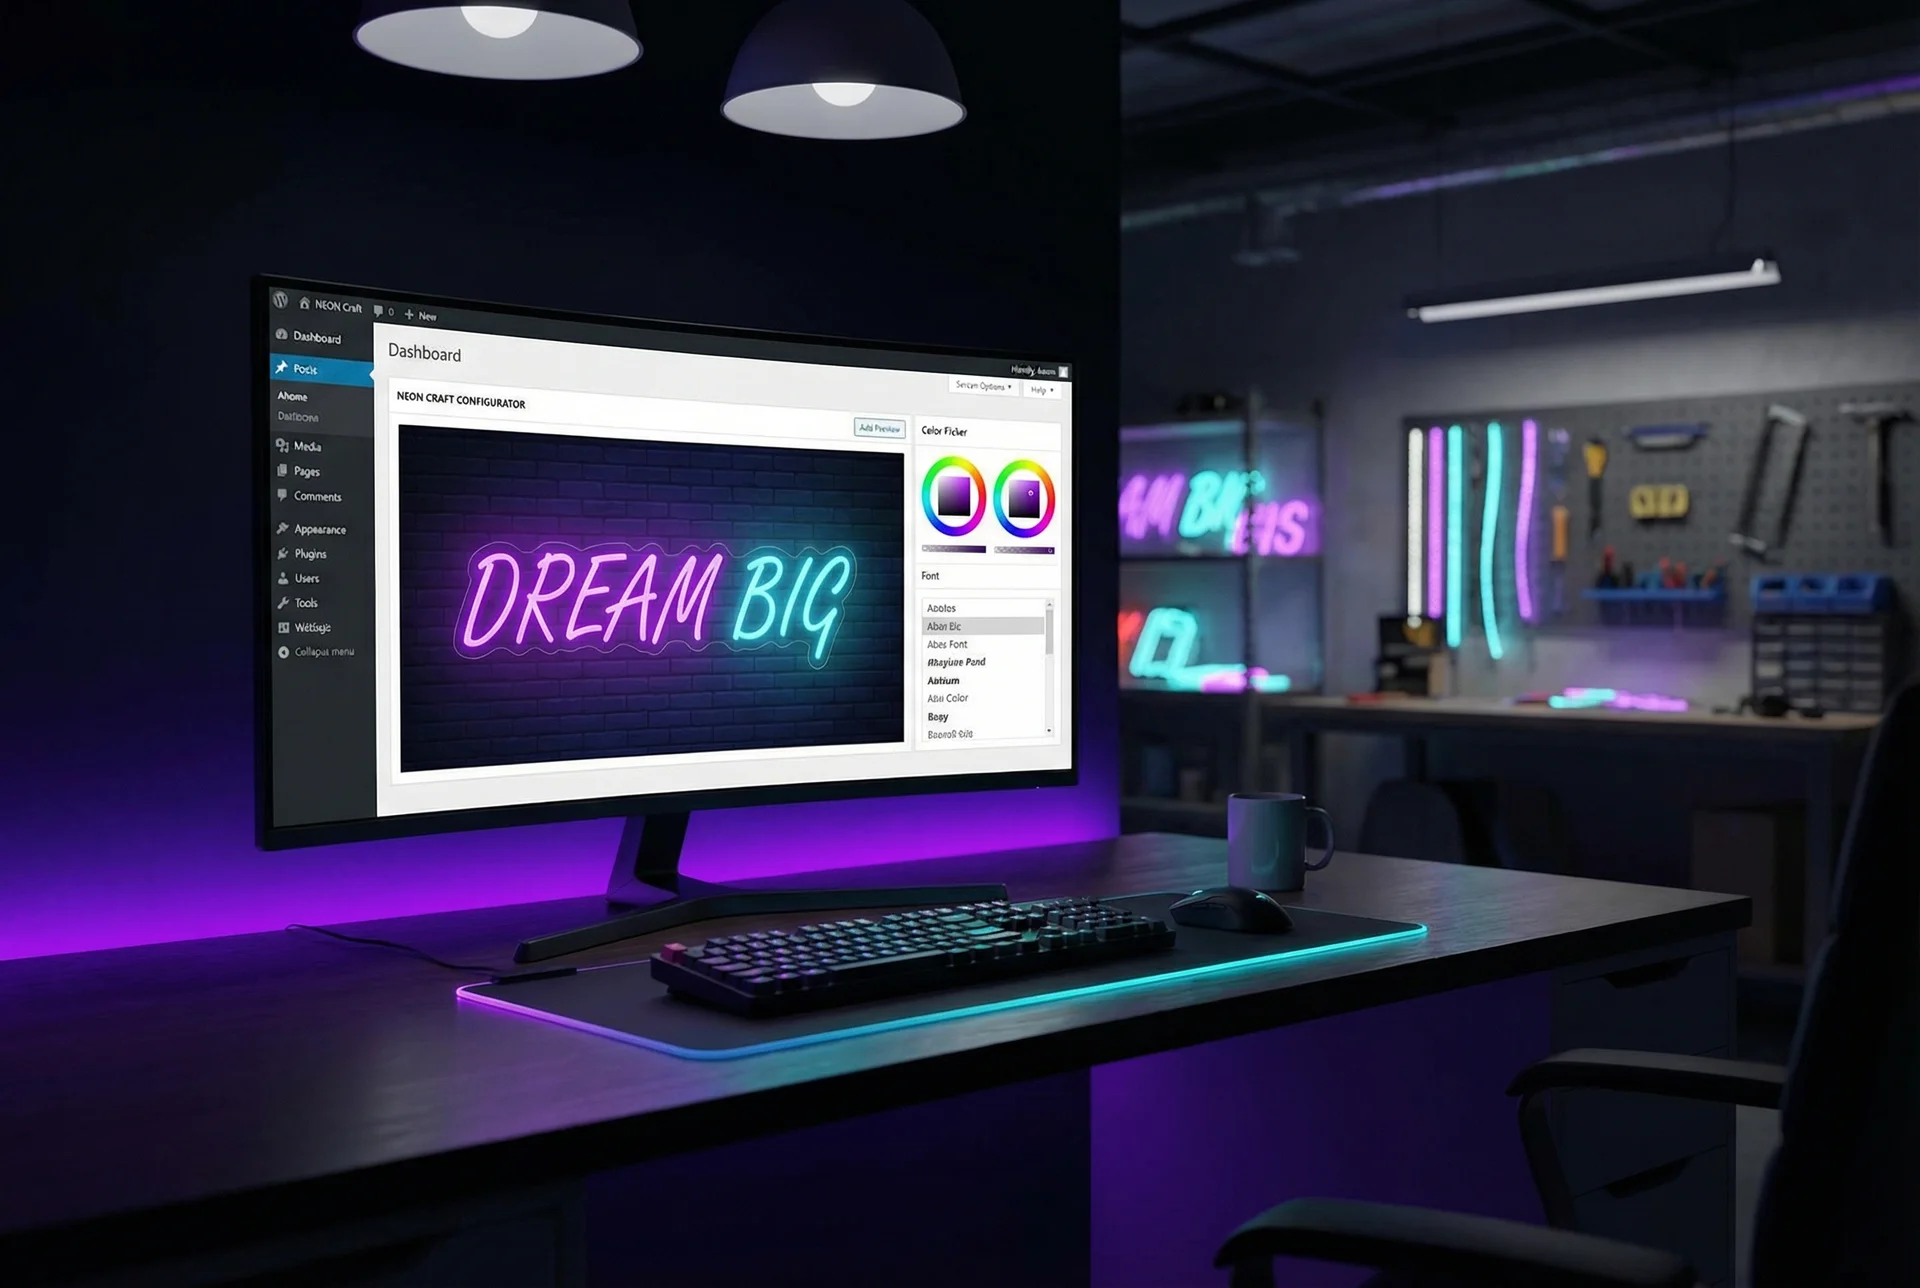
Sign Customiser, for example, connects customer-facing design tools directly to production workflows. The customer’s approved design flows through to your production system without manual file handling. This eliminates a common bottleneck and error source while improving customer experience. Explore our features to see how automated design-to-production handoffs can streamline your workflow, or view pricing plans to find the right fit for your shop.
Frequently Asked Questions
What is a sign production workflow?
A sign production workflow is the documented sequence of steps a sign moves through from customer order to delivery. It includes file preparation, material staging, manufacturing operations, quality control checkpoints, and shipping procedures. A well-defined workflow ensures consistency, reduces errors, and helps shops accurately estimate completion times.
How long does custom sign production take?
Production time varies by sign type and complexity. Simple vinyl graphics might take 1-2 days. Channel letters typically require 5-10 working days. Large illuminated signs or monument signs can take 2-4 weeks. The biggest variable isn’t manufacturing time—it’s how long file preparation and customer approvals take before production begins.
What causes delays in sign manufacturing?
The most common delays stem from file issues (incorrect formats, low resolution, missing fonts), material availability (substrates on backorder, wrong colours in stock), and approval bottlenecks (proofs waiting for customer sign-off, internal reviews delayed). Structured workflows with defined checkpoints catch these issues before they cause production delays.
What file format should I send to a sign shop?
Vector formats (AI, EPS, SVG) are preferred for most signage as they scale without quality loss. For CNC routing and laser cutting, DXF is the standard. Photographs should be TIFF or high-resolution JPEG. Always confirm the shop’s specific requirements—some have particular preferences based on their equipment.
How do sign shops ensure quality?
Quality assurance happens at multiple stages: file review before production (checking resolution, colours, dimensions), in-process inspection (verifying cuts, prints, and assembly), and final inspection before shipping (visual check, dimensional verification, functional testing for illuminated signs). Documentation at each stage creates accountability and helps identify recurring issues.
Conclusion
A structured sign production workflow isn’t about bureaucracy or adding steps. It’s about doing the right work at the right time, catching problems early, and delivering consistently.
The shops that thrive in this industry share common traits: they verify before they produce, they document what they do, and they measure what matters. They don’t work harder than their competitors—they waste less effort on rework and corrections.
Start with the workflow you have today. Document it. Identify where jobs stall, where errors occur, where time disappears. Address the biggest problems first.
Then make incremental improvements. Add a pre-flight checklist. Define your quality gates. Standardise your packaging. Each small improvement compounds.
Six months from now, you’ll have a production workflow that runs smoother, delivers faster, and wastes less. Your team will know what to do without asking. Your customers will get their signs on time. And you’ll spend less time firefighting and more time growing your business.
Need help connecting your customer design experience to your production workflow? Contact our team for guidance on integrating Sign Customiser with your existing systems.