
Headless commerce has transformed how developers build ecommerce experiences. The frontend is decoupled from the backend. APIs handle data exchange. You choose your stack without platform constraints. But custom product configurators present a challenge that most headless resources ignore.
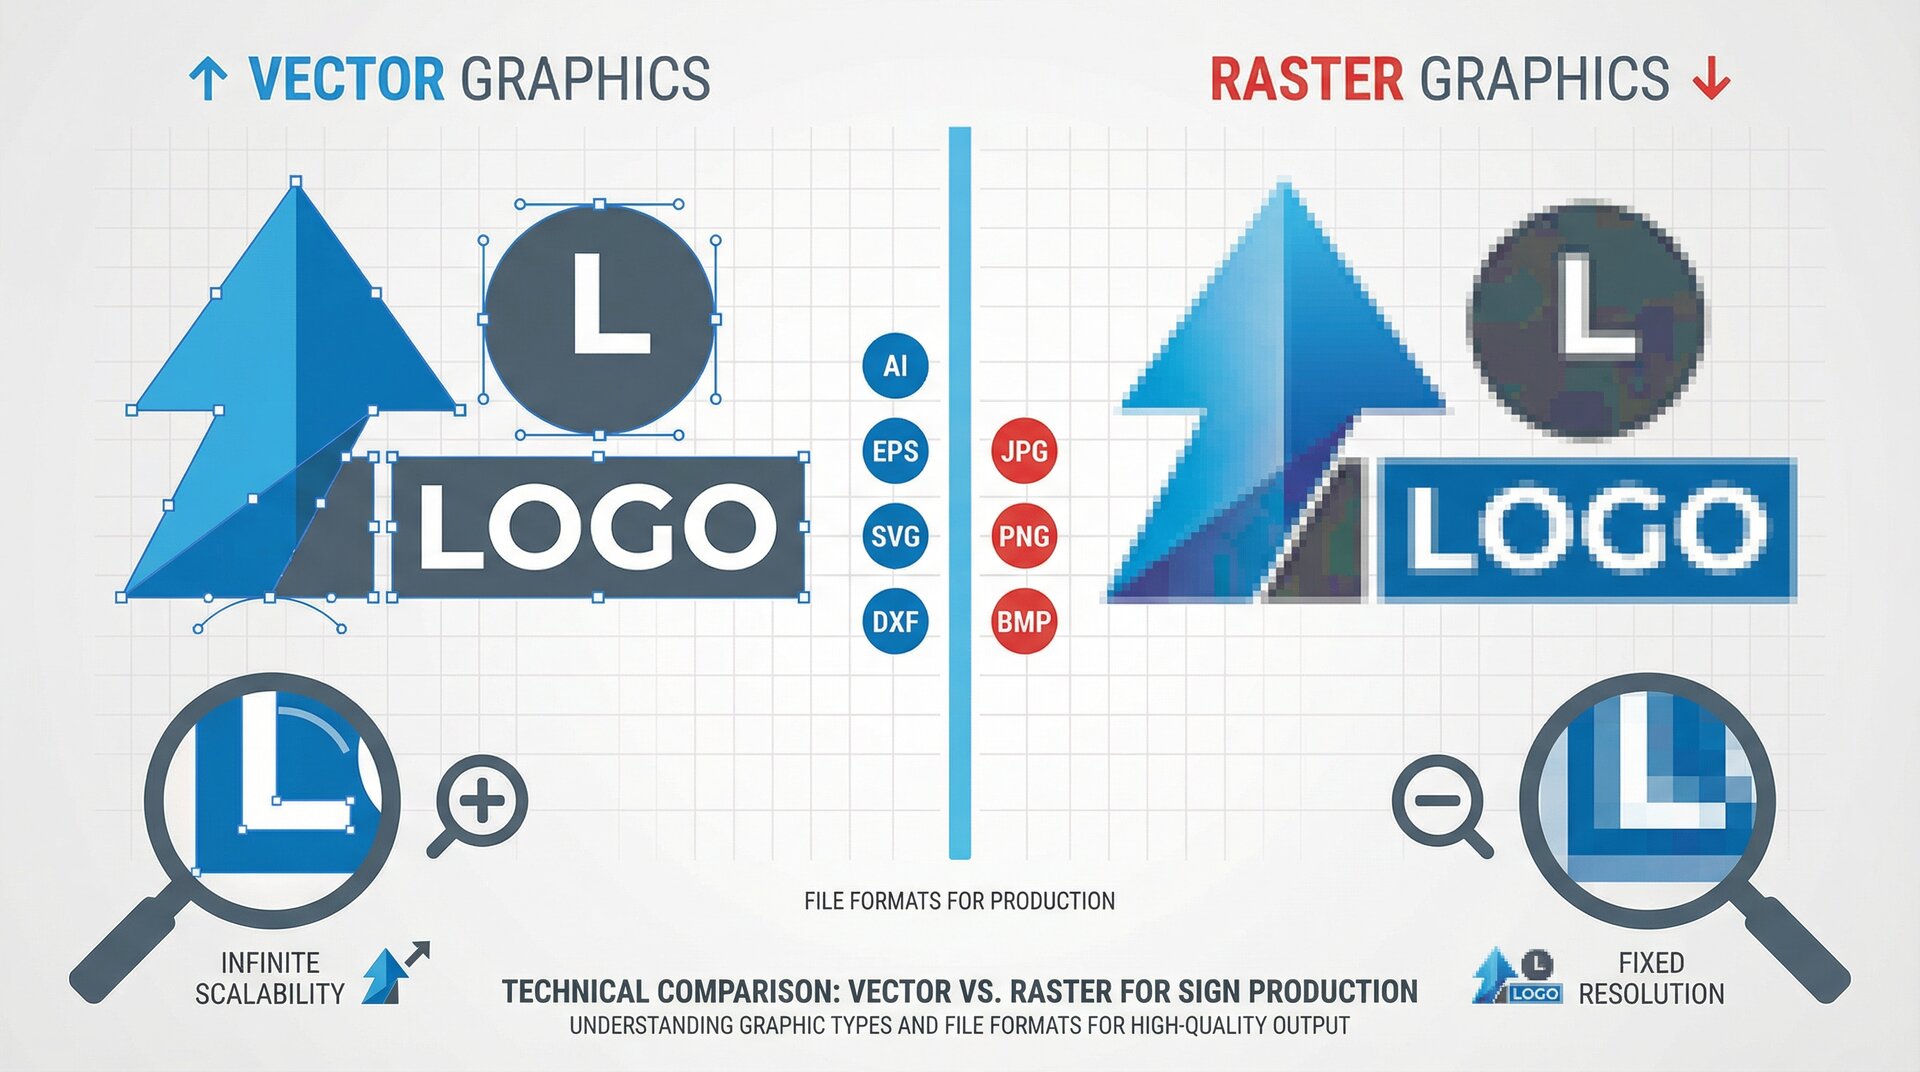
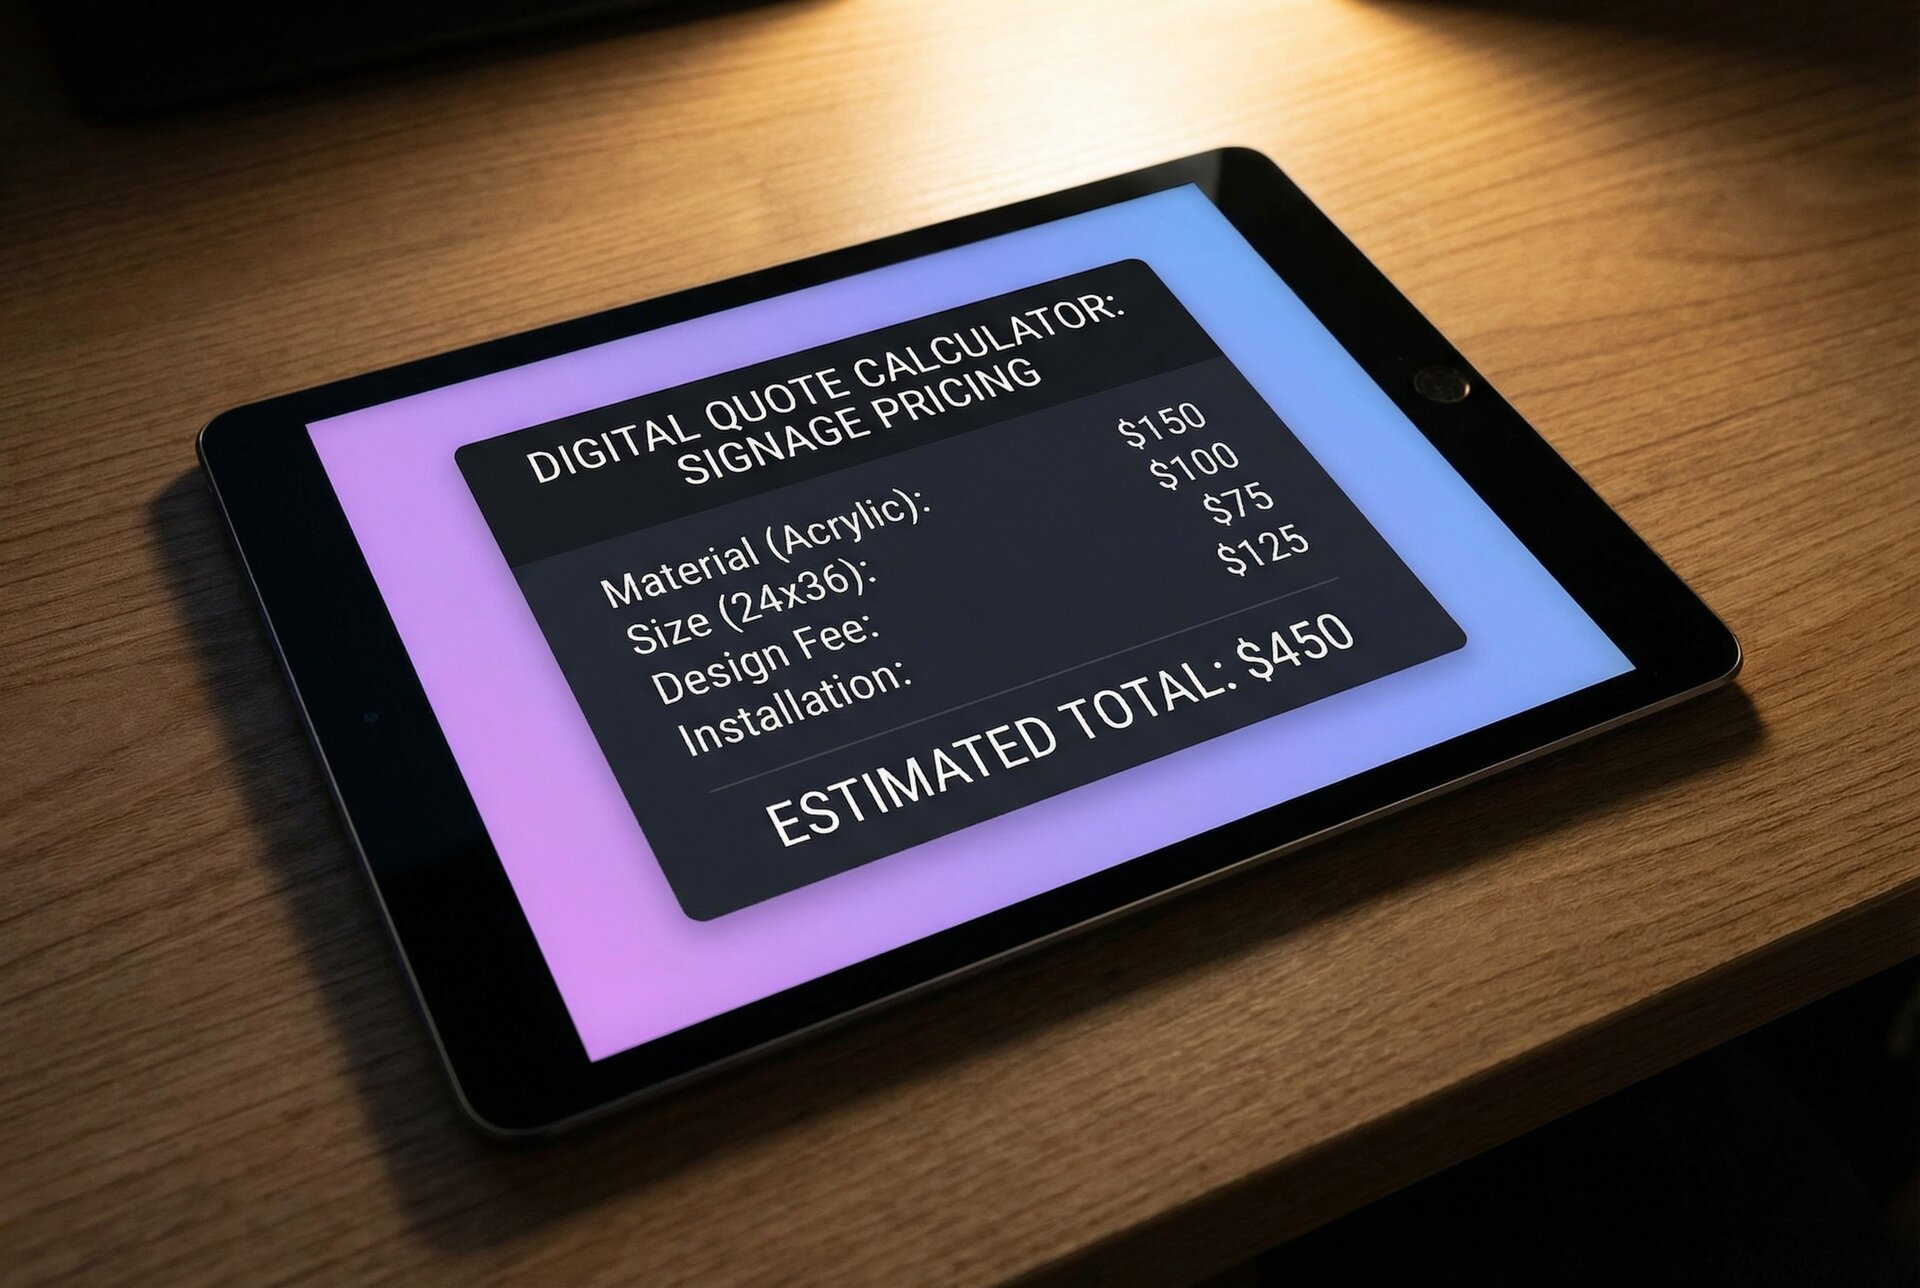
Standard product pages display fixed items. Add to cart. Checkout. Done. Custom signs break this pattern entirely. Every order is unique. Customers need real-time previews. Pricing depends on what they design. And your production team needs vector files, not just order details.
This guide covers integrating product customisation into headless architectures using Sign Customiser’s API-first approach. We’ll work through React, Vue, and Shopify Hydrogen implementations with actual code you can deploy.
What Headless Commerce Means for Sign Businesses
Traditional ecommerce platforms bundle everything together. Your storefront, checkout, admin panel, and product management all live in one system. Change one thing, you’re constrained by everything else.
Headless commerce separates concerns. The “head” (your storefront) connects to backend services through APIs. You build the frontend in React, Vue, Next.js, Nuxt, or whatever fits your team’s expertise. The commerce engine handles inventory, payments, and order processing behind the scenes.
For sign businesses, this matters for three reasons.
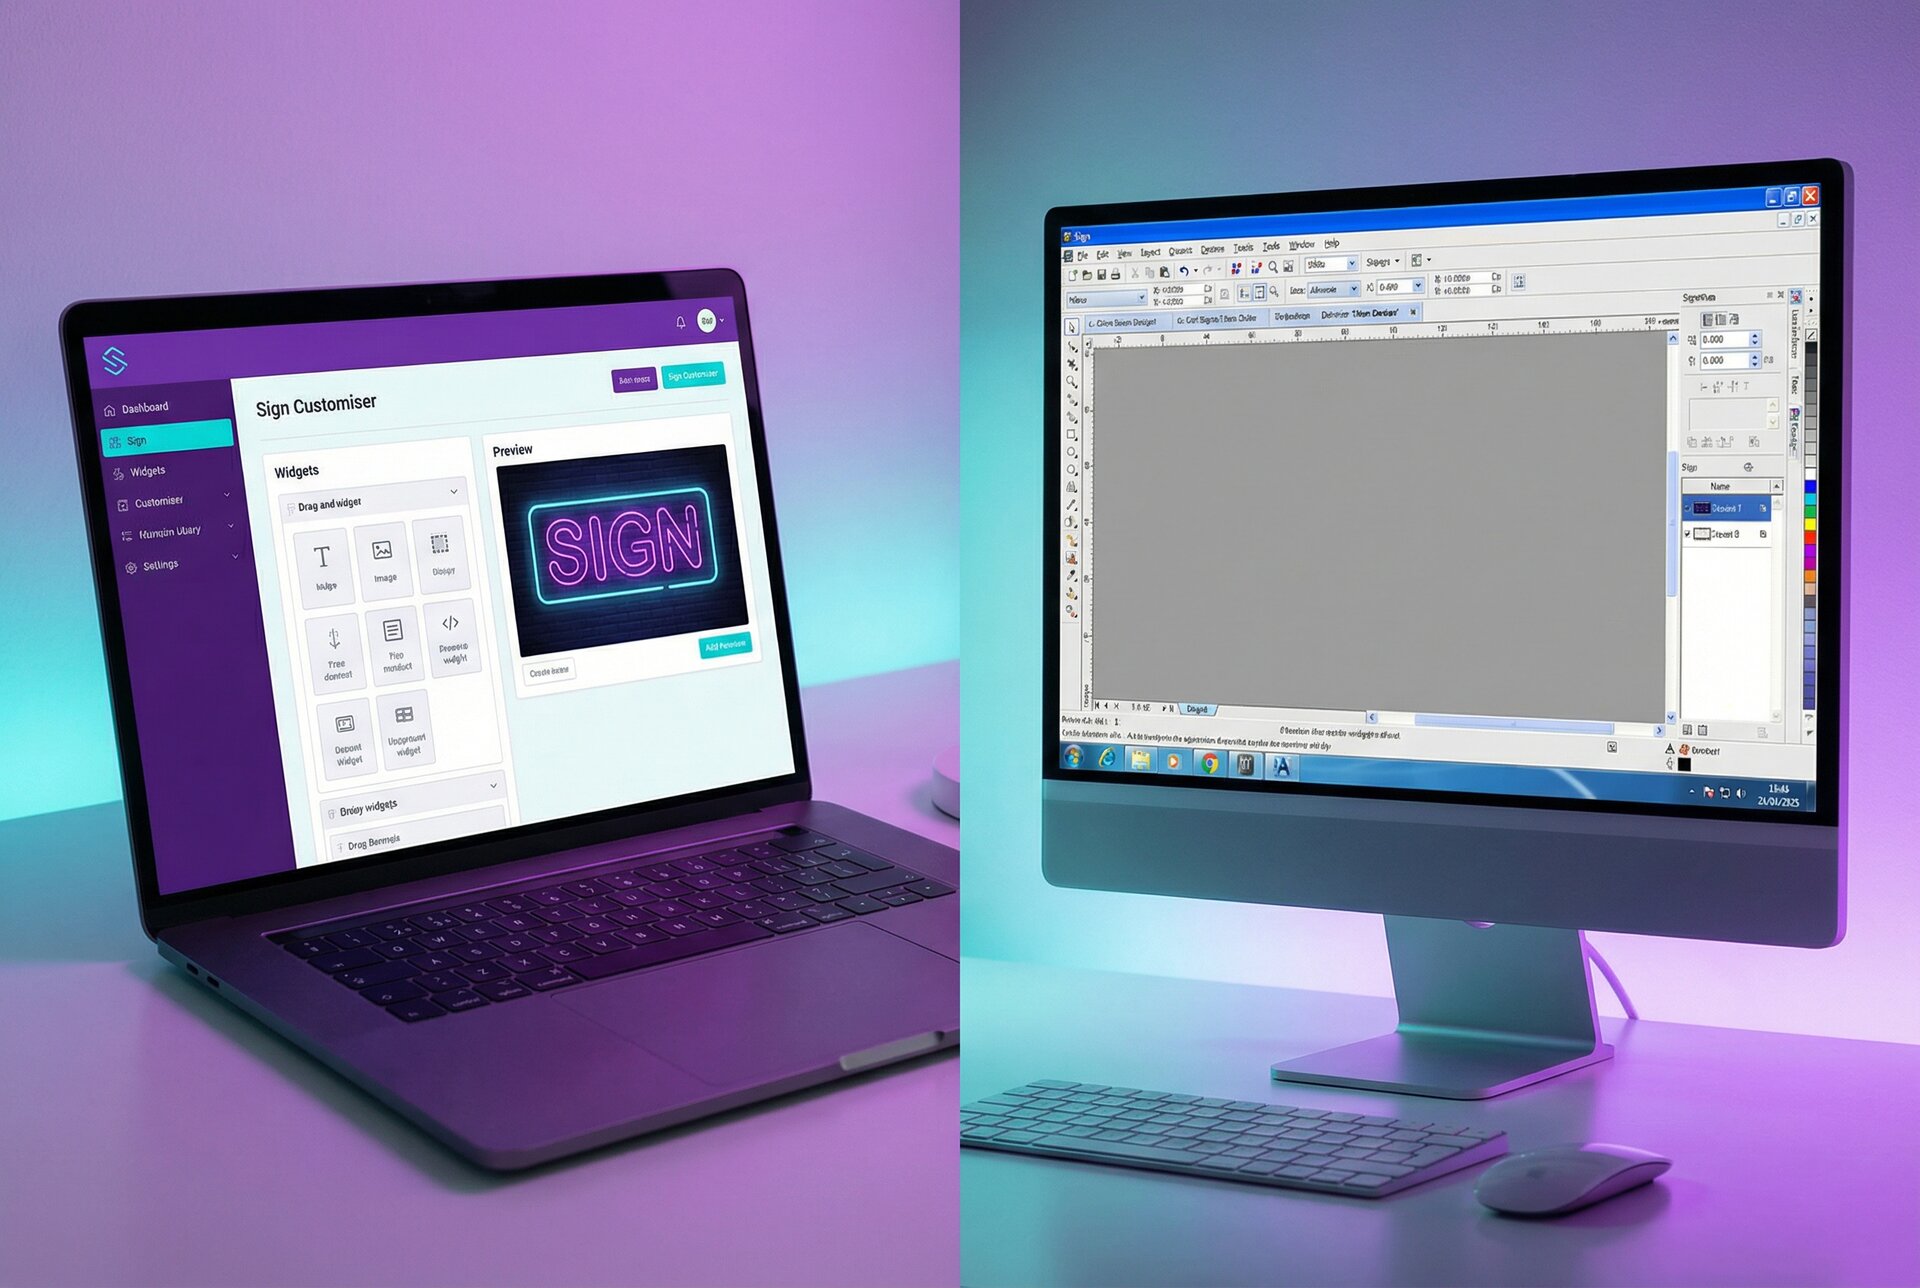
Custom experiences require custom frontends. When customers design signs, they need sophisticated interfaces: real-time previews, font selectors, colour pickers, size adjusters, dynamic pricing displays. Page builders and theme customisers can’t deliver this level of interactivity. A React or Vue application can.
Performance expectations have risen. Modern web standards expect sub-second interactions. Server-rendered pages with round-trips for every change feel slow. Client-side rendering with API calls delivers the responsiveness customers expect when designing their perfect sign.
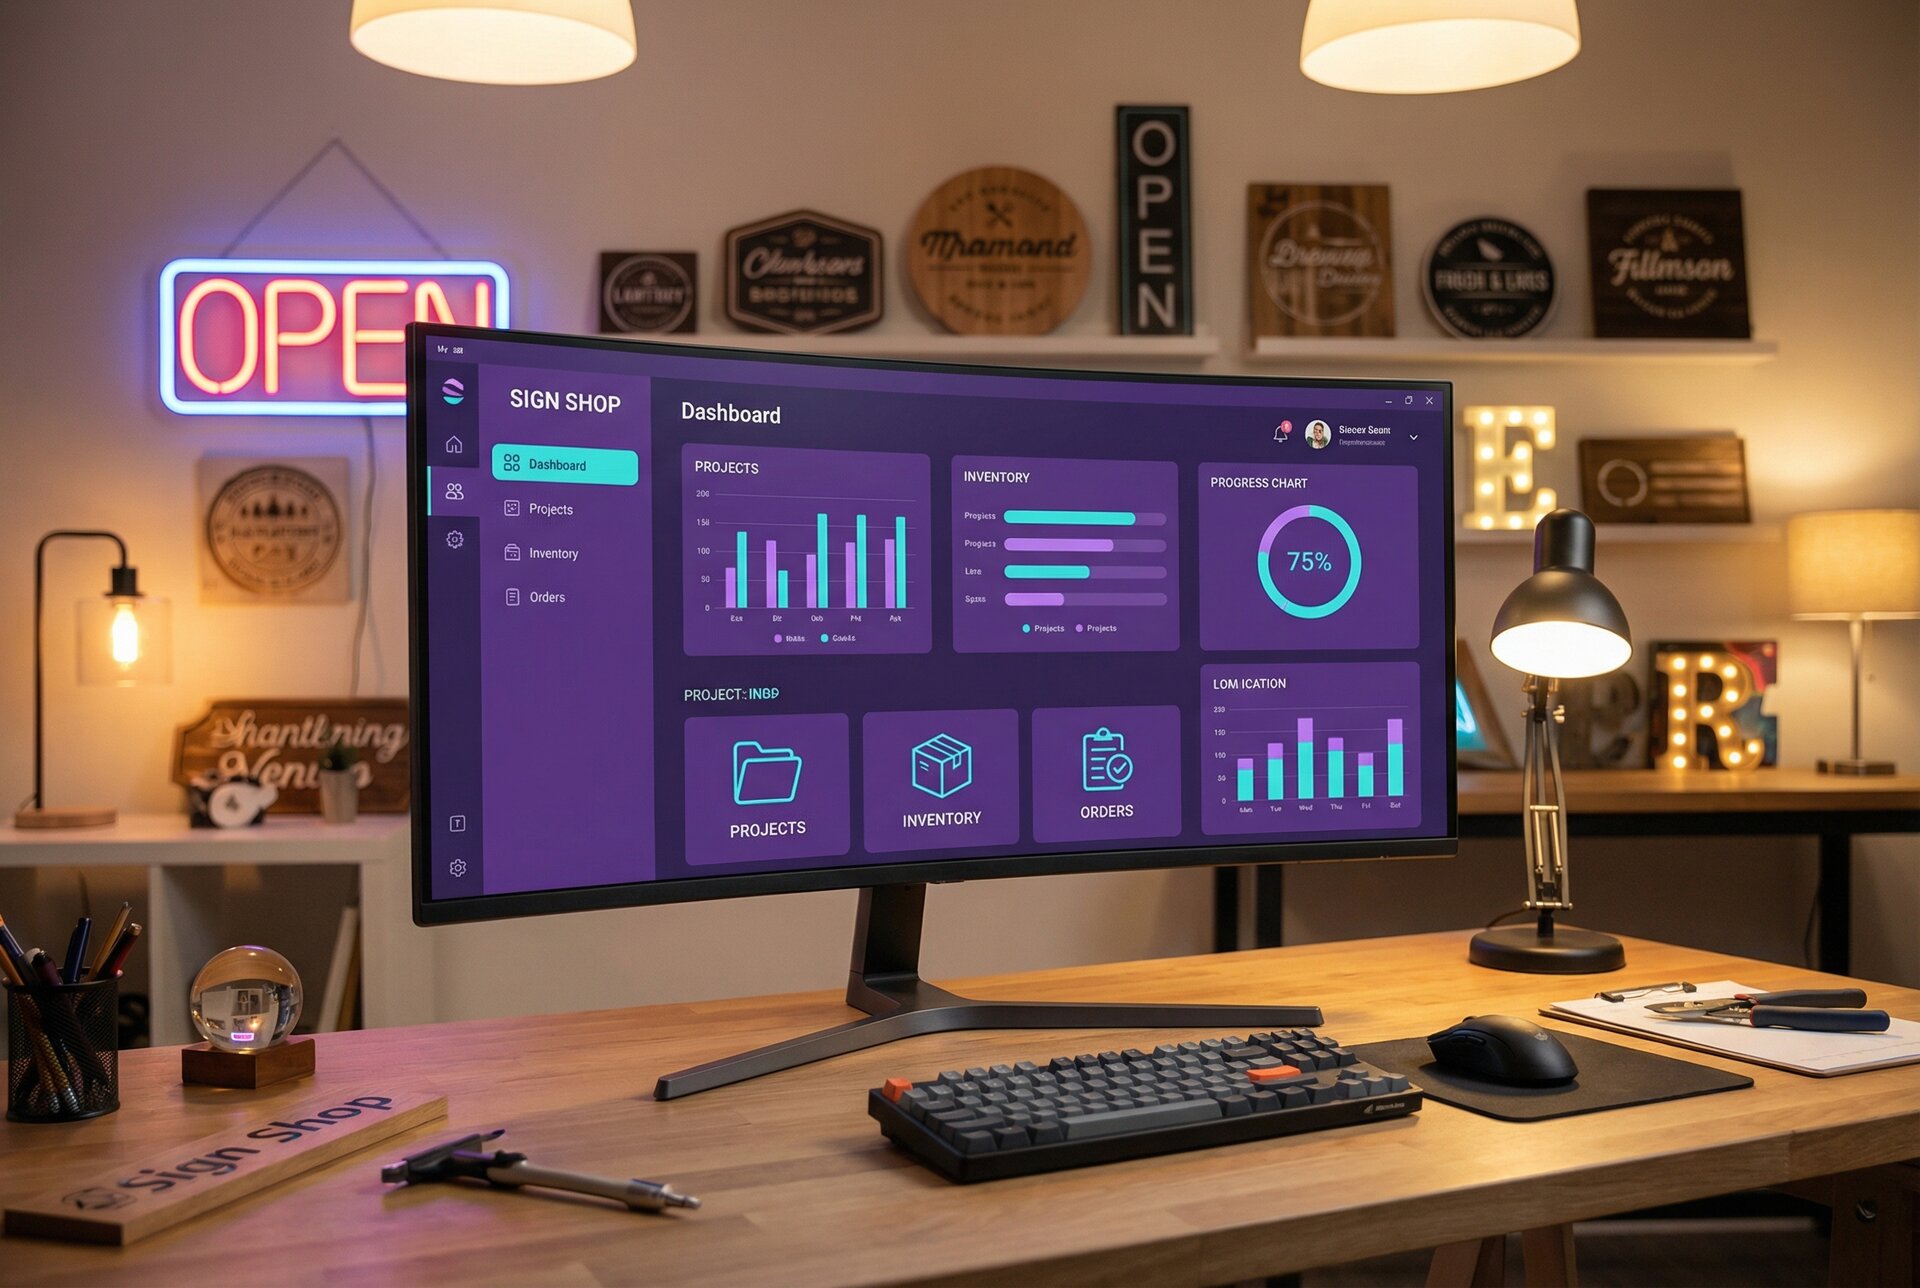
Multi-channel is the norm. Your custom sign configurator might appear on your website, in a mobile app, at trade show kiosks, or embedded in partner sites. With a headless approach, the same API powers every channel without rebuilding the integration each time.
Benefits of API-First Product Configuration
Sign Customiser operates as an embeddable service that communicates through iframe postMessage APIs. This architecture brings several advantages to headless implementations.
Complete Isolation
The customiser runs in an iframe, completely isolated from your application. Your React component library, CSS framework, and global styles don’t leak in. The customiser’s styles don’t leak out. No conflicts, no overrides, no debugging mysterious styling issues.
This isolation also solves SSR challenges. Many product configurators call browser APIs on load, causing hydration mismatches in Next.js or Nuxt applications. The iframe approach sidesteps this entirely. The customiser loads client-side in its own context.
Real-Time Data Exchange
The postMessage API provides two-way communication. When customers complete designs, your application receives detailed product data: dimensions, specifications, pricing breakdowns, preview images. You control what happens next, whether that’s adding to a custom cart, sending to an external checkout, or triggering a webhook to your backend.
You can also send messages to the customiser. Pre-populate designs based on URL parameters. Update settings dynamically. Control the loading state after cart operations complete.
Vendor Independence
Your frontend isn’t locked to any specific commerce platform. The Sign Customiser integration works identically whether your backend is Shopify, BigCommerce, Medusa, Saleor, a custom GraphQL API, or anything else that accepts product data. Switch backends without touching your frontend integration.
Sign Customiser JavaScript SDK Overview
The Sign Customiser integration centres on iframe embedding and postMessage communication. Here’s the core pattern.
Basic Embed Structure
<iframe
  src="https://web.signcustomiser.com/embed/YOUR_CUSTOMISER_ID"
  width="100%"
  height="600"
  frameborder="0"
  allow="clipboard-write"
  id="sign-customiser-iframe"
></iframe>
Replace YOUR_CUSTOMISER_ID with the ID from your Sign Customiser dashboard. You’ll find this in your customiser settings. See how to find your customiser ID for detailed instructions.
Event Listening
When customers click “Add to Cart” within the customiser, a message posts to your parent window.
window.addEventListener('message', (event) => {
  // Security: verify the message origin
  if (event.origin !== 'https://web.signcustomiser.com') return;

  if (event.data.type === 'sc:product:created') {
    const productData = event.data;

    // productData contains:
    // - product: the created product with variant details
    // - productFormatted: line item properties for cart
    // - shopify.cartAction: configured cart behaviour
    // - teamId or shop: organisation identifier

    handleAddToCart(productData);
  }
});
Sending Messages to the Customiser
After processing the product data, signal the customiser to hide its loading overlay.
const iframe = document.querySelector('#sign-customiser-iframe');
iframe.contentWindow.postMessage(
  { type: 'hideLoadingScreen' },
  'https://web.signcustomiser.com'
);
This two-way communication provides complete control over the user experience while keeping the customiser logic encapsulated.
React Integration Example
React applications, whether Create React App, Next.js, or Remix, follow the same pattern. Here’s a production-ready component.
// components/SignCustomiser.tsx
'use client';

import { useEffect, useRef, useCallback } from 'react';

interface ProductData {
  type: string;
  price: number;
  dimensions: {
    width: number;
    height: number;
  };
  specifications: {
    text: string;
    font: string;
    colour: string;
  };
  preview_url: string;
}

interface SignCustomiserProps {
  customiserId: string;
  onProductCreated: (data: ProductData) => void;
  height?: number;
}

export function SignCustomiser({
  customiserId,
  onProductCreated,
  height = 600
}: SignCustomiserProps) {
  const iframeRef = useRef<HTMLIFrameElement>(null);

  // Store callback in ref to maintain reference stability
  const callbackRef = useRef(onProductCreated);
  callbackRef.current = onProductCreated;

  const hideLoadingScreen = useCallback(() => {
    iframeRef.current?.contentWindow?.postMessage(
      { type: 'hideLoadingScreen' },
      'https://web.signcustomiser.com'
    );
  }, []);

  useEffect(() => {
    function handleMessage(event: MessageEvent) {
      // Security: always verify origin
      if (event.origin !== 'https://web.signcustomiser.com') return;

      if (event.data.type === 'sc:product:created') {
        // Call the handler
        callbackRef.current(event.data);

        // Signal completion to customiser
        hideLoadingScreen();
      }
    }

    window.addEventListener('message', handleMessage);
    return () => window.removeEventListener('message', handleMessage);
  }, [hideLoadingScreen]);

  return (
    <iframe
      ref={iframeRef}
      src={`https://web.signcustomiser.com/embed/${customiserId}`}
      width="100%"
      height={height}
      frameBorder="0"
      allow="clipboard-write"
      title="Sign Customiser"
    />
  );
}
Using the Component
// pages/products/custom-neon-sign.tsx
import { SignCustomiser } from '@/components/SignCustomiser';
import { useCart } from '@/hooks/useCart';

export default function CustomNeonSignPage() {
  const { addItem } = useCart();

  async function handleProductCreated(data) {
    // Transform Sign Customiser data to your cart format
    const cartItem = {
      name: `Custom Neon Sign: "${data.specifications.text}"`,
      price: data.price,
      quantity: 1,
      metadata: {
        dimensions: data.dimensions,
        specifications: data.specifications,
        preview_url: data.preview_url,
      },
    };

    await addItem(cartItem);

    // Optionally navigate to cart
    // router.push('/cart');
  }

  return (
    <main>
      <h1>Design Your Custom Neon Sign</h1>
      <SignCustomiser
        customiserId="your-customiser-id"
        onProductCreated={handleProductCreated}
      />
    </main>
  );
}
Next.js App Router Considerations
With the Next.js App Router, mark the component as a client component using 'use client' at the top. The iframe itself doesn’t need server-side rendering, and the postMessage listener must run in the browser.
// app/products/[slug]/page.tsx
import { SignCustomiser } from '@/components/SignCustomiser';
import { getProduct } from '@/lib/products';

export default async function ProductPage({ params }) {
  const product = await getProduct(params.slug);

  return (
    <div>
      <h1>{product.title}</h1>
      <SignCustomiser
        customiserId={product.customiserId}
        onProductCreated={(data) => {
          // Handle client-side
        }}
      />
    </div>
  );
}
Vue Integration Example
Vue applications follow a similar structure using the Composition API.
<!-- components/SignCustomiser.vue -->
<template>
  <iframe
    ref="iframeRef"
    :src="`https://web.signcustomiser.com/embed/${customiserId}`"
    width="100%"
    :height="height"
    frameborder="0"
    allow="clipboard-write"
    title="Sign Customiser"
  />
</template>

<script setup>
import { ref, onMounted, onUnmounted } from 'vue';

const props = defineProps({
  customiserId: {
    type: String,
    required: true
  },
  height: {
    type: Number,
    default: 600
  }
});

const emit = defineEmits(['productCreated']);
const iframeRef = ref(null);

function hideLoadingScreen() {
  iframeRef.value?.contentWindow?.postMessage(
    { type: 'hideLoadingScreen' },
    'https://web.signcustomiser.com'
  );
}

function handleMessage(event) {
  // Security: verify origin
  if (event.origin !== 'https://web.signcustomiser.com') return;

  if (event.data.type === 'sc:product:created') {
    emit('productCreated', event.data);
    hideLoadingScreen();
  }
}

onMounted(() => {
  window.addEventListener('message', handleMessage);
});

onUnmounted(() => {
  window.removeEventListener('message', handleMessage);
});
</script>
Using in a Vue Page
<!-- pages/products/custom-sign.vue -->
<template>
  <div>
    <h1>Design Your Custom Sign</h1>
    <SignCustomiser
      :customiser-id="customiserId"
      @product-created="handleProductCreated"
    />
  </div>
</template>

<script setup>
import { useCartStore } from '@/stores/cart';
import SignCustomiser from '@/components/SignCustomiser.vue';

const customiserId = 'your-customiser-id';
const cartStore = useCartStore();

function handleProductCreated(data) {
  cartStore.addItem({
    name: `Custom Sign: "${data.specifications.text}"`,
    price: data.price,
    quantity: 1,
    metadata: data,
  });
}
</script>
Nuxt 3 Integration
For Nuxt 3 applications, the component works identically. You might wrap it in a <ClientOnly> component if you encounter hydration issues, though the iframe approach typically avoids these.
<!-- pages/products/[slug].vue -->
<template>
  <div>
    <h1>{{ product.title }}</h1>
    <ClientOnly>
      <SignCustomiser
        :customiser-id="product.customiserId"
        @product-created="handleProductCreated"
      />
    </ClientOnly>
  </div>
</template>
Shopify Hydrogen Integration
Shopify Hydrogen is Shopify’s React framework for headless storefronts. While Sign Customiser has a native Shopify app for traditional Shopify themes, Hydrogen deployments require the headless integration approach.
// app/routes/products.$handle.tsx
import { json } from '@shopify/remix-oxygen';
import { useLoaderData } from '@remix-run/react';
import { useEffect, useRef } from 'react';
import { CartForm } from '@shopify/hydrogen';

export async function loader({ params, context }) {
  const { product } = await context.storefront.query(PRODUCT_QUERY, {
    variables: { handle: params.handle },
  });

  // Get customiser ID from product metafield or config
  const customiserId = product.metafield?.value || 'default-customiser-id';

  return json({ product, customiserId });
}

export default function Product() {
  const { product, customiserId } = useLoaderData();
  const iframeRef = useRef<HTMLIFrameElement>(null);

  useEffect(() => {
    function handleMessage(event: MessageEvent) {
      if (event.origin !== 'https://web.signcustomiser.com') return;

      if (event.data.type === 'sc:product:created') {
        // Hydrogen cart integration happens here
        // You'll dispatch to the cart action
        console.log('Product created:', event.data);

        iframeRef.current?.contentWindow?.postMessage(
          { type: 'hideLoadingScreen' },
          'https://web.signcustomiser.com'
        );
      }
    }

    window.addEventListener('message', handleMessage);
    return () => window.removeEventListener('message', handleMessage);
  }, []);

  return (
    <div className="product-page">
      <h1>{product.title}</h1>
      <p>{product.description}</p>

      <iframe
        ref={iframeRef}
        src={`https://web.signcustomiser.com/embed/${customiserId}`}
        width="100%"
        height="600"
        frameBorder="0"
        allow="clipboard-write"
        title="Sign Customiser"
      />
    </div>
  );
}

const PRODUCT_QUERY = `#graphql
  query Product($handle: String!) {
    product(handle: $handle) {
      id
      title
      description
      metafield(namespace: "sign_customiser", key: "customiser_id") {
        value
      }
    }
  }
`;
Hydrogen Cart Integration
Hydrogen uses a specific pattern for cart operations. To add the customised sign to the Hydrogen cart, you’ll use the Cart Form pattern.
// Custom hook for Sign Customiser cart integration
import { useFetcher } from '@remix-run/react';

export function useSignCustomiserCart() {
  const fetcher = useFetcher();

  function addToCart(productData) {
    fetcher.submit(
      {
        action: 'CustomLineItemAdd',
        title: `Custom Sign: "${productData.specifications.text}"`,
        price: productData.price,
        attributes: JSON.stringify({
          dimensions: productData.dimensions,
          preview_url: productData.preview_url,
          ...productData.specifications,
        }),
      },
      { method: 'POST', action: '/cart' }
    );
  }

  return { addToCart, isLoading: fetcher.state !== 'idle' };
}
For the native Shopify experience without custom cart handling, consider using the standard Shopify integration instead.
PostMessage API for Iframe Communication
The postMessage API is the communication backbone between your application and Sign Customiser. Understanding its security model and capabilities helps build robust integrations.
Security Considerations
Always verify the message origin before processing events.
window.addEventListener('message', (event) => {
  // Critical: verify origin
  if (event.origin !== 'https://web.signcustomiser.com') {
    return; // Ignore messages from unknown sources
  }

  // Safe to process
  handleCustomiserMessage(event.data);
});
This prevents malicious sites from spoofing customiser events if your page were ever embedded elsewhere.
Available Events
The customiser emits several event types.
sc:product:created: The primary event. Fires when customers complete their design and click “Add to Cart”. Contains complete product data.
{
  type: 'sc:product:created',
  product: {
    id: 'product-uuid',
    external_data: { variant_id: '12345678' }
  },
  productFormatted: {
    // Line item properties for cart display
    'Sign Text': 'Welcome',
    'Font': 'Neon Script',
    'Colour': 'Warm White',
    'Size': '60cm x 30cm'
  },
  shopify: {
    cartAction: 'CART' // or 'CHECKOUT' or 'CUSTOM'
  },
  teamId: 'team-id', // or shop for Shopify
  shop: 'your-shop.myshopify.com'
}
addToCartFailed: Fires when the parent frame signals a cart operation failure. The customiser listens for this to update its UI state.
Messages You Can Send
Your application can send messages to control the customiser.
hideLoadingScreen: Signals that cart processing is complete.
iframe.contentWindow.postMessage(
  { type: 'hideLoadingScreen' },
  'https://web.signcustomiser.com'
);
setDesign: Pre-populate the customiser with specific values.
iframe.contentWindow.postMessage(
  {
    type: 'setDesign',
    text: 'Welcome Home',
    font: 'Classic Neon'
  },
  'https://web.signcustomiser.com'
);
Order Data Handling
When integrating with your backend, you need to sync order data with Sign Customiser for production file access and order tracking.
Product Sync API
After receiving the sc:product:created event, sync the product with your backend and Sign Customiser.
async function syncProduct(productData) {
  // 1. Save to your database
  const savedProduct = await yourApi.createProduct({
    name: productData.specifications.text,
    price: productData.price,
    metadata: productData,
  });

  // 2. Sync with Sign Customiser API
  await fetch(`https://web.signcustomiser.com/api/customisers/${customiserId}/products`, {
    method: 'POST',
    headers: {
      'Authorization': `Bearer ${process.env.SIGN_CUSTOMISER_API_TOKEN}`,
      'Content-Type': 'application/json',
    },
    body: JSON.stringify({
      product_id: savedProduct.id,
      cart: productData.cart,
      price_breakdown: productData.price_breakdown,
    }),
  });

  return savedProduct;
}
Order Submission
When an order is placed through your checkout, notify Sign Customiser.
async function submitOrder(orderId, orderNumber, products) {
  await fetch('https://web.signcustomiser.com/api/orders', {
    method: 'POST',
    headers: {
      'Authorization': `Bearer ${process.env.SIGN_CUSTOMISER_API_TOKEN}`,
      'Content-Type': 'application/json',
      'X-API-Client': 'generic',
    },
    body: JSON.stringify({
      order_id: orderId,
      order_number: orderNumber,
      products: products.map(p => ({ id: p.signCustomiserProductId })),
    }),
  });
}
This sync ensures your production team can access design files and specifications through the Sign Customiser dashboard, regardless of which frontend or checkout system processed the order.
For complete API documentation, see the Custom API Integration guide.
Performance Optimisation
Headless commerce is partly about performance. Here’s how to keep your Sign Customiser integration fast.
Lazy Loading the Iframe
Don’t load the customiser until customers need it, especially on pages with multiple products.
// React example with lazy loading
import { useState } from 'react';

export function LazySignCustomiser({ customiserId }) {
  const [isLoaded, setIsLoaded] = useState(false);

  if (!isLoaded) {
    return (
      <button
        onClick={() => setIsLoaded(true)}
        className="btn-primary"
      >
        Start Designing
      </button>
    );
  }

  return (
    <SignCustomiser
      customiserId={customiserId}
      onProductCreated={handleProductCreated}
    />
  );
}
Intersection Observer Loading
Load the customiser when it scrolls into view.
import { useEffect, useRef, useState } from 'react';

export function ViewportSignCustomiser({ customiserId }) {
  const containerRef = useRef(null);
  const [isVisible, setIsVisible] = useState(false);

  useEffect(() => {
    const observer = new IntersectionObserver(
      ([entry]) => {
        if (entry.isIntersecting) {
          setIsVisible(true);
          observer.disconnect();
        }
      },
      { rootMargin: '100px' }
    );

    if (containerRef.current) {
      observer.observe(containerRef.current);
    }

    return () => observer.disconnect();
  }, []);

  return (
    <div ref={containerRef} style={{ minHeight: 600 }}>
      {isVisible && (
        <SignCustomiser
          customiserId={customiserId}
          onProductCreated={handleProductCreated}
        />
      )}
    </div>
  );
}
Preconnect Hints
Add preconnect hints for faster iframe loading.
<link rel="preconnect" href="https://web.signcustomiser.com" />
<link rel="dns-prefetch" href="https://web.signcustomiser.com" />
In Next.js, add these to your app/layout.tsx or _document.tsx.
Enterprise Headless Implementation: A Case Study
A wholesale sign distributor approached us with a complex requirement. They needed custom sign configuration available to their B2B customers through a partner portal, their direct-to-consumer website, and sales rep mobile apps. Three channels, one product configurator, zero code duplication.
The Architecture
Their setup used:
- Frontend: Next.js application deployed on Vercel
- Commerce API: Custom GraphQL API running on AWS
- Authentication: Auth0 for B2B portal access
- Mobile: React Native app sharing components with web
The Sign Customiser integration was identical across all three channels. The iframe embed worked in the browser, in the React Native WebView, and on mobile web. The postMessage API handled communication consistently regardless of context.
B2B Pricing Customisation
Their B2B customers had negotiated pricing tiers. The implementation passed pricing multipliers to the customiser through URL parameters.
function B2BSignCustomiser({ customiserId, customerTier }) {
  const pricingMultiplier = getPricingMultiplier(customerTier);

  return (
    <iframe
      src={`https://web.signcustomiser.com/embed/${customiserId}?price_multiplier=${pricingMultiplier}`}
      width="100%"
      height="600"
      frameBorder="0"
    />
  );
}
Order Routing
When orders came through, webhooks routed them to different fulfilment paths based on order source.
// Webhook handler
export async function handleSignCustomiserWebhook(request) {
  const order = await request.json();

  if (order.source === 'b2b_portal') {
    await routeToWholesaleFulfilment(order);
  } else if (order.source === 'mobile_app') {
    await routeWithMobileNotifications(order);
  } else {
    await routeToStandardFulfilment(order);
  }
}
Results
The distributor launched all three channels in six weeks. The shared codebase meant bug fixes and improvements deployed everywhere simultaneously. When they added a new sign type to their Sign Customiser configuration, it appeared across all channels without any frontend changes.
Getting Started with Headless Sign Customisation
Ready to add product customisation to your headless storefront? Here’s the path forward.
Step 1: Create Your Sign Customiser Account
Register at web.signcustomiser.com/register. The free tier gives you full access to test the integration.
Step 2: Configure Your Customiser
Create a customiser matching your product offering. Choose sign types, configure pricing models, add fonts and colours. This configuration drives the customer experience.
Step 3: Implement the Frontend Integration
Use the React, Vue, or vanilla JavaScript examples from this guide. Start simple with the basic iframe embed, then add the postMessage handling for cart integration.
Step 4: Connect Your Backend
Implement the product sync and order submission APIs to ensure production files and specifications flow through to your fulfilment team.
Step 5: Test the Full Flow
Run through the complete customer journey: design a sign, add to cart, complete checkout, verify order data reaches Sign Customiser for production file access.
Additional Resources
For platform-specific guidance, explore these related resources:
- Shopify Sign Customiser Setup Guide - Native Shopify theme integration
- WooCommerce Custom Sign Builder Tutorial - WordPress and WooCommerce setup
- Ecommerce Platform Comparison for Sign Businesses - Choosing the right platform
- Real-Time Automation with Webhook Subscriptions - Order automation
- Enterprise Workflow Integration - API integration details
The headless approach gives you freedom. Build the exact experience your customers need, using the technologies your team knows best. Sign Customiser’s API-first architecture meets you wherever you’re building.
Explore the features that make Sign Customiser the choice for custom sign businesses, or check our pricing to find the plan that fits your operation. Questions about headless integration? Contact [email protected].