
Selling custom signs online sounds straightforward until you try to do it. Standard Shopify product pages work brilliantly for fixed products, but custom signs are different. Every order is unique. Customers want to see exactly what they’re getting before they buy. And your pricing needs to adjust based on size, materials, and complexity.
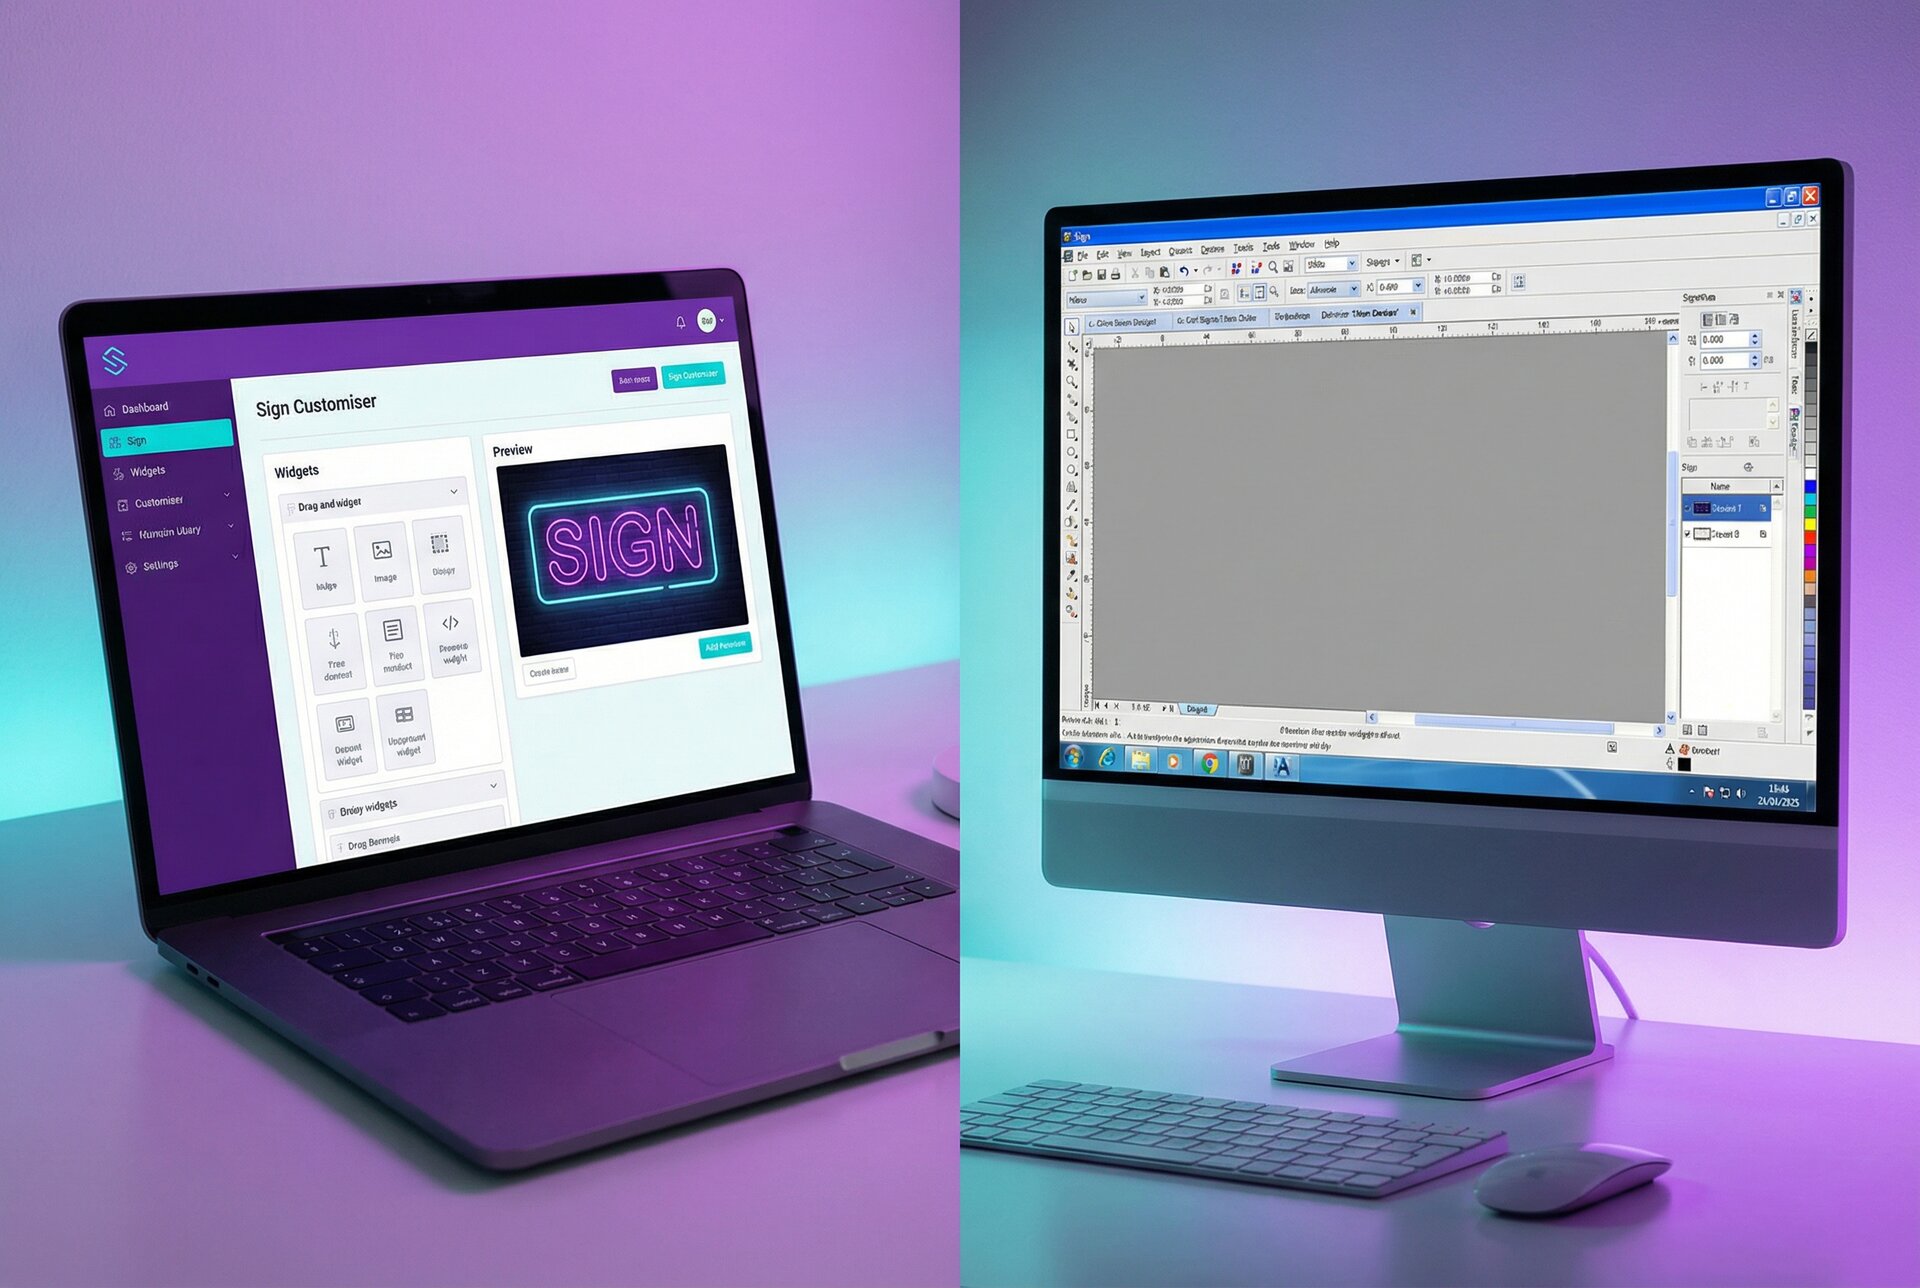
That’s the gap a Shopify product customiser fills. It transforms your product pages from static catalogues into interactive design tools where customers create, preview, and price their custom signs in real time.
This guide walks you through setting up Sign Customiser on your Shopify store from scratch. We’ll cover installation, product configuration, pricing models, order management, and the issues you’ll likely encounter along the way.
Why Custom Signs Need Product Personalisation on Shopify
Standard e-commerce works on a simple premise: you list a product, customers buy it, you ship it. Custom signs break this model in three ways.
Every order is unique. A customer ordering “Happy Birthday Sarah” in pink neon needs different pricing and production specs than someone ordering “Open 24 Hours” in blue LED. You can’t pre-list every possible combination.
Customers need visual confirmation. Buying a custom product sight unseen feels risky. When someone’s spending hundreds on a wedding sign, they want to see exactly how their text looks in their chosen font and colour before committing.
Pricing depends on the design. A 10-character sign costs less than a 50-character sign. A complex script font uses more material than a simple sans-serif. Your Shopify customisation needs to calculate prices dynamically based on what customers actually design.
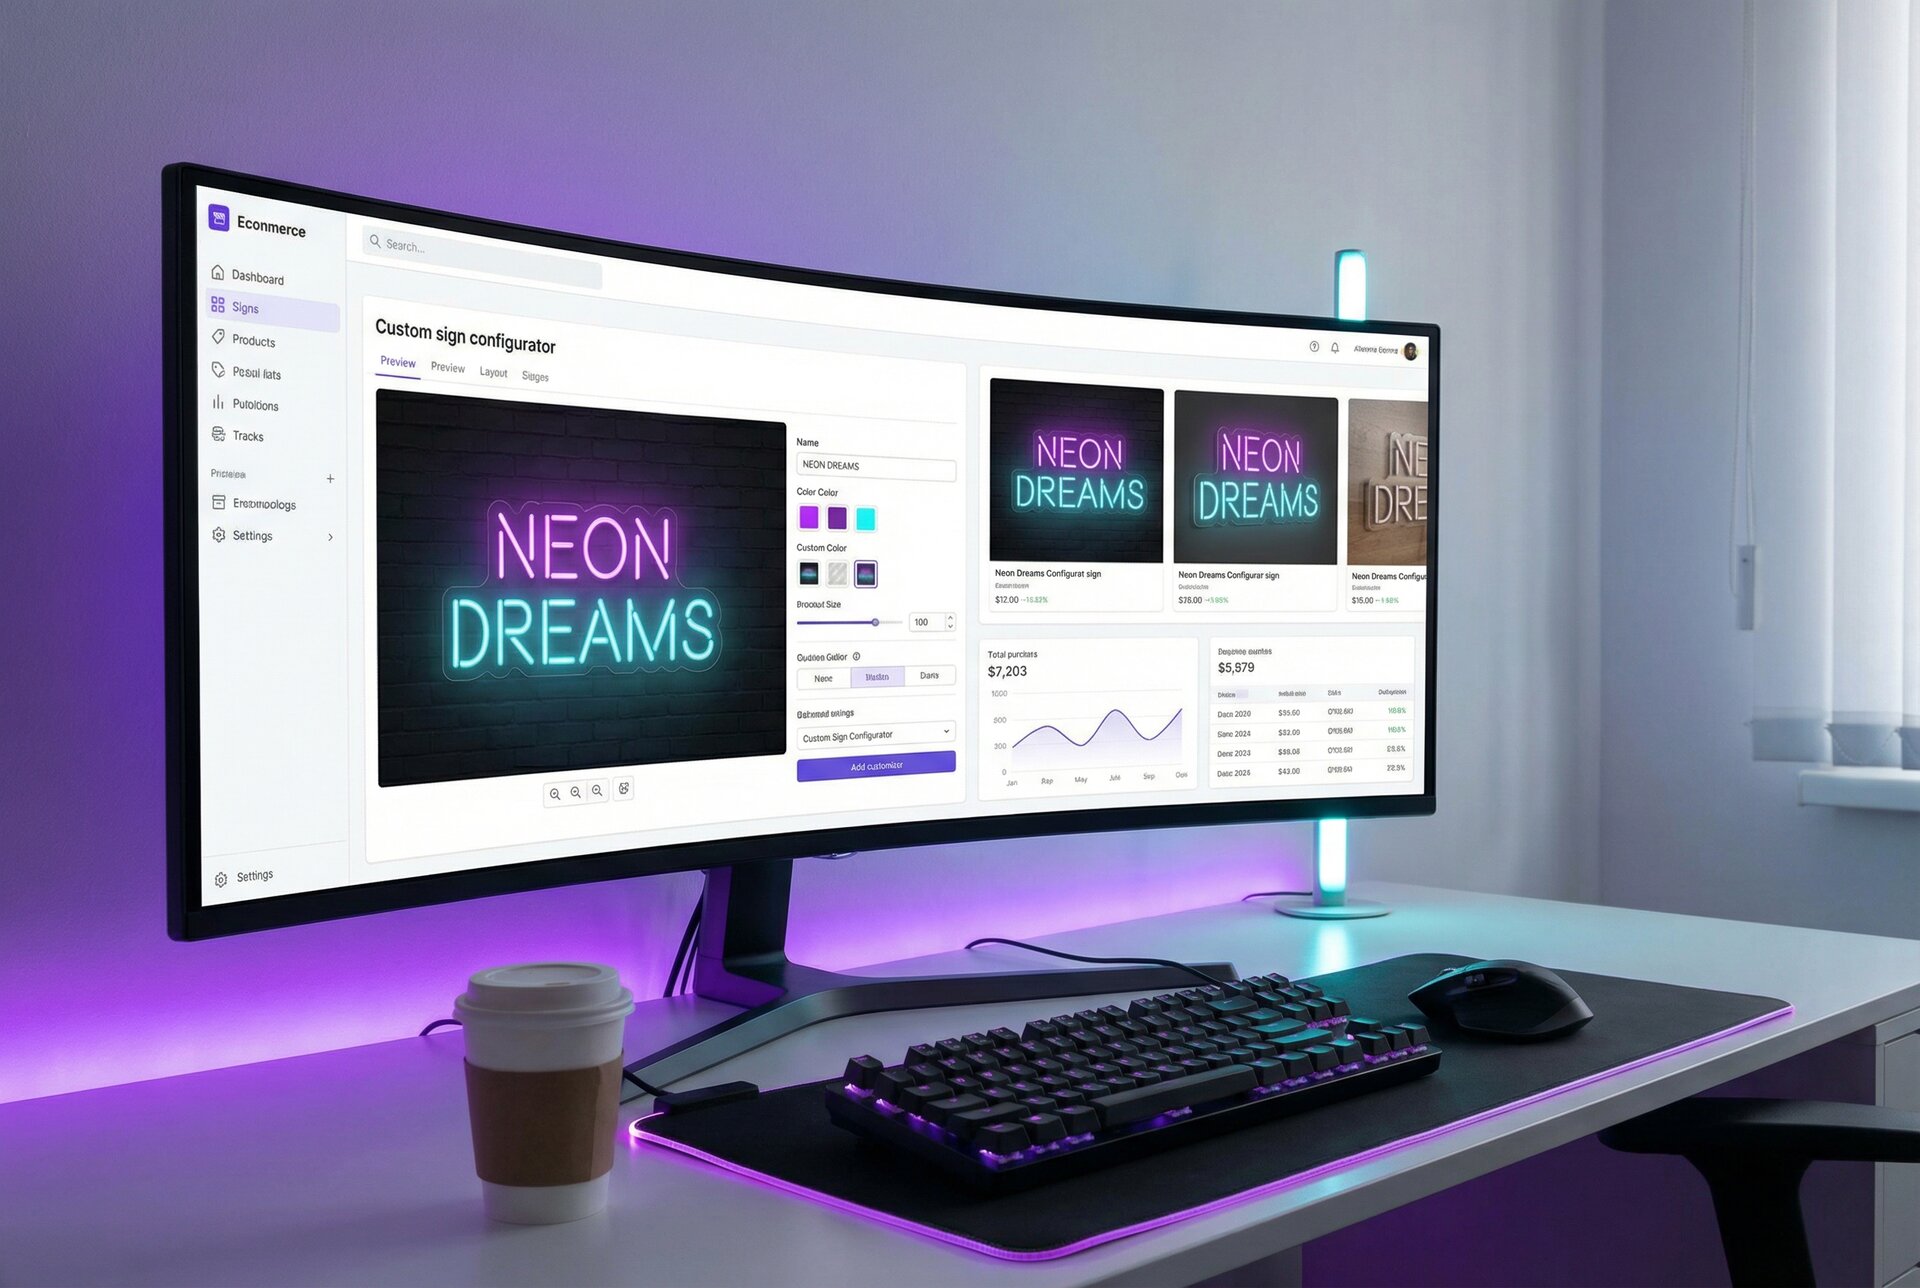
A custom product builder for Shopify solves these problems by letting customers design their sign on your site, see a realistic preview, get instant pricing, and add the configured product directly to their cart.
Prerequisites Checklist
Before installing Sign Customiser, make sure you have these sorted:
Shopify plan requirements:
- Any paid Shopify plan works (Basic, Shopify, Advanced, or Plus)
- Development stores work for testing
- You need admin access to install apps
Theme compatibility:
- Online Store 2.0 themes (most themes since 2021) work with app blocks
- Vintage themes require manual code installation
- Check your theme’s documentation or contact your theme developer if unsure
What you’ll need ready:
- High-quality font files (TTF or OTF) for your sign styles
- Product images showing your sign types
- Your pricing structure figured out (more on this later)
- Realistic turnaround times for customer expectations
Decisions to make beforehand:
- Will the customiser appear on product pages, dedicated pages, or both?
- Which sign types will you offer? (neon, metal letters, acrylic, lightbox)
- What customisation options do customers need? (fonts, colours, sizes, backboards)
Step-by-Step Installation from the Shopify App Store
Installing Sign Customiser takes about five minutes. Here’s the process:
Step 1: Add the App to Your Store
- Visit the Sign Customiser app page on the Shopify App Store
- Click “Add app”
- Review the permissions and click “Install app”
- You’ll land in the Sign Customiser admin dashboard within Shopify
Step 2: Create Your First Customiser
- Click “Get Started” on the welcome screen
- Choose your sign type (neon signs, metal letters, acrylic letters, or lightbox signs)
- The system creates a customiser with sensible defaults for that sign type
- Note your customiser ID, you’ll need this for embedding
Step 3: Embed on Your Storefront
For Online Store 2.0 themes (app block method):
- Go to Online Store > Themes > Customise
- Navigate to the product template or page where you want the customiser
- Click “Add block” and find Sign Customiser
- Enter your customiser ID
- Save your changes
For vintage themes or custom sections:
- Go to Online Store > Themes > Actions > Edit code
- Find your product template file
- Add the Sign Customiser embed code with your customiser ID
- Save and preview
The customiser should now appear on your chosen page. Test it by typing some text and checking the preview updates.
Theme Compatibility and Troubleshooting
Most modern Shopify themes work with Sign Customiser without issues. When problems occur, they usually fall into these categories:
The Customiser Doesn’t Appear
Check the customiser ID. The most common issue is a mistyped or missing customiser ID in the embed code. Copy it directly from your Sign Customiser dashboard rather than typing it manually.
Verify you’re on the right template. In Online Store 2.0, different products can use different templates. Make sure the customiser block is added to the template your product actually uses.
Check for JavaScript conflicts. Some themes or apps add scripts that interfere with the customiser. Test with other apps temporarily disabled. If that fixes it, you’ve found a conflict to resolve.
Layout Issues
Container width problems. The customiser needs adequate width to display properly. If it appears cramped, check your theme’s section settings for width controls.
Mobile responsiveness. The customiser adapts to mobile screens automatically, but some themes add padding or margins that cause display issues. Test thoroughly on mobile devices.
Z-index conflicts. Occasionally, the customiser preview appears behind other page elements. This requires CSS adjustments to your theme’s z-index values.
Theme-Specific Notes
Dawn and derivative themes: Work excellently with app blocks. No modifications needed.
Debut and older themes: May require the manual code installation method. Contact support if the app block option doesn’t appear.
Custom or heavily modified themes: May need CSS adjustments for optimal display. The customiser is designed to inherit most theme styles automatically.
Product Configuration Walkthrough
Once installed, you’ll configure your customiser to match your products and business. Here’s what each section does:
Basic Settings
Customiser name: Internal reference only. Customers don’t see this. Use something descriptive like “Neon Wedding Signs” or “Metal Business Letters”.
Sign type: Determines the visual style of the preview. Choose the one that matches your actual products.
Default text: What appears in the preview when customers first load the page. Something inviting like “Your text here” works well.
Font Configuration
Fonts are central to your customiser. You have two options:
Google Fonts: Quick to set up. Browse the Google Fonts library, find fonts that work for signs, and add them. Good for getting started.
Custom fonts: Upload your own TTF or OTF files. Essential if you have proprietary fonts, hand-lettered styles, or fonts specifically designed for sign production.
For each font, you’ll set:
- Display name (what customers see)
- Pricing tier (affects calculations, covered later)
- Whether it’s available for selection or just for internal use
Colour Options
Add the colours you offer. For each:
- Colour name (e.g., “Warm White”, “Cool White”, “Hot Pink”)
- Hex code for preview display
- Whether it’s a premium option with additional cost
Size Configuration
Sizes work differently depending on your pricing model. At minimum, define:
- Available size options or ranges
- Minimum and maximum dimensions
- Default size
Backboard and Mounting Options
If you offer different backboard materials, shapes, or mounting options:
- Add each option with pricing if applicable
- Set which options are compatible with which sign types
- Configure any upsells or bundles
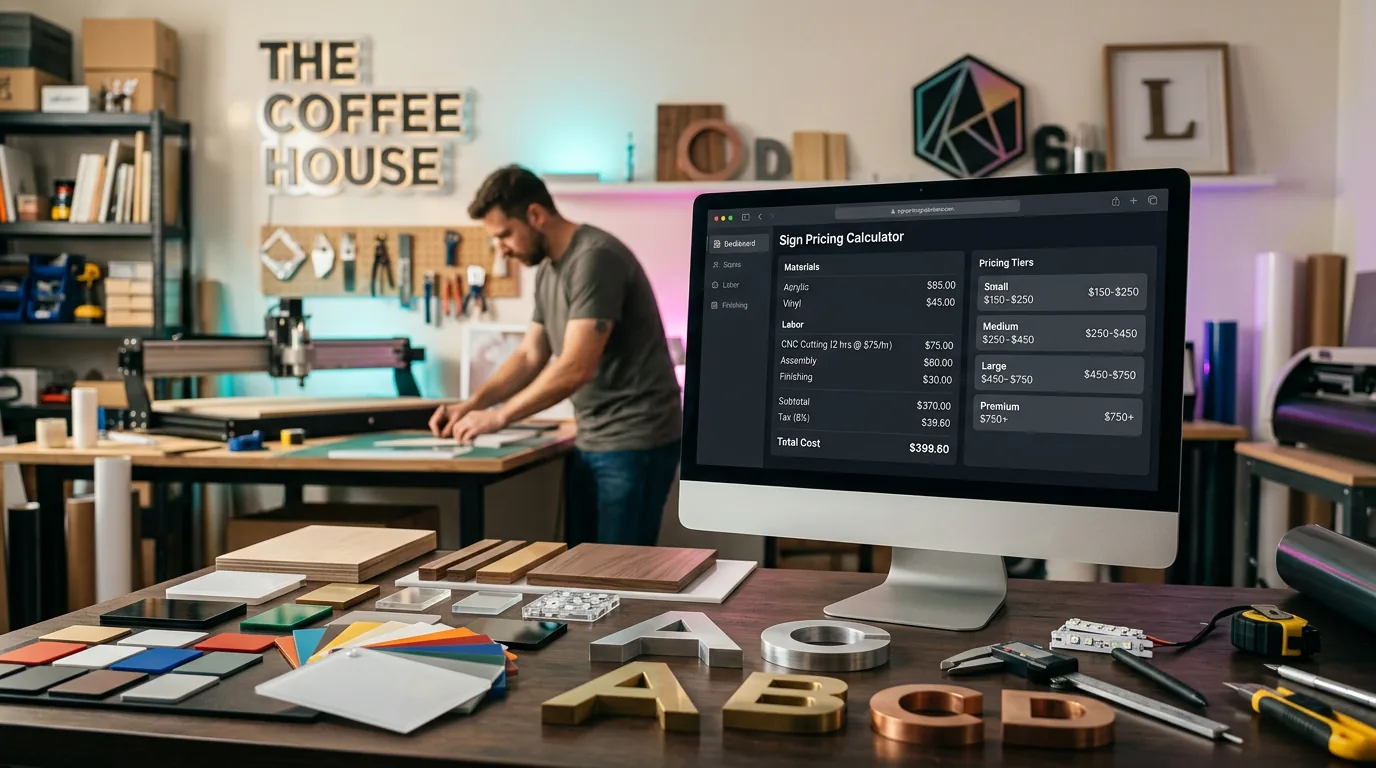
Pricing Model Setup
Sign Customiser offers three main pricing approaches, each suited to different business models. Choose based on how you actually calculate costs.
Simple Letter Pricing (Fixed Width)
Best for straightforward per-character pricing where you charge a base rate plus a fixed amount per letter.
How it works: You define price tiers based on character count and font complexity. A sign with 10 characters in a simple font costs X, while 20 characters in a complex script font costs Y.
Configuration:
- Create font tiers (simple, complex, very complex)
- Assign each font to a tier
- Set base prices and per-letter prices for each tier
- Add size-based adjustments if needed
Example: Base price of $80 plus $8 per letter for simple fonts, $12 per letter for script fonts. A 15-letter sign in a simple font would be $80 + (15 x $8) = $200.
This model works well for LED neon signs and simple acrylic letter signs where material costs scale predictably with character count.
Advanced Letter Pricing (Material Length)
Best when you need precise material calculations based on actual letter dimensions.
How it works: The system measures each letter’s actual outline length using font path data. A tall, narrow “I” uses less material than a wide “W”, and pricing reflects this accurately.
Configuration:
- Upload TTF font files (required for path calculations)
- Set price per centimetre of material
- Configure minimum charges and base prices
- Define size-based multipliers
Example: Your LED neon costs $2 per centimetre of tubing. The system calculates that “Welcome” in a specific font at a specific size uses 340cm of material, pricing that line at $680 plus your base price.
This approach suits businesses where material cost accuracy matters, such as metal channel letters or premium neon work.
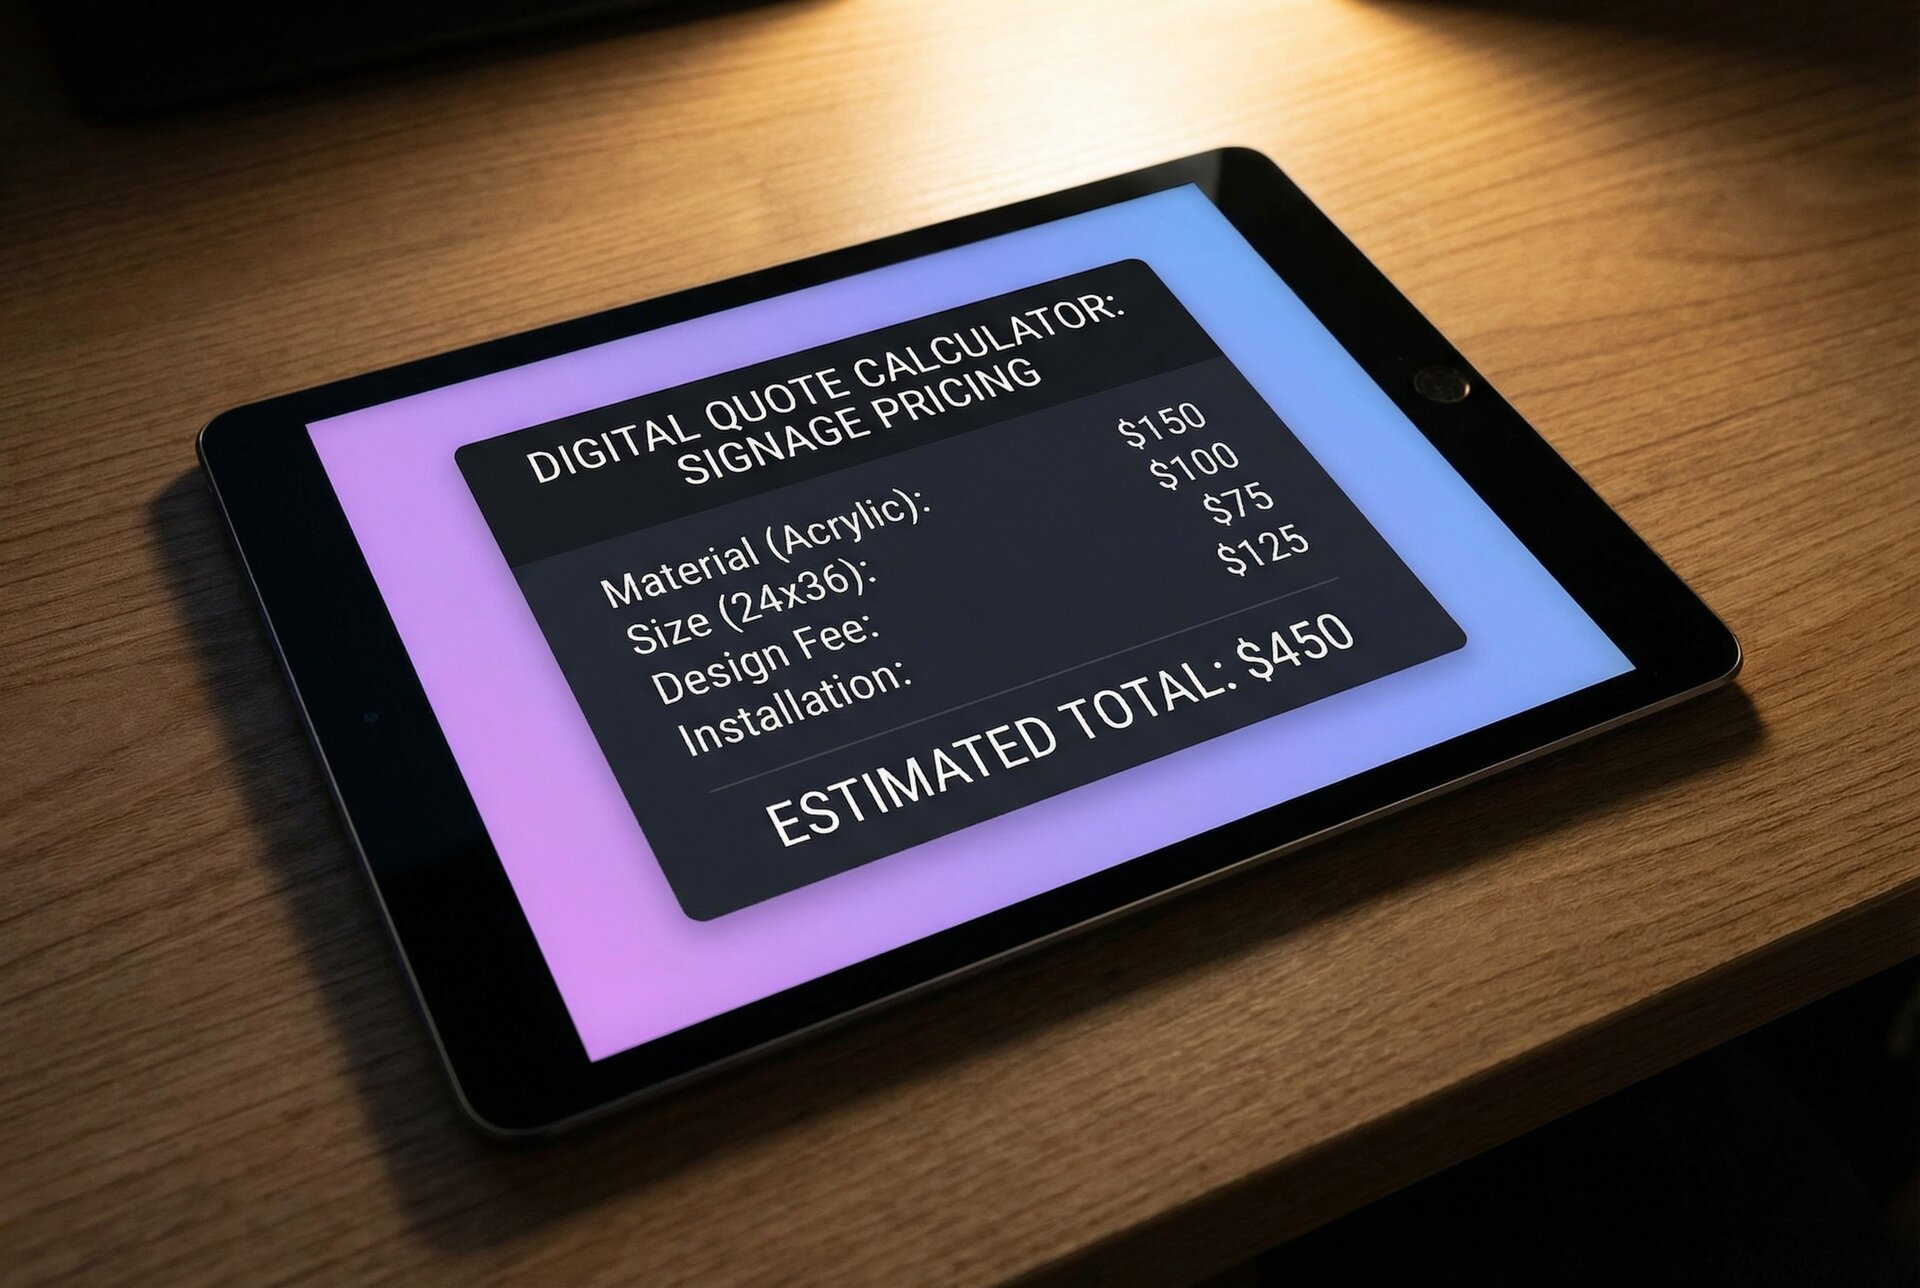
Frame Fit Pricing
Best for signs sold in frames where overall dimensions matter more than letter count.
How it works: Pricing calculates based on frame width and height, not individual letters. A 60cm x 40cm sign costs the same regardless of how many characters fit inside.
Configuration:
- Define frame size options or allow custom dimensions
- Set price per square centimetre
- Add base price for frame and materials
- Configure shipping calculations
Example: $0.50 per square centimetre plus $50 base. A 60cm x 40cm frame (2,400 sq cm) would be $1,200 + $50 = $1,250.
This works well for lightbox signs and framed neon where the frame is the primary cost driver.
Testing Your Pricing
Before going live:
- Create test designs at various sizes and character counts
- Compare calculated prices to your actual costs and margins
- Check edge cases (very short text, very long text, unusual character combinations)
- Ensure prices feel reasonable from a customer perspective
Order Management Integration
When customers complete purchases through your Shopify product customiser app, orders flow into your standard Shopify order management. Here’s what happens:
Order Creation
When a customer adds a configured sign to cart and completes checkout:
- A line item appears in your Shopify orders with all customisation details
- The product variant includes customer specifications (text, font, colours, size)
- Design files are accessible from the order details
- Order notes capture any special requests
Accessing Design Details
From any order containing a Sign Customiser product:
- Go to Orders in your Shopify admin
- Click the order
- Find the Sign Customiser line item
- Click “View design details” or similar link
- Download production files, customer preview, and specifications
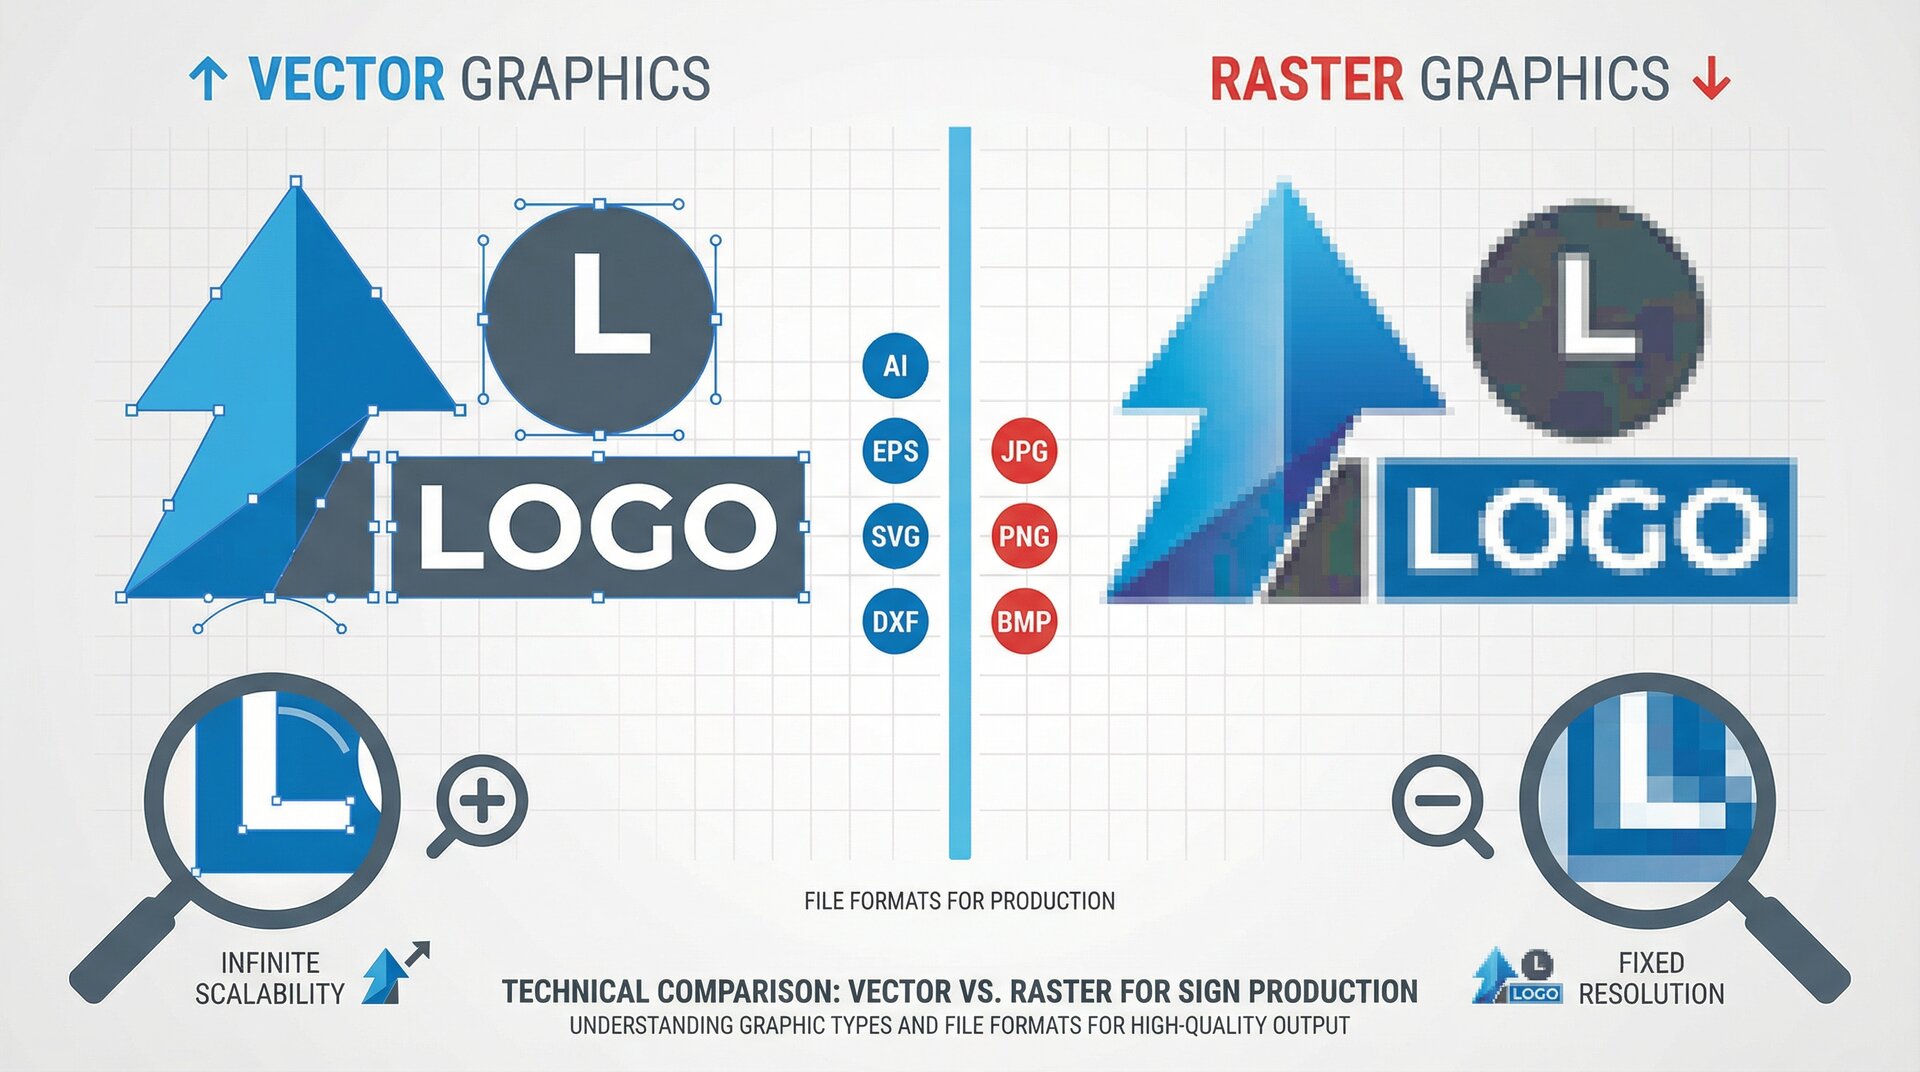
Production File Formats
Sign Customiser generates production-ready files:
- PDF: Vector format for most production software
- SVG: For direct import into design tools
- PNG: For customer reference and approval
Automation Options
For higher volume operations, consider:
- Webhooks: Get instant notifications when orders containing customised products are placed. Configure in Sign Customiser settings.
- API access: Programmatically retrieve order details and production files for integration with your production systems.
- Third-party integrations: Connect with inventory management, accounting, or production scheduling tools.
See our guide on real-time automation with webhooks for implementation details.
Testing Your Shopify Product Customiser
Before announcing your new capability to customers, test thoroughly:
Functional Testing
- Customiser loads correctly on desktop and mobile
- All fonts display and are selectable
- Colour options work as expected
- Size adjustments update the preview
- Price calculations are accurate
- Add to cart functions properly
- Checkout completes successfully
- Order appears in Shopify with correct details
Customer Journey Testing
- Fresh visitor test: Open your site in incognito mode and go through the entire process
- Mobile test: Complete a purchase entirely on mobile
- Edge case test: Try very long text, special characters, maximum sizes
- Confusion test: Have someone unfamiliar with your business try to order
Payment and Checkout Testing
If using Shopify’s test mode:
- Enable test mode in Shopify Payments
- Use test credit card numbers
- Complete full checkout flow
- Verify order details in admin
- Test refund process
Performance Testing
- Check page load time with customiser embedded
- Test on slower connections (Chrome DevTools can simulate this)
- Verify the customiser works with your page caching solution
Common Issues and Solutions
Pricing Shows Incorrectly
Symptoms: Prices don’t match your expectations, seem random, or don’t update when designs change.
Solutions:
- Verify your pricing model configuration in Sign Customiser admin
- Check that fonts are assigned to the correct pricing tiers
- Clear any caching that might serve stale pricing data
- Test with a fresh browser to rule out local issues
Preview Doesn’t Match Production
Symptoms: The on-screen preview looks different from what you actually produce.
Solutions:
- Use higher quality font files if available
- Adjust preview settings to match your production materials more closely
- Add prominent disclaimers that previews are approximations
- Consider offering proof approval before production
Customers Can’t Add to Cart
Symptoms: The add to cart button doesn’t work, shows errors, or nothing happens when clicked.
Solutions:
- Check browser console for JavaScript errors
- Verify the Shopify app connection is active
- Ensure the product template includes required Shopify cart functionality
- Test with other apps disabled to identify conflicts
Orders Missing Design Details
Symptoms: Orders appear in Shopify but customisation details are missing or incomplete.
Solutions:
- Check Sign Customiser dashboard for the order record
- Verify webhook configurations if using automated systems
- Ensure the app has required permissions in Shopify
Mobile Display Issues
Symptoms: Customiser appears broken, cramped, or unusable on mobile devices.
Solutions:
- Test on actual mobile devices, not just browser dev tools
- Check your theme’s mobile styles for conflicts
- Adjust the customiser container settings
- Consider a dedicated mobile-optimised page for customisation
Frequently Asked Questions
Can I use Sign Customiser with any Shopify theme?
Yes, but implementation varies. Online Store 2.0 themes support app blocks for easy installation. Older themes require manual code integration. Heavily customised themes may need CSS adjustments. All Shopify themes are technically compatible.
How does product personalisation affect my Shopify product catalogue?
Sign Customiser creates product variants dynamically when customers add configured signs to cart. This doesn’t clutter your product catalogue with thousands of variants. Each customer’s unique configuration becomes a variant only when they add to cart.
Can customers save designs and return later?
Yes, using the share feature. Customers can generate a link to their exact design configuration. When they return via that link, their design loads exactly as they left it. This also works for your sales team to send pre-configured quotes.
What happens to orders if I change my pricing?
Existing orders retain their original pricing. New orders use updated pricing. Changes take effect immediately for new sessions. There’s no retroactive pricing adjustment.
How do I handle international customers with different currencies?
Sign Customiser uses your Shopify store’s currency settings. If you use Shopify Markets for multi-currency, prices display in the customer’s local currency based on your conversion settings.
Can I offer both instant purchase and quote request options?
Yes. Configure some customisers for immediate add-to-cart with live pricing. Configure others to collect customer information and designs for manual quoting. You can have both types on your store simultaneously.
Next Steps and Advanced Features
With your Shopify product customiser running, consider these enhancements:
Optimise for Conversions
- Add trust signals near the customiser (reviews, guarantees, production photos)
- Create template designs for common use cases (weddings, businesses, events)
- Implement abandoned cart recovery specifically mentioning their custom design
- Track analytics to identify where customers drop off
Read our guide on winning more sales with Sign Customiser for detailed conversion strategies.
Expand Your Offering
- Add additional sign types with new customisers
- Create different customisers for B2B and B2C customers
- Develop seasonal templates for holidays and events
- Offer upsells like installation services or rush production
Integrate with Your Workflow
- Set up webhook subscriptions for instant order notifications
- Connect with your production software via the API integration
- Automate follow-up emails with design proofs
- Build custom reporting dashboards
Leverage Advanced Features
- Use the AI sign designer to help customers with design suggestions
- Implement multi-line text options for complex signs
- Configure volumetric shipping calculations for accurate freight quotes
- Set up commission tracking for reseller programmes
Your Shopify customisation setup is the foundation. From here, you’ll refine based on customer feedback, production experience, and business growth. The merchants who succeed with custom signs online are the ones who treat their customiser as a continuously improving tool rather than a set-and-forget installation.
For specific implementation questions, reach out to [email protected] or explore the detailed documentation in our help centre.