
WooCommerce handles millions of online stores brilliantly. But custom signs aren’t like selling t-shirts or phone cases. Every order is different. Customers need to see their design before buying. And your pricing has to adjust based on what they actually create.
That’s where most WooCommerce product configurator plugins fall short. They’re built for simple personalisation—adding a name to a mug or choosing a colour. Custom signs need something more sophisticated: real-time previews, material-based pricing calculations, and production-ready file generation.
This guide walks you through setting up a proper WooCommerce product customiser for your sign business. We’ll cover the technical setup, pricing configuration, order automation, and the practical decisions you’ll face along the way. If you’re running a Shopify store instead, we’ve got a separate guide for that. Not sure which platform suits your business? Check our e-commerce platform comparison for sign businesses.
Why Sign Businesses Struggle with Standard WooCommerce Product Personalisation
Standard product customisation plugins work on a simple model: customers select from predefined options, and those options map to product variants or price adjustments. That works fine for engraving a name on a bracelet.
Custom signs break this model in three ways.
Pricing depends on the actual design. A 10-character neon sign costs different from a 50-character sign. A compact sans-serif font uses less LED tubing than an elaborate script. Your WooCommerce product personalisation needs to calculate prices based on what customers actually design, not just which options they tick.
Customers need visual confirmation. When someone’s spending hundreds on a wedding sign or business signage, they want to see exactly how their text looks in their chosen font and colour. A text field with a font dropdown doesn’t cut it.
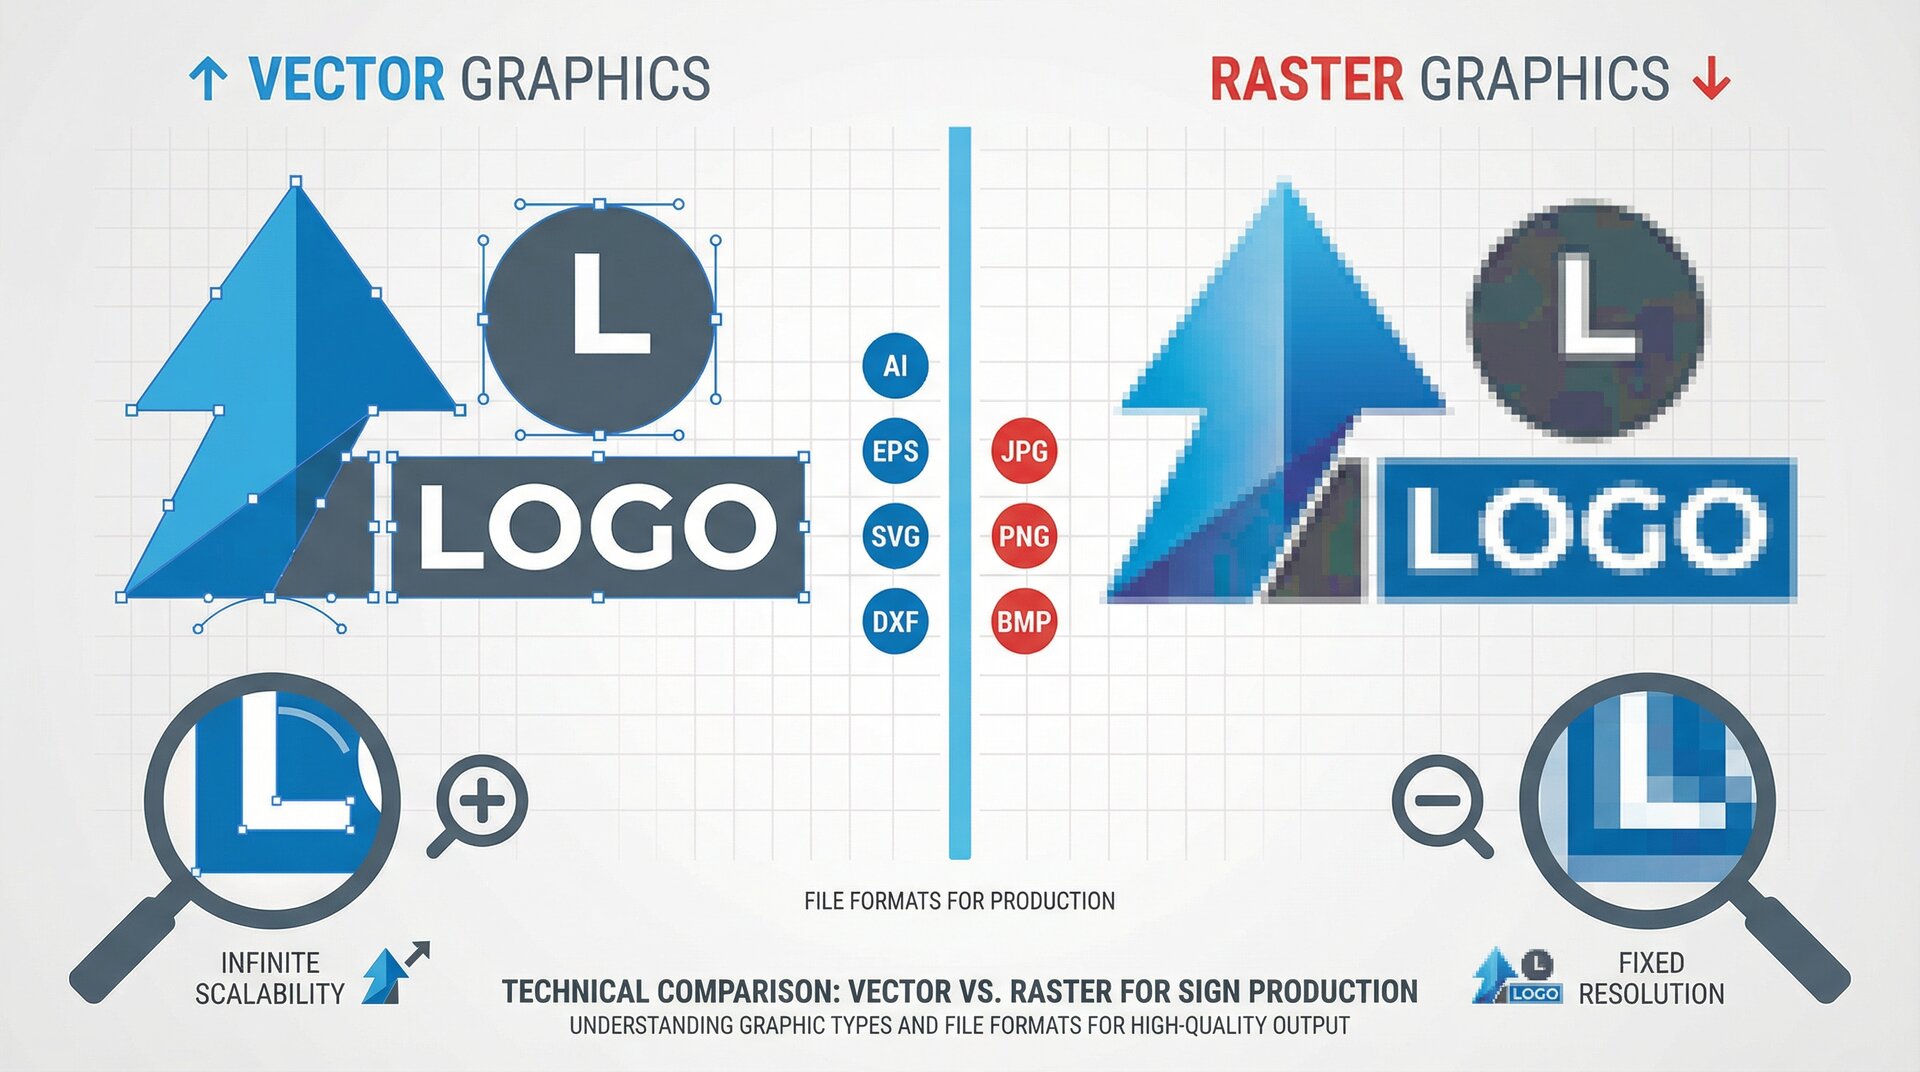
Production requires specific outputs. Your fabrication team needs vector files, precise measurements, and material calculations. Standard WooCommerce customisation just passes along text strings and option names.
A proper product designer for WooCommerce solves these problems. Customers design their sign visually, see accurate pricing in real-time, and your team receives production-ready files when orders come through.
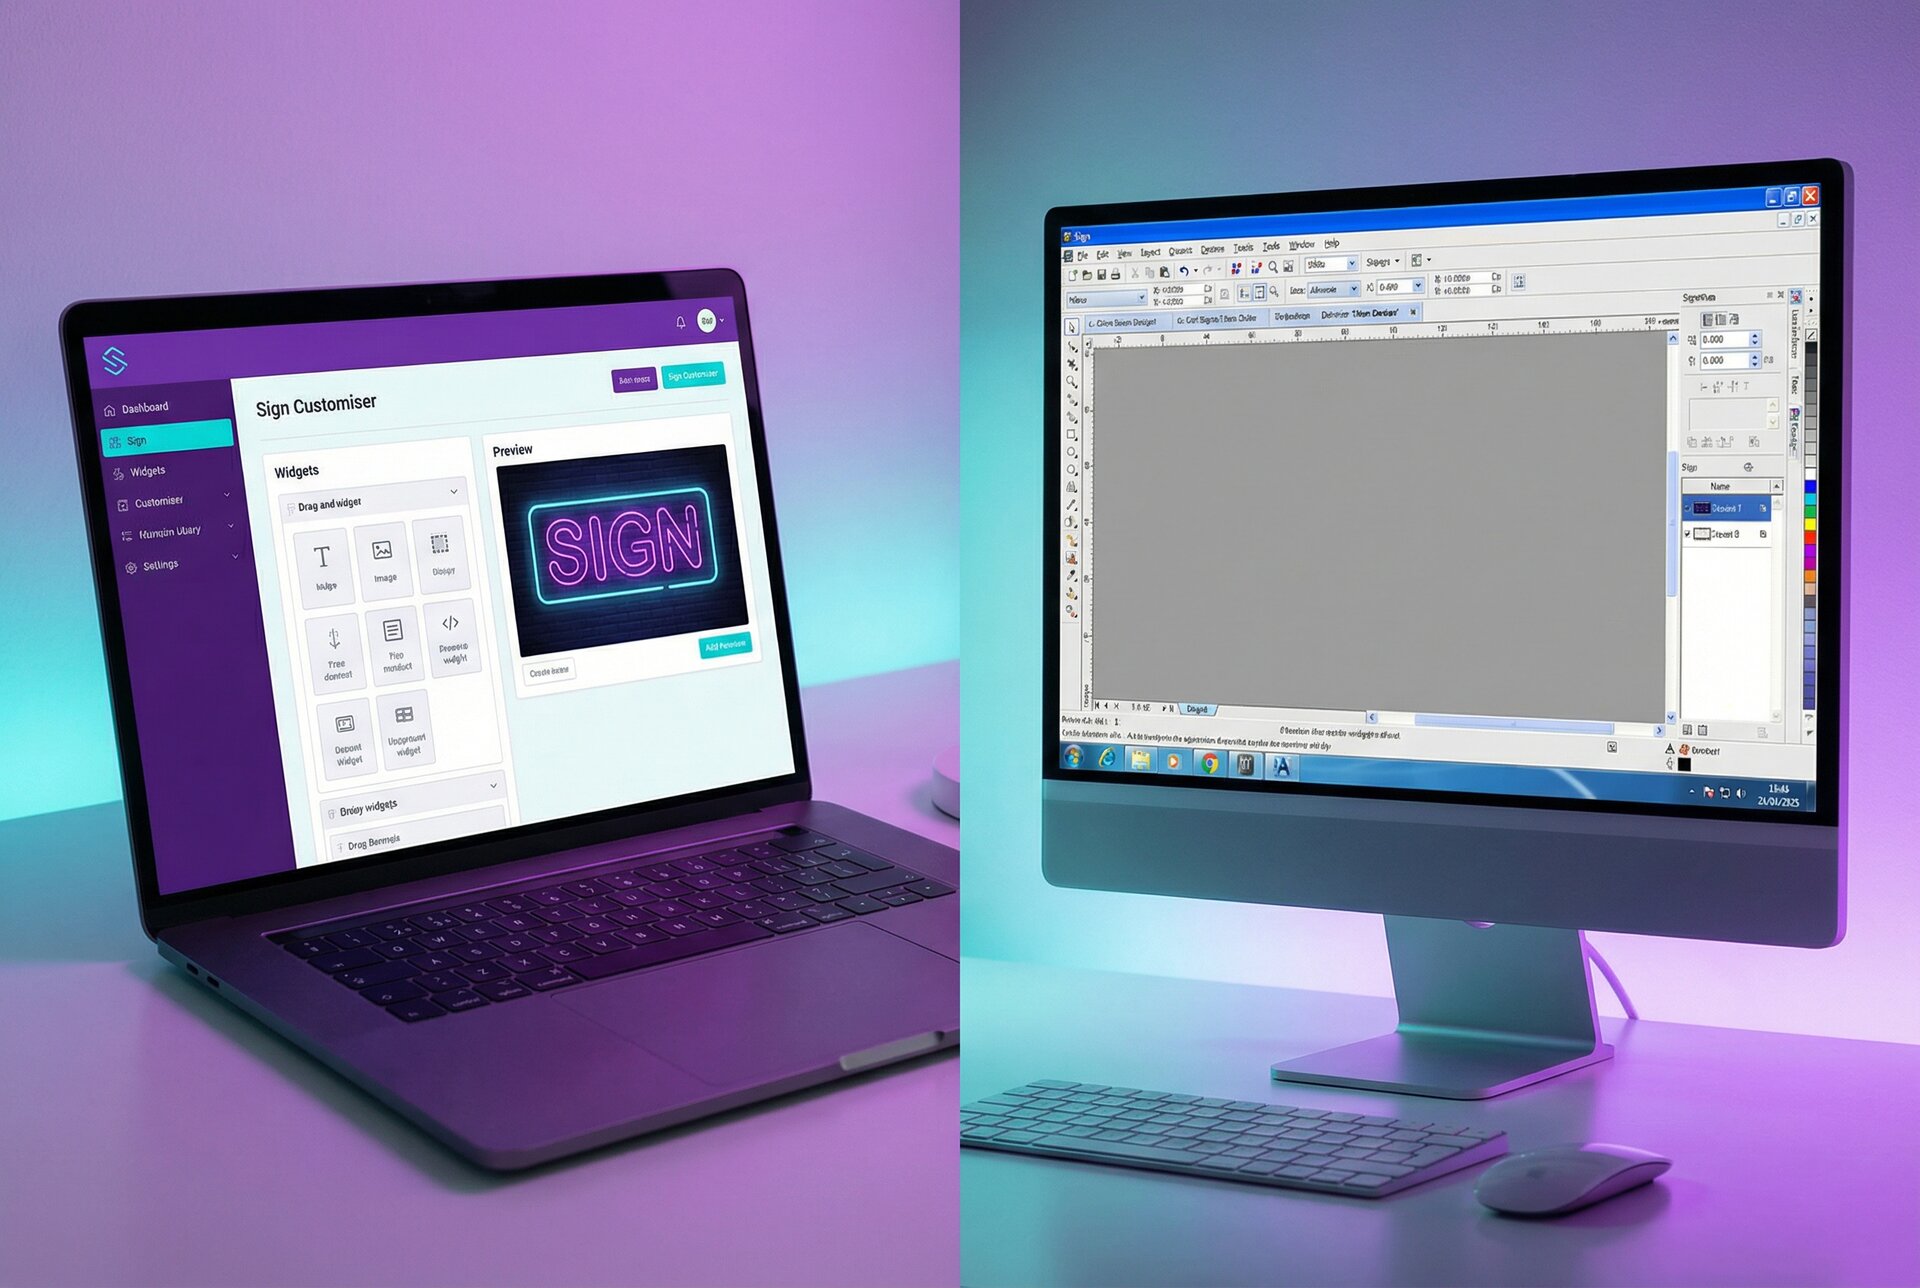
Plugin vs Embed: Two Approaches to WooCommerce Product Customisation
You’ve got two paths for adding a sign configurator to WooCommerce: traditional plugins or embedded solutions. The choice affects everything from setup complexity to long-term maintenance.
Traditional Plugin Approach
WordPress plugins install directly into your site. They modify your database, add menu items to your admin, and run on your server.
Advantages:
- Everything lives in one place
- No external dependencies
- Works offline (if your server does)
Disadvantages:
- Plugin conflicts are common with WooCommerce product configurator plugins
- Updates can break things
- Your server handles all the processing
- Limited by WordPress architecture
We’ve seen sign businesses spend weeks debugging plugin conflicts. One client had their entire checkout break because a product customizer plugin conflicted with their payment gateway.
Embedded Solution Approach
Embedded customisers run on external infrastructure and inject into your WooCommerce pages via JavaScript. Sign Customiser uses this approach.
Advantages:
- No plugin conflicts (runs independently)
- Processing happens on dedicated servers
- Updates roll out automatically without touching your site
- Specialised for sign production workflows
Disadvantages:
- Requires internet connection
- Slight dependency on external service
For most sign businesses, the embedded approach makes more sense. Your WooCommerce site handles what it’s good at (cart, checkout, customer accounts), while the customiser handles the complex visual design and pricing calculations.
Setting Up API Credentials for Your WooCommerce Integration
Before embedding anything, you’ll need to connect Sign Customiser to your WooCommerce store. This happens through API credentials that allow the two systems to communicate securely.
Step 1: Create Your Sign Customiser Account
Head to Sign Customiser and set up an account. The free trial gives you full access to test the integration before committing. You’ll need:
- Your business email
- Store URL
- Sign type you’re selling (neon, metal, acrylic, lightbox, etc.)
Step 2: Generate API Keys in WooCommerce
WooCommerce needs to grant Sign Customiser permission to create products and access order data.
- Log into your WordPress admin
- Go to WooCommerce > Settings > Advanced > REST API
- Click “Add key”
- Set the description to “Sign Customiser Integration”
- Choose the user (typically admin)
- Set permissions to “Read/Write”
- Click “Generate API key”
- Copy both the Consumer Key and Consumer Secret immediately (they won’t show again)
Step 3: Connect the Systems
In your Sign Customiser dashboard:
- Go to Settings > Integrations > WooCommerce
- Enter your store URL (including https://)
- Paste your Consumer Key and Consumer Secret
- Click “Test Connection”
If the test succeeds, you’ll see your store name and a confirmation message. If it fails, double-check the URL includes the protocol (https://) and the API keys were copied correctly.
Embedding the Product Designer in WooCommerce
With credentials connected, you can add the customiser to your product pages. There are several approaches depending on your theme and requirements.
Method 1: Shortcode Embedding
The simplest approach. Works with any theme.
- Create a new product in WooCommerce (or edit an existing one)
- In the product description or a custom field, add the shortcode:
[sign_customiser id="your-customiser-id"]
- Replace “your-customiser-id” with the ID from your Sign Customiser dashboard
- Publish or update the product
The customiser appears wherever you placed the shortcode. This works but gives limited control over layout.
Method 2: Page Builder Integration
If you’re using Elementor, WPBakery, or another page builder:
- Add an HTML widget or code block to your product template
- Paste the embed code from Sign Customiser:
<div id="sign-customiser-embed"
     data-customiser-id="your-customiser-id"
     data-shop-id="your-shop-id">
</div>
<script src="https://embed.signcustomiser.com/v2/embed.js"></script>
- Save and preview
This gives you more control over positioning and responsive behaviour.
Method 3: Theme Template Modification
For complete control, add the embed directly to your theme’s product template.
- Create a child theme (if you haven’t already)
- Copy your theme’s single-product.php or content-single-product.php
- Add the embed code where you want the customiser to appear
- Consider using conditional logic to only show on specific products
This approach survives theme updates and gives pixel-perfect control.
Verifying the Embed Works
After embedding:
- View the product page on your live site
- The customiser should load with your default text
- Try typing different text and verify the preview updates
- Check that fonts and colours load correctly
- Test on mobile devices
If the customiser doesn’t appear, check your browser’s developer console for JavaScript errors. Common issues include incorrect customiser IDs or conflicting scripts.
Synchronising Product Data with WooCommerce
When customers complete designs and add to cart, Sign Customiser creates WooCommerce products dynamically. Here’s how the synchronisation works.
How Product Creation Works
Each customiser can link to a parent WooCommerce product. When customers add configured signs to cart:
- Sign Customiser generates the line item details
- Design specifications are attached to the cart item
- The cart displays the customer’s text, size, and options
- Upon checkout, all details transfer to the order
Configuring the WooCommerce Connection
In Sign Customiser settings:
- Go to your customiser’s settings
- Find the WooCommerce section
- Either link to an existing product or create a new one
- Set how options map to WooCommerce attributes
Cart and Order Display
Customers see their configured sign in the cart with:
- Preview image of their design
- Text content
- Selected font and colour
- Size and dimensions
- Calculated price
This prevents confusion and reduces order errors. Customers know exactly what they’re buying.
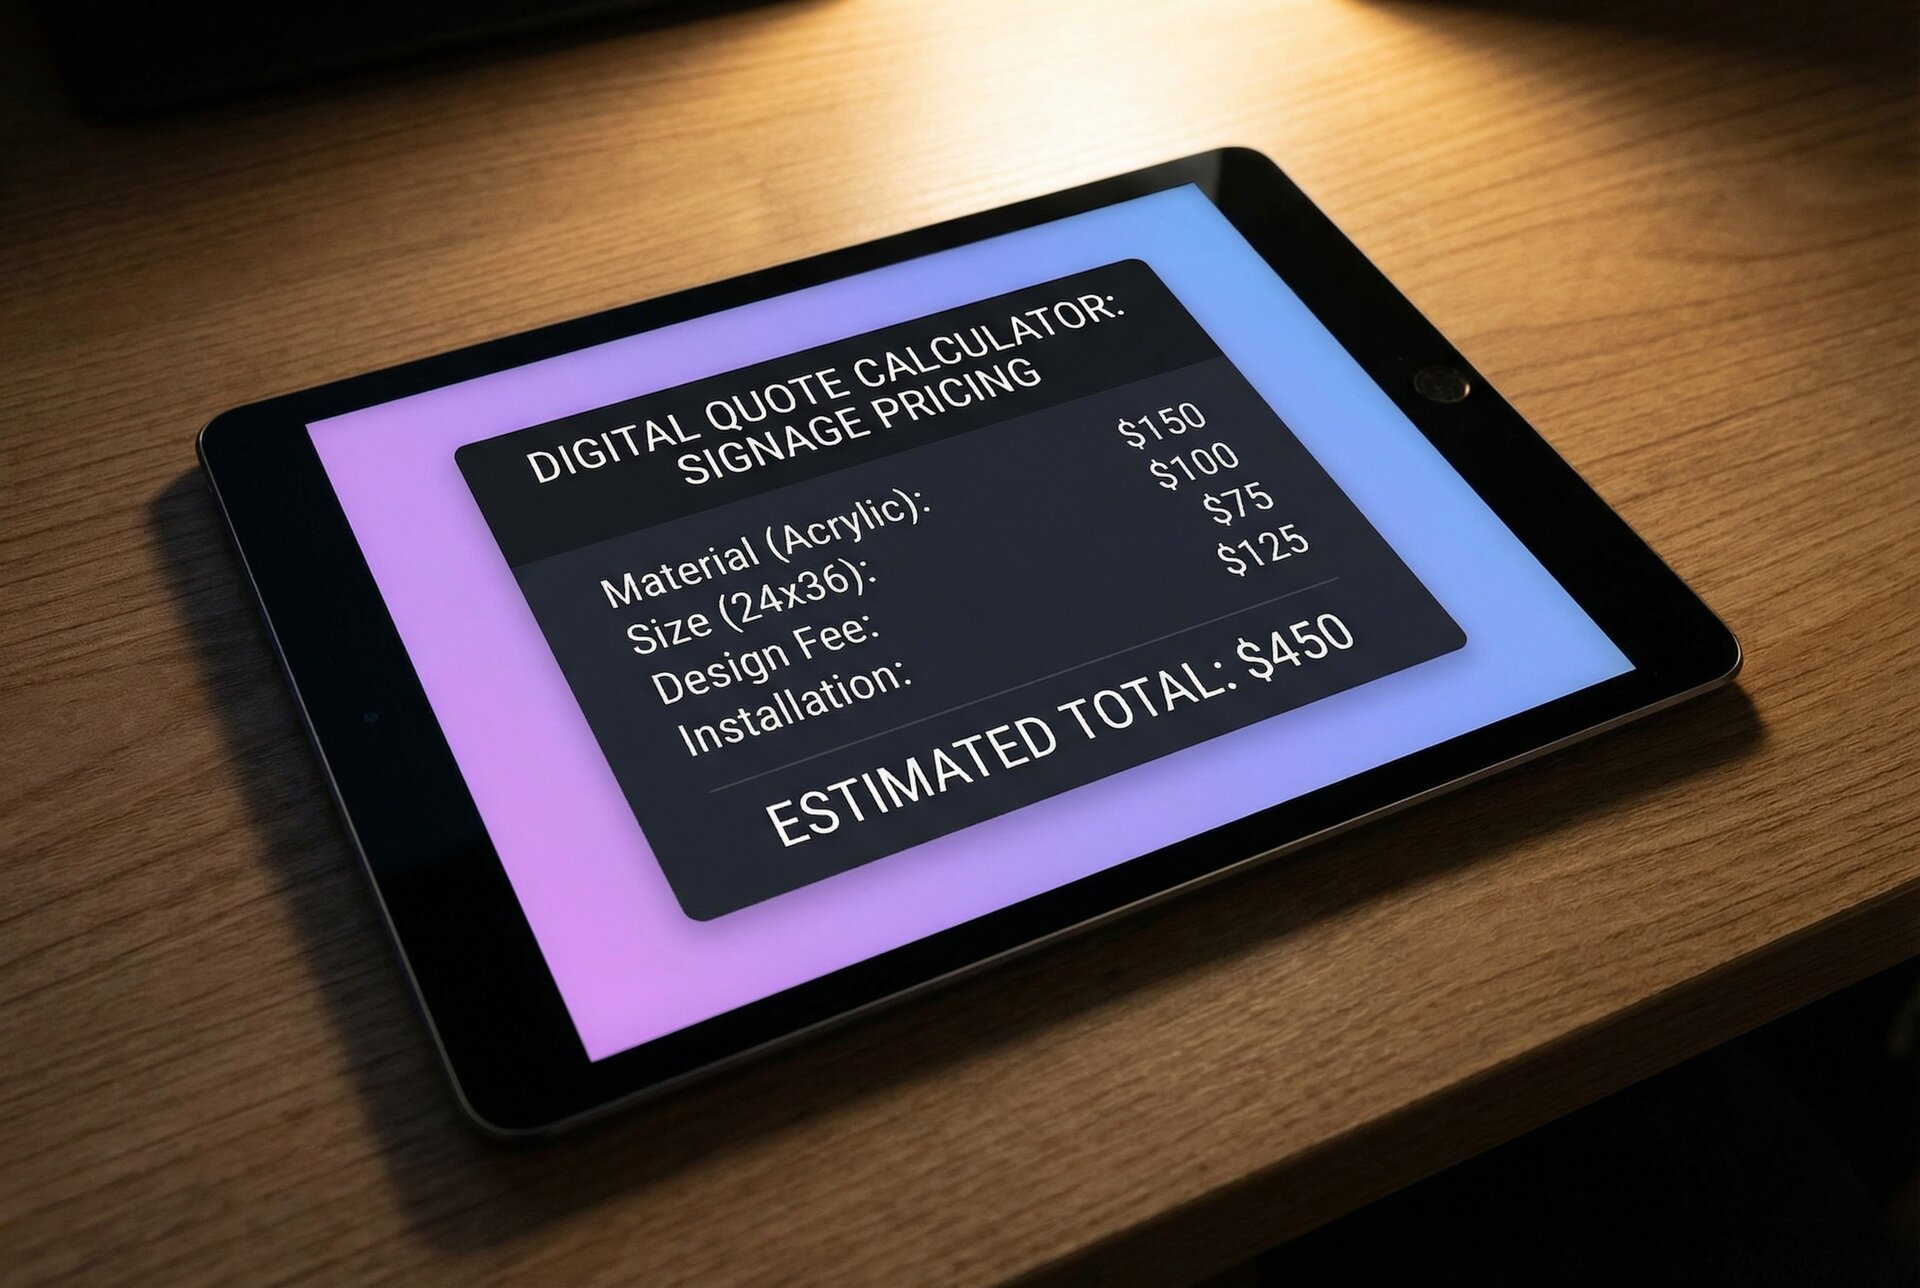
Configuring Pricing for Custom Sign Products
Pricing is where many WooCommerce product customizer solutions fail. They offer simple per-option pricing, but signs need dynamic calculations based on actual material usage.
Sign Customiser offers three pricing models. Choose based on how you actually cost your products.
Simple Letter Pricing
Best for straightforward per-character pricing.
How it works: You define price tiers based on character count and font complexity. The system counts characters and calculates accordingly.
Configuration:
- Set base price (covers fixed costs like transformer, packaging)
- Define font tiers (simple, complex, very complex)
- Set per-character price for each tier
- Add size multipliers if needed
Example: Base price of $80 plus $8 per character in simple fonts, $12 per character in script fonts. A 15-character sign in a simple font: $80 + (15 x $8) = $200.
This works well for LED neon signs where material costs scale predictably with character count.
Material Length Pricing
Best when you need precise material calculations.
How it works: The system measures each letter’s actual outline length using font path data. A narrow “I” uses less material than a wide “W”, and pricing reflects this accurately.
Configuration:
- Upload TTF font files (required for path calculations)
- Set price per unit of material length
- Configure minimum charges
- Define size-based multipliers
Example: LED neon at $2 per centimetre. “Welcome” at a specific size uses 340cm of tubing = $680 plus your base price.
This approach suits businesses where material accuracy matters, such as premium neon work or metal channel letters.
Frame Fit Pricing
Best for signs where frame dimensions drive costs.
How it works: Pricing calculates based on frame width and height, not individual letters. A 60cm x 40cm sign costs the same regardless of character count.
Configuration:
- Define frame size options or allow custom dimensions
- Set price per square centimetre
- Add base price for frame and materials
- Configure shipping calculations
Example: $0.50 per square centimetre plus $50 base. A 60cm x 40cm frame (2,400 sq cm) = $1,200 + $50 = $1,250.
This works well for lightbox signs where the frame is the primary cost driver.
Testing Your Pricing Configuration
Before going live:
- Create test designs at various sizes and character counts
- Compare calculated prices to your actual costs
- Check edge cases (very short text, very long text, special characters)
- Ensure prices feel reasonable from a customer perspective
- Have someone unfamiliar with your pricing test the system
Optimising the WooCommerce Checkout Flow
The customiser handles design; WooCommerce handles checkout. But they need to work together smoothly.
Cart Preview Configuration
Customers should see their design in the cart. Configure this in WooCommerce to show:
- Thumbnail of the configured design
- Key specifications (text, size, colour)
- Price breakdown if applicable
This reassurance reduces cart abandonment. Customers confirm they’re buying what they designed.
Checkout Field Optimisation
Consider which checkout fields you actually need. For custom signs:
- Shipping address is essential (signs need delivery)
- Phone number helps with delivery coordination
- Company name might matter for business signage
- Remove fields that don’t apply to your business
Fewer fields mean faster checkout and higher conversion.
Payment Gateway Considerations
High-value custom signs sometimes need different payment options:
- Deposits for orders over a certain value
- Split payments for expensive pieces
- Invoice options for B2B customers
WooCommerce handles these through plugins, but test thoroughly with your customiser integration.
Order Confirmation
After checkout, customers should receive:
- Confirmation email with their design attached
- Clear production timeline expectations
- Information about proof approval process (if you use one)
- Easy way to contact you with questions
Setting Up Order Webhooks and Automation
For efficient operations, automate what happens after orders come through. Webhooks let Sign Customiser notify your systems instantly when orders occur.
Understanding Webhooks
Instead of constantly checking for new orders, webhooks push notifications to your systems the moment something happens. Customer completes an order? Your production system knows within seconds.
Configuring Webhook Subscriptions
In Sign Customiser:
- Go to Settings > Webhooks
- Add a new subscription
- Enter your endpoint URL (where notifications should go)
- Select events to subscribe to (order.created, product.generated)
- Set a secret key for verification
- Test the webhook
See our detailed guide on webhook automation for implementation specifics.
Common Automation Workflows
Production Queue: Orders automatically add to your production scheduling system with all specifications, materials, and deadlines.
Customer Notifications: Trigger personalised emails or SMS messages at key stages (production started, quality check complete, shipped).
Inventory Management: Automatically track material usage and trigger reorder alerts.
Accounting Integration: Push order data to your accounting software for seamless bookkeeping.
Production File Access
When orders come through, Sign Customiser generates production-ready files:
- PDF: Vector format for most production software
- SVG: For direct import into design tools
- DXF: For CNC and laser cutting machines
- PNG: For customer proofs and reference
Access these through the Sign Customiser dashboard, via API, or set up automated delivery to your production team.
Performance Optimisation for WooCommerce Product Customisation
A slow customiser kills conversions. Here’s how to keep things running smoothly.
Front-End Loading
The Sign Customiser embed is designed for performance:
- Loads asynchronously (doesn’t block page render)
- Assets are CDN-distributed globally
- Critical elements load first, enhancements follow
On your end, ensure your WooCommerce theme isn’t loading excessive scripts that compete for resources.
Font Loading Optimisation
Custom fonts are often the heaviest assets. To optimise:
- Limit the number of fonts offered (10-15 is plenty for most businesses)
- Use subset fonts if possible (only include characters you need)
- Consider which fonts are essential vs nice-to-have
Mobile Performance
Mobile visitors often have slower connections. Test your product pages on actual mobile devices, not just browser dev tools. Look for:
- Time to interactive (when customers can start designing)
- Scroll performance during design
- Touch responsiveness in the customiser
Caching Considerations
If you use caching plugins (and you should for WooCommerce), ensure the customiser embed isn’t cached incorrectly:
- Dynamic pricing needs fresh calculations
- Customer designs must not show cached versions
- Add appropriate cache exclusions for customiser pages
Migrating from Other WooCommerce Customizer Solutions
Already using a different product configurator? Migration requires planning but isn’t complicated.
Evaluating Your Current Setup
Before migrating, document:
- Which products use customisation
- How pricing is currently calculated
- What customisation data exists in orders
- Any integrations with other systems
Migration Steps
- Set up Sign Customiser alongside existing solution (they can coexist during transition)
- Configure your first customiser matching your current product offerings
- Test thoroughly on new products or hidden test products
- Migrate products gradually rather than all at once
- Keep old orders accessible (historical data shouldn’t disappear)
Handling Historical Orders
Orders placed through your old system remain in WooCommerce. Sign Customiser handles new orders. You might have two sources of order data temporarily, but this is preferable to losing history.
Training Your Team
Production teams need to know where to find design files and specifications. Document:
- How to access new order details
- Where production files download from
- Any changes to workflow
- Who to contact with questions
Common Issues and Solutions
Customiser Doesn’t Load
Check the embed code: Ensure the customiser ID and shop ID are correct. Copy directly from your Sign Customiser dashboard.
Look for JavaScript conflicts: Some WooCommerce themes or plugins add scripts that conflict. Test with other plugins temporarily disabled.
Verify permissions: Ensure your Sign Customiser account is active and the customiser is published.
Pricing Calculates Incorrectly
Review your pricing model settings: Double-check base prices, per-unit prices, and font tier assignments.
Clear caching: Pricing should calculate fresh each time, but aggressive caching might serve stale results.
Test edge cases: Very short text, very long text, and unusual character combinations sometimes reveal configuration issues.
Orders Missing Design Details
Check API permissions: WooCommerce API keys need Read/Write access for full integration.
Verify webhook delivery: If using webhooks, check they’re reaching your endpoint successfully.
Review Sign Customiser dashboard: Order records exist in Sign Customiser even if WooCommerce integration has issues.
Mobile Display Problems
Test on actual devices: Browser dev tools don’t catch everything.
Check theme CSS: Some themes add padding or overflow rules that affect embedded content.
Review container settings: The customiser needs adequate width to display properly.
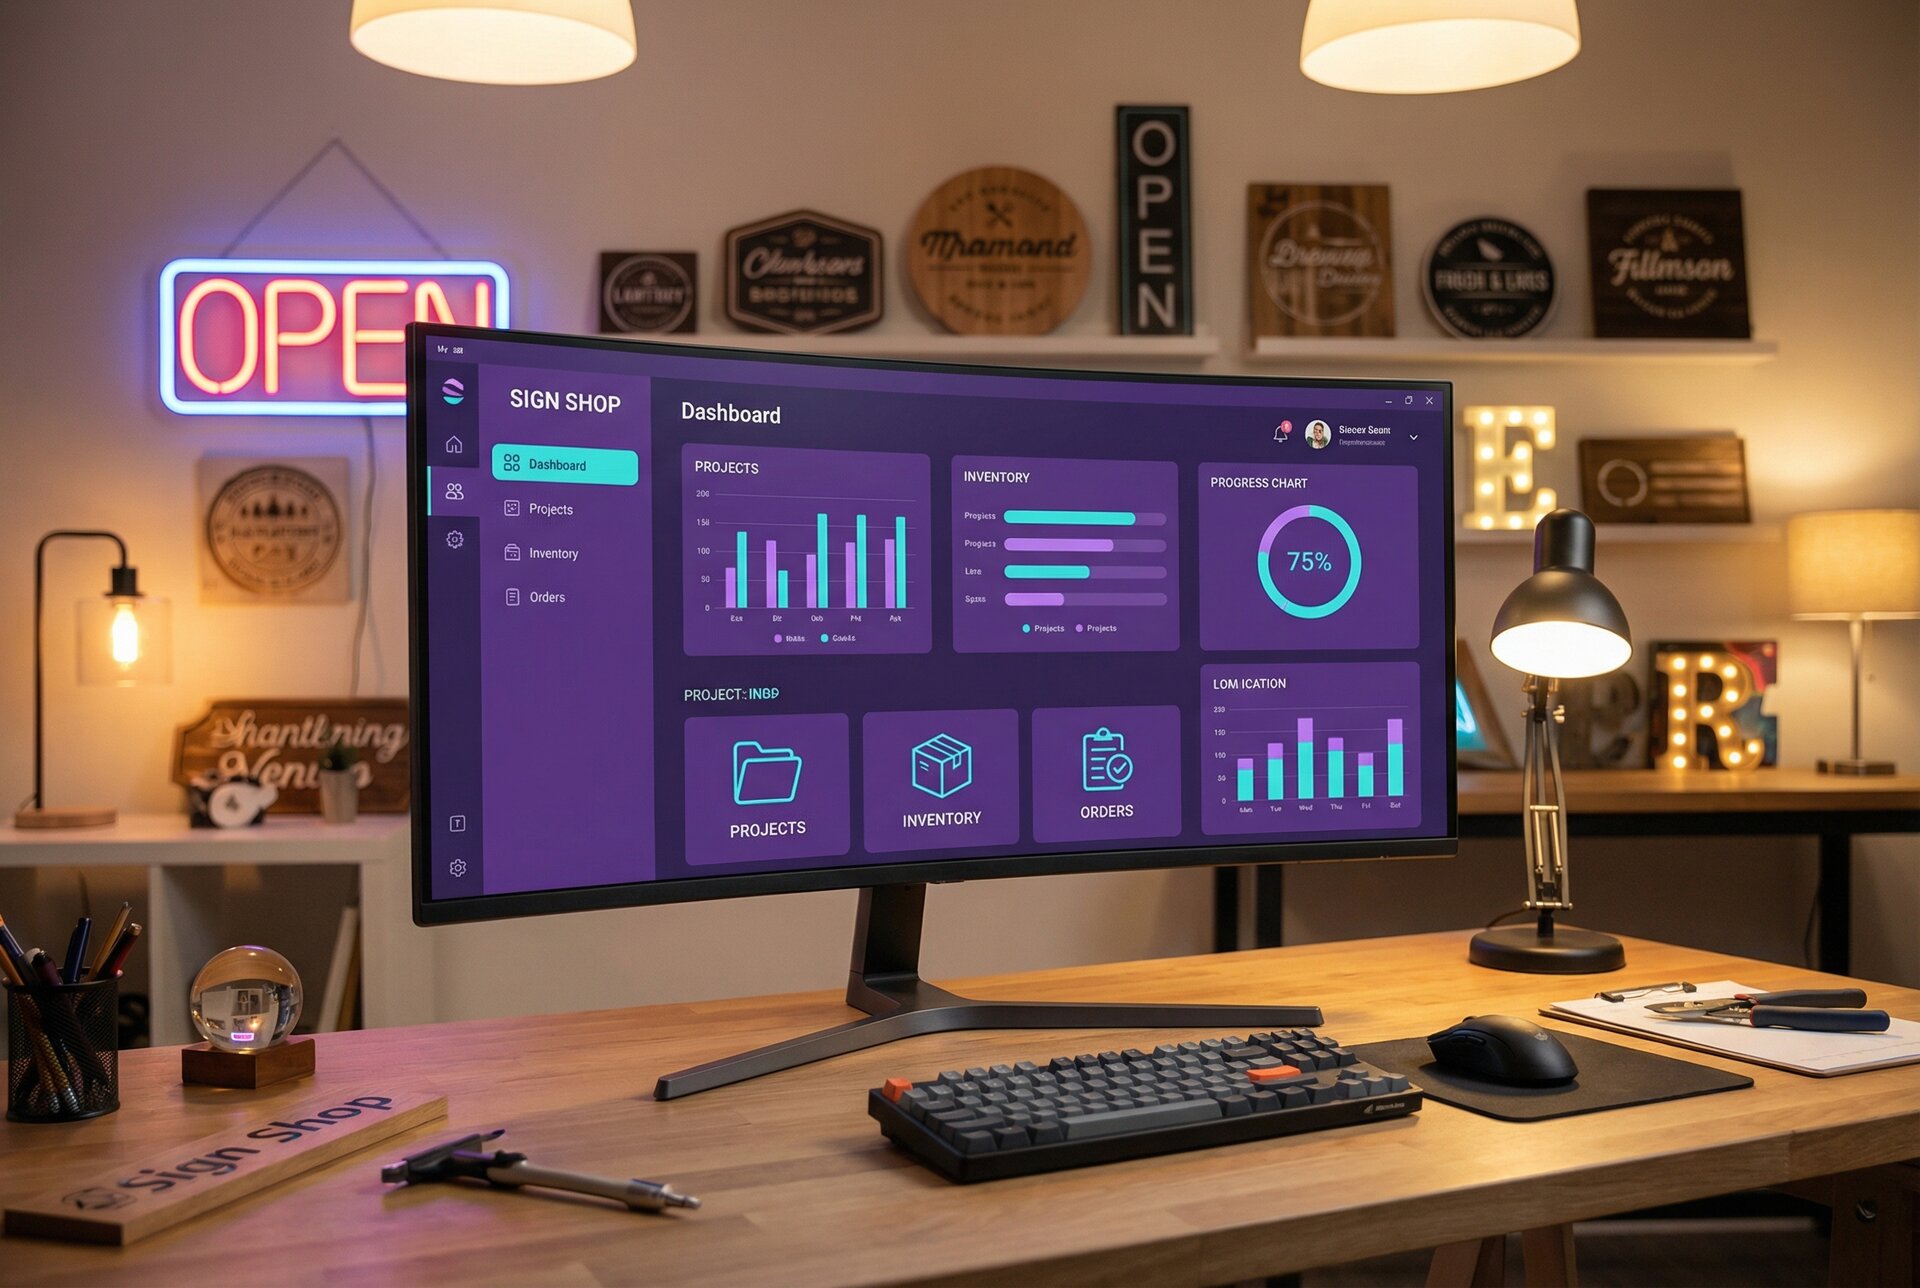
Next Steps After Setup
With your WooCommerce product configurator running, focus on optimisation:
Improve conversions: Track where customers drop off and address friction points. Our guide on winning more sales with Sign Customiser covers specific tactics.
Expand offerings: Add more sign types, fonts, or customisation options based on customer requests. Sign Customiser supports neon, metal, acrylic, and lightbox signs out of the box.
Automate further: Connect more systems via API integration to reduce manual work.
Gather feedback: Ask customers about their experience and iterate accordingly.
The businesses that succeed with WooCommerce product personalisation treat their customiser as an evolving tool, not a one-time installation. Customer expectations change, your product line expands, and your integration should grow with your business.
For specific implementation questions, explore our help documentation or reach out to [email protected]. Check our features page to see what else Sign Customiser can do for your sign business, or view pricing options to find the right plan.
Frequently Asked Questions
Can I use Sign Customiser with any WooCommerce theme?
Yes. The embedded approach works with any WooCommerce theme since it runs independently via JavaScript. You can embed using shortcodes, page builders, or direct theme template modification. Some CSS adjustments may be needed for optimal display in heavily customised themes.
How does WooCommerce product personalisation affect my site performance?
The Sign Customiser embed loads asynchronously and doesn’t block your page render. Assets are served from a global CDN. On your end, limit fonts to 10-15 options and ensure your caching plugin doesn’t cache dynamic pricing calculations.
What’s the difference between a WooCommerce product configurator plugin and an embedded solution?
Plugins install on your WordPress server and can conflict with other plugins or break during updates. Embedded solutions like Sign Customiser run on external infrastructure, avoiding conflicts while handling complex visual design and pricing calculations on dedicated servers.
Can customers save their custom sign designs and return later?
Yes. Customers can generate a shareable link to their exact design configuration. When they return via that link, their design loads exactly as they left it. This also works for your sales team to send pre-configured quotes.
How do I migrate from another WooCommerce product customizer plugin?
Set up Sign Customiser alongside your existing solution during transition. Configure and test on new or hidden products first, then migrate products gradually. Historical orders from your old system remain in WooCommerce while Sign Customiser handles new orders.
What production file formats does Sign Customiser generate?
Sign Customiser generates PDF (vector format for most production software), SVG (for design tools), DXF (for CNC and laser cutting), and PNG (for customer proofs). Access these through the dashboard, via API, or set up automated delivery to your production team.