
The file a customer sends determines how smoothly a job runs through production. A properly prepared vector file cuts hours off prep time. A 72 DPI JPEG blown up to billboard size? That’s a phone call nobody wants to make.
Sign shops receive files in every format imaginable—AI, PDF, PNG, JPEG, sometimes even PowerPoint. Knowing which formats work for which production methods, and how to handle the ones that don’t, separates efficient shops from those drowning in rework.
This guide covers the file formats you’ll encounter in sign production, when to use each, and how to fix the common problems that cause delays.
What Is a Vector File?
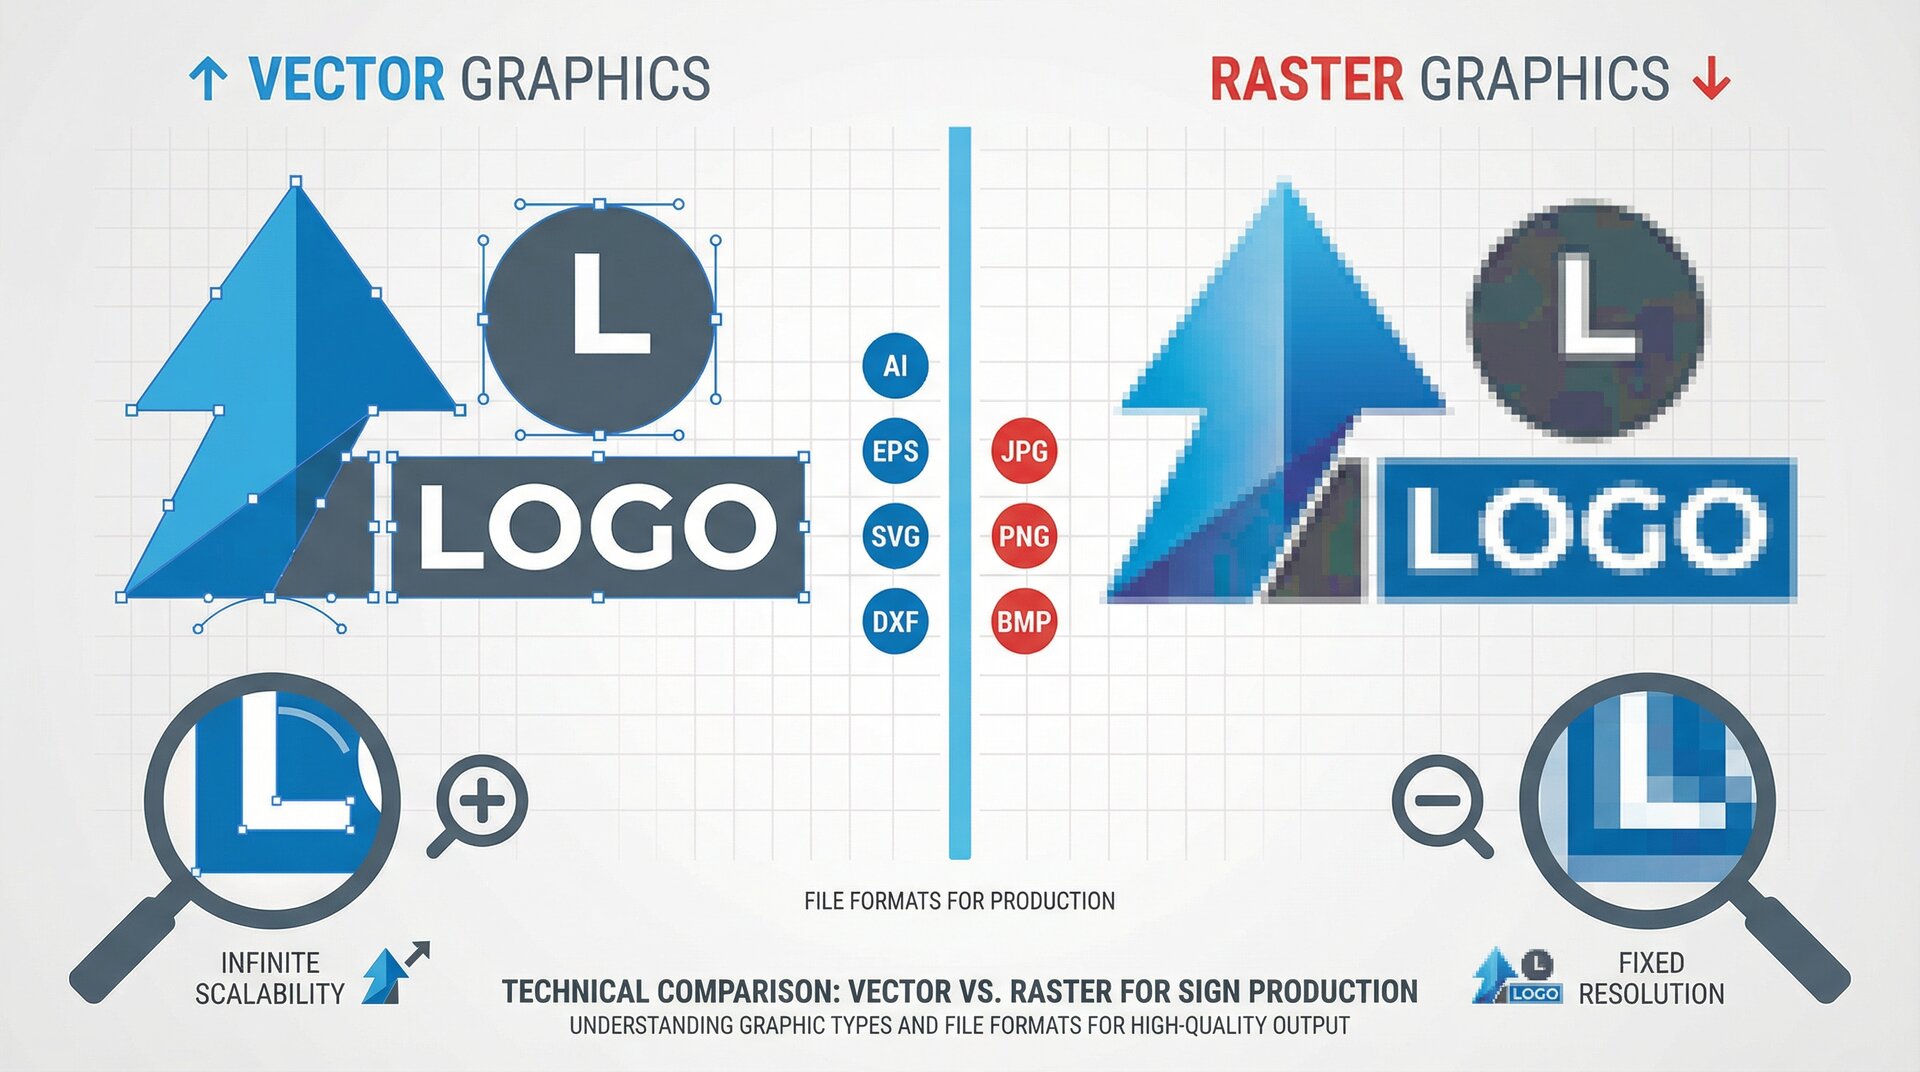
A vector file stores graphics as mathematical equations rather than pixels. Where a photograph is made up of millions of tiny coloured dots, a vector file describes shapes using points, lines, and curves. Tell the software to draw a circle, and it remembers “circle, centre here, radius this big”—not “colour this pixel red, that one slightly less red.”
This distinction matters enormously for signage. A vector logo can scale from a business card to a building wrap without losing quality. The maths stays the same; only the output size changes. Try that with a JPEG and you get a blocky mess.
Vector files are defined by:
- Points (anchor points that define shape corners and curves)
- Paths (lines connecting those points)
- Fills and strokes (colours applied to enclosed areas and lines)
- Mathematical precision (shapes remain sharp at any size)
Most design elements in signage should be vector: logos, text, shapes, borders, and cut paths. The only exception is photographic content, which must remain raster.
Common vector file formats include:
- Adobe Illustrator (.ai)
- Encapsulated PostScript (.eps)
- Scalable Vector Graphics (.svg)
- AutoCAD Drawing Exchange (.dxf)
- PDF (when vectors are preserved)
Vector Formats for Sign Production
Vector files store artwork as mathematical paths rather than pixels. They scale infinitely without quality loss, making them essential for signage that ranges from business cards to building wraps.
Adobe Illustrator (.AI)
The native Illustrator format preserves everything: layers, live text, effects, and colour profiles. If your production software supports AI files, this is the ideal format to receive.
Best for: Full editing capability, complex designs with multiple elements, jobs where you might need to adjust colours or text.
Watch out for: Linked images that aren’t embedded, live effects that need flattening before production, and files saved in newer versions than your software supports.
Encapsulated PostScript (.EPS)
EPS has been the universal exchange format for decades. Nearly every design and production application reads EPS files, making it the safest choice when you don’t know what software the recipient uses.
Best for: Cross-platform compatibility, sending files to shops with older equipment, archival purposes.
Watch out for: Some EPS files contain rasterised previews at low resolution—the actual vector data may be fine, but the preview looks terrible. Always zoom in to check true quality.
Scalable Vector Graphics (.SVG)
SVG is increasingly common, especially from web designers and online design tools. It’s an open standard that works well for simple graphics and logos.
Best for: Web-to-print workflows, designs created in browser-based tools, simple logos and icons.
Watch out for: Complex gradients and effects may not translate correctly. Some SVGs contain embedded raster images that defeat the purpose of vector. Check file size—a 50MB SVG probably has a photograph hiding inside.
AutoCAD Drawing Exchange (.DXF)
DXF is the standard for CNC routing and laser cutting. It strips away the visual formatting and delivers pure geometry—exactly what cutting equipment needs.
Best for: Router-cut letters, laser-cut metal, any production method that follows toolpaths.
Watch out for: DXF files need clean, closed paths. Open endpoints, overlapping lines, and tiny gaps cause cutting errors. Always run a path cleanup before sending to the machine.
When to Use Each Vector Format
| Production Method | Recommended Format | Alternative |
|---|---|---|
| Large format print | AI or EPS | High-res PDF |
| Vinyl cutting | EPS or AI | SVG |
| CNC routing | DXF | AI (converted) |
| Laser cutting | DXF | SVG |
| Screen printing | EPS | AI |
Raster Formats and When to Use Them
Raster images store artwork as grids of pixels. They’re necessary for photographs and some complex imagery, but they come with resolution constraints that vectors don’t have.
TIFF for Print Production
TIFF (Tagged Image File Format) is the professional standard for raster print production. It supports CMYK colour, high bit depth, and lossless compression.
Best for: Photographic elements in signage, high-quality scans, any raster content that needs to maintain quality through the production process.
Specifications: Request TIFFs in CMYK colour space, at the resolution appropriate for viewing distance, with LZW compression to reduce file size without quality loss.
PNG for Web-to-Print
PNG works well for web-originated graphics, particularly logos and icons with transparency. However, it’s inherently RGB, requiring colour conversion for print.
Best for: Graphics from web sources, images with transparency, proofing and mockups.
Limitations: Always in RGB (needs conversion), can’t embed CMYK profiles, not suitable as a final production format for print.
Why JPEG Falls Short
JPEG uses lossy compression—every save degrades quality. Those compression artefacts that are invisible on screen become obvious when printed at large scale.
The problem: A logo saved as JPEG picks up fuzzy edges and colour banding. Each edit-and-save cycle makes it worse. By the time it reaches your shop, that crisp logo has visible blocks around every edge.
When JPEG is acceptable: Original photographs at adequate resolution, one-time use where the original won’t be edited again, viewing distances over 10 metres where artefacts won’t be visible.
Resolution Requirements by Viewing Distance
Resolution isn’t one-size-fits-all. A billboard viewed from a motorway needs far fewer pixels per inch than a point-of-sale sign on a counter.
| Viewing Distance | Minimum Resolution |
|---|---|
| Under 1 metre | 200-300 DPI |
| 1-3 metres | 150 DPI |
| 3-10 metres | 75-100 DPI |
| 10-50 metres | 35-50 DPI |
| Over 50 metres | 20-35 DPI |
These figures are at final print size. A 3-metre wide banner viewed from 5 metres needs about 100 DPI—which means the file should be roughly 12,000 pixels wide.
CNC File Types and Laser Cut Files
Cutting equipment doesn’t care about colours or gradients. It needs paths—precise lines that tell the machine where to cut, how deep, and in what order.
What Is a DXF File?
DXF stands for Drawing Exchange Format. Developed by Autodesk in the 1980s, it was designed to enable data exchange between AutoCAD and other programs. Today, it’s become the standard file format for CNC routing and laser cutting across the sign industry.
A DXF file contains pure geometry—points, lines, arcs, and curves—without the visual formatting found in design files. There are no gradients, no shadows, no colour fills. Just the mathematical description of shapes that a cutting machine can follow.
DXF files are used for:
- CNC router cutting paths
- Laser cutting and engraving
- Plasma cutting for metal signs
- Waterjet cutting
- Vinyl cutter toolpaths (though EPS is more common)
Why sign shops prefer DXF:
- Universal compatibility with CAM software
- Clean geometry without unnecessary data
- Smaller file sizes than native CAD formats
- No font issues (everything is paths)
- Direct import to most cutting equipment
When you send a DXF file to a sign shop, you’re sending exactly what the machine needs: cut paths. Nothing more, nothing less.
Understanding Toolpath Files
The file you send to a CNC router or laser cutter isn’t the same as your design file. Design software creates artwork; CAM (Computer-Aided Manufacturing) software converts that artwork into toolpaths.
Common toolpath formats:
- G-code: Universal machine language, works with most CNC equipment
- HPGL: Standard for vinyl cutters and plotters
- Proprietary formats: Some machines use manufacturer-specific files
Most sign shops handle the CAM conversion in-house. What they need from you is clean vector artwork in a format their CAM software can read.
DXF vs DWG for Routing
Both formats come from AutoCAD, but they serve different purposes.
DXF (Drawing Exchange Format): Open standard, universally readable, contains only geometry. This is what most sign shops want for production.
DWG (AutoCAD Drawing): Native AutoCAD format, contains additional data like dimension styles and block definitions. Useful if you’re collaborating with architects, but overkill for sign production.
For sign work, DXF is almost always the right choice. It strips away the complexity and delivers what the machine needs: lines and curves.
Preparing Files for Laser Cutting
Laser cutters are particularly sensitive to file quality. The laser follows the path exactly—every overlapping line gets cut twice, every open path gets an unwanted entry or exit point.
Laser cutting checklist:
- All paths closed (no gaps at corners)
- No overlapping or duplicate paths
- Paths joined where possible (reduces cut time)
- Appropriate kerf compensation for material thickness
- Separate layers for cut, engrave, and score operations
Test your file on scrap before committing to expensive material. A few minutes of testing prevents costly mistakes.
Production-Ready Specifications
Even perfect artwork can fail in production if it’s not set up correctly for the output method.
Colour Space: CMYK vs RGB
Monitors display RGB (red, green, blue). Printers output CMYK (cyan, magenta, yellow, black). Converting between them changes colours—sometimes dramatically.
The fix: Work in CMYK from the start for print projects. If you receive RGB files, convert early and get customer approval on the converted colours before production.
Pantone considerations: For brand colours, ask for Pantone references. CMYK can approximate most Pantone colours, but exact matches require spot colour printing or vinyl selection.
Bleed and Safety Margins
Bleed is the artwork that extends beyond the trim line, allowing for cutting tolerance. Without bleed, you get white edges on trimmed pieces.
Standard bleed: 3mm for small format, 10mm for large format, more for hand-trimmed items.
Safety margin: Keep critical elements (text, logos) at least 5mm inside the trim line. More for large format.
Font Handling: Outlines vs Embedded
Fonts cause more production problems than almost anything else. The font that looks perfect on the designer’s computer might not exist on the production system.
Convert to outlines: The safest approach. Text becomes vector paths, eliminating font dependency. Downside: text can no longer be edited.
Embed fonts: Keeps text editable but requires the production system to support font embedding. Works for PDF, less reliable for other formats.
Never: Send files with live text and no fonts. This guarantees substitution errors.
Layer Organisation Best Practices
Organised layers speed up production. Chaotic layers mean staff spend time guessing what goes where.
Recommended layer structure:
- Background elements (lowest)
- Photographic/raster content
- Vector graphics
- Text elements
- Cut lines/die lines (highest, often in spot colour)
Name layers clearly. “Layer 47 copy 3” tells nobody anything. “White vinyl - cut” does.
Common File Issues and How to Fix Them
These problems appear daily in sign shops. Knowing how to handle them keeps jobs moving.
Low Resolution Artwork
Symptom: Images look fine on screen but pixelated when printed.
Fix: There isn’t one, really. You can’t add detail that doesn’t exist. Options are: get a higher resolution original, reduce print size, or increase viewing distance.
Prevent: Check resolution before accepting the job. Divide pixel dimensions by required DPI to get maximum print size.
Missing Fonts
Symptom: Text appears in a different typeface, or is missing entirely.
Fix: Request fonts from the customer, or ask for files with fonts converted to outlines.
Prevent: Add “fonts outlined” to your file requirements.
Incorrect Colour Profiles
Symptom: Printed colours don’t match screen colours, or colours shift unexpectedly.
Fix: Convert to the correct colour space (usually CMYK for print). Verify profile assignment, not just mode conversion.
Prevent: Specify colour space requirements upfront. Provide colour proofs for customer approval.
Open Paths in Cut Files
Symptom: Cutting equipment won’t process the file, or creates unexpected entry/exit points.
Fix: Use your software’s path cleanup tools. In Illustrator, try Object > Path > Join. In CAD software, use polyline editing to close gaps.
Prevent: Request closed paths in your file specifications.
Overlapping Objects
Symptom: Double cuts on routers and lasers, knockout issues in print.
Fix: Remove duplicate objects. Merge overlapping paths where appropriate.
Prevent: Review files in outline mode (Illustrator: View > Outline) to spot hidden overlaps.
Frequently Asked Questions
What is the best file format for sign production?
Vector formats like AI, EPS, or SVG are best for most sign production as they scale without quality loss. For CNC routing and laser cutting, DXF is the standard format.
Can I use a JPEG for large format sign printing?
JPEGs can work for large format printing if the resolution is adequate for viewing distance—typically 75-150 DPI at final size. However, TIFF or vector formats are preferred as JPEG compression can cause visible artefacts.
What resolution do I need for outdoor signage?
Outdoor signage viewed from 10+ metres needs only 35-50 DPI at final size. Signs viewed from 3-10 metres require 75-100 DPI. Close-up viewing under 3 metres needs 150 DPI minimum.
Why won’t my sign shop accept my PDF file?
PDFs may contain rasterised elements, missing fonts, or RGB colours instead of CMYK. Request that your designer provide the original vector file (AI or EPS) or a PDF with fonts outlined and images embedded at adequate resolution.
What is a DXF file used for in sign making?
DXF (Drawing Exchange Format) is the standard for CNC routing and laser cutting in sign production. It contains vector paths that can be converted into toolpaths for cutting equipment.
Conclusion
File format problems are predictable—and preventable. Clear specifications at the start of each job, combined with thorough file review before production, eliminate most issues before they cost time and materials.
Build a file specification document for your customers. Include acceptable formats, resolution requirements, colour space preferences, and font handling expectations. The ten minutes it takes to create saves hours of back-and-forth on every job.
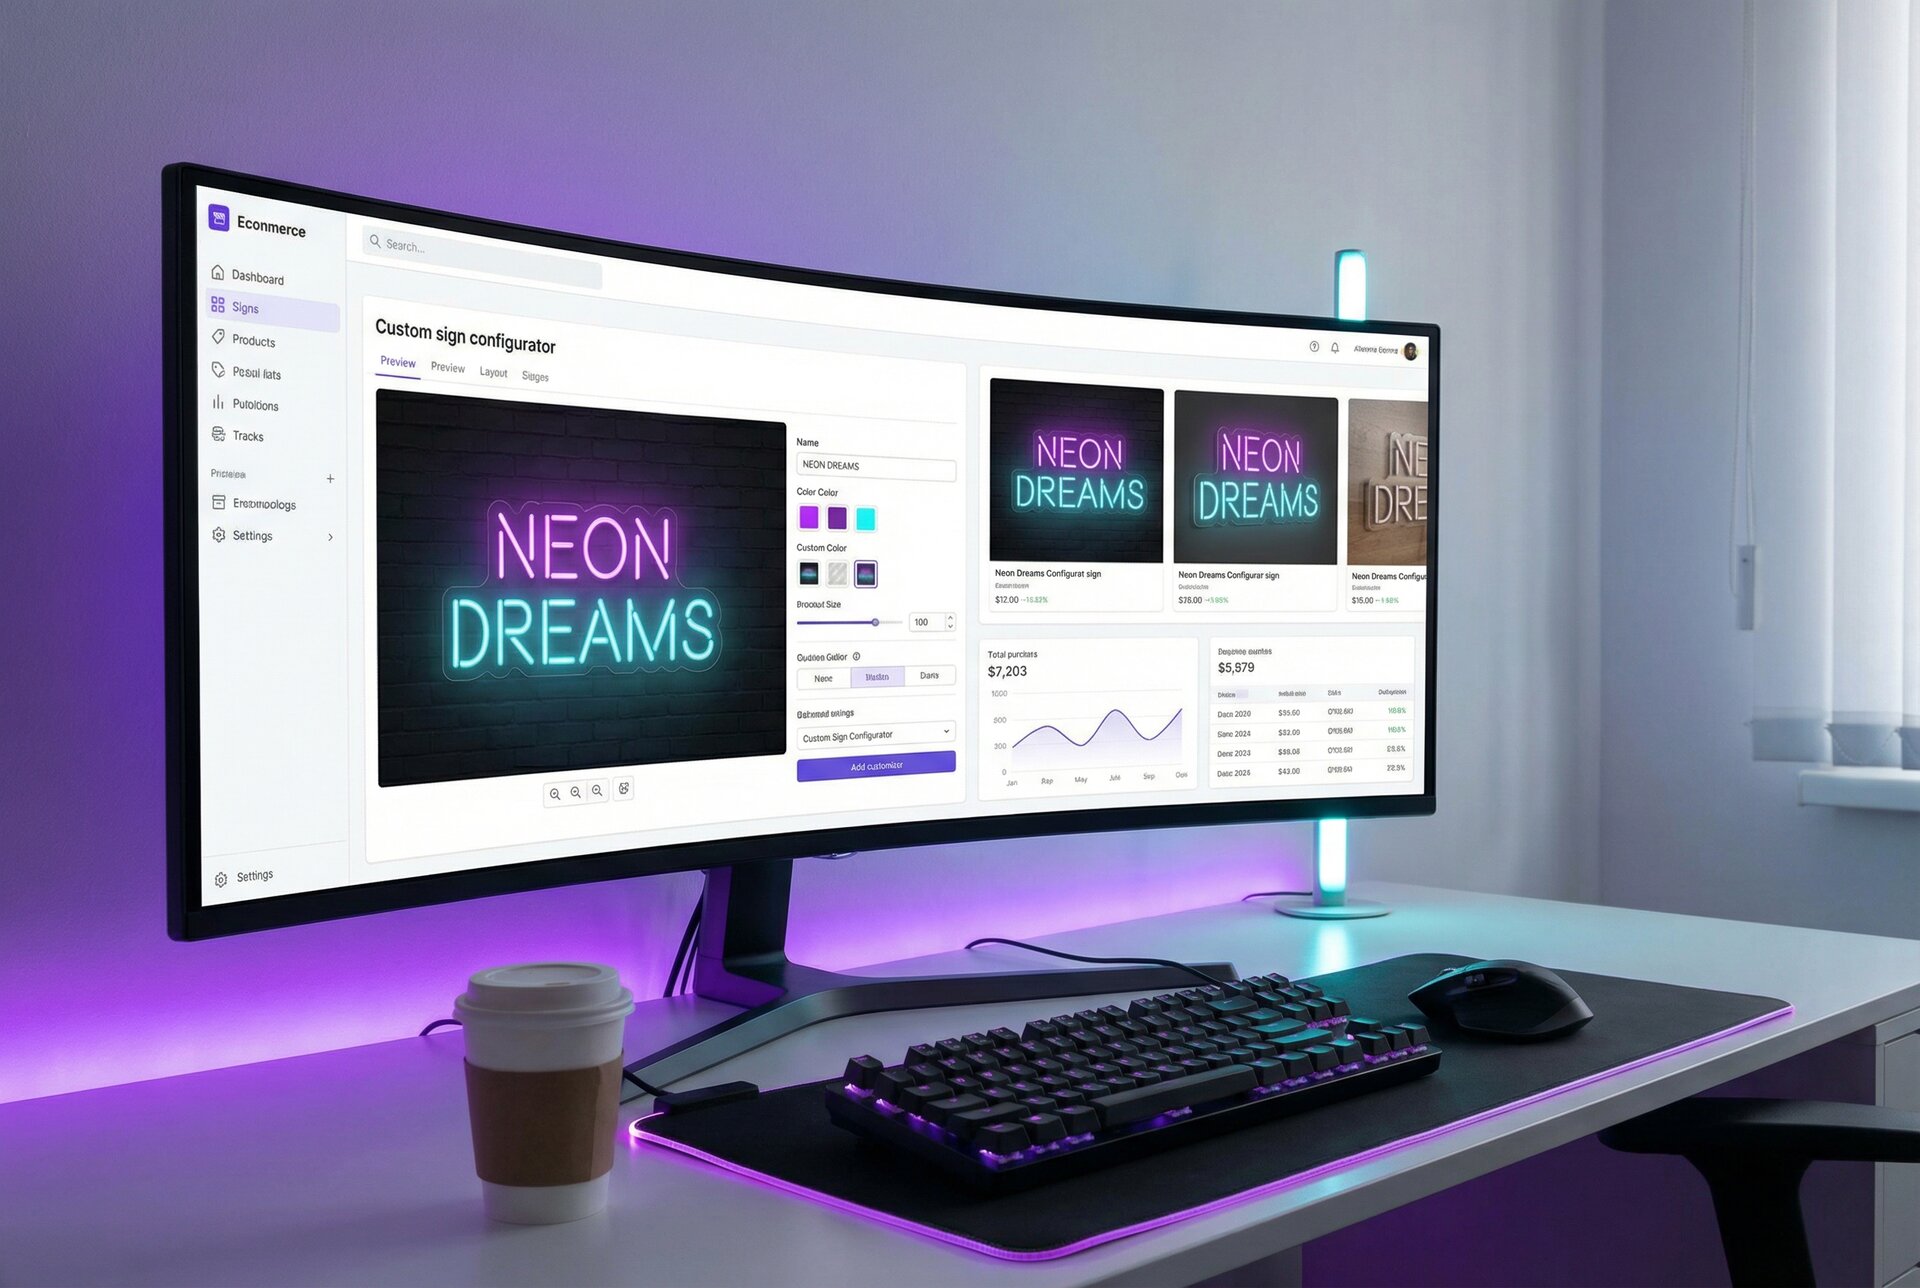
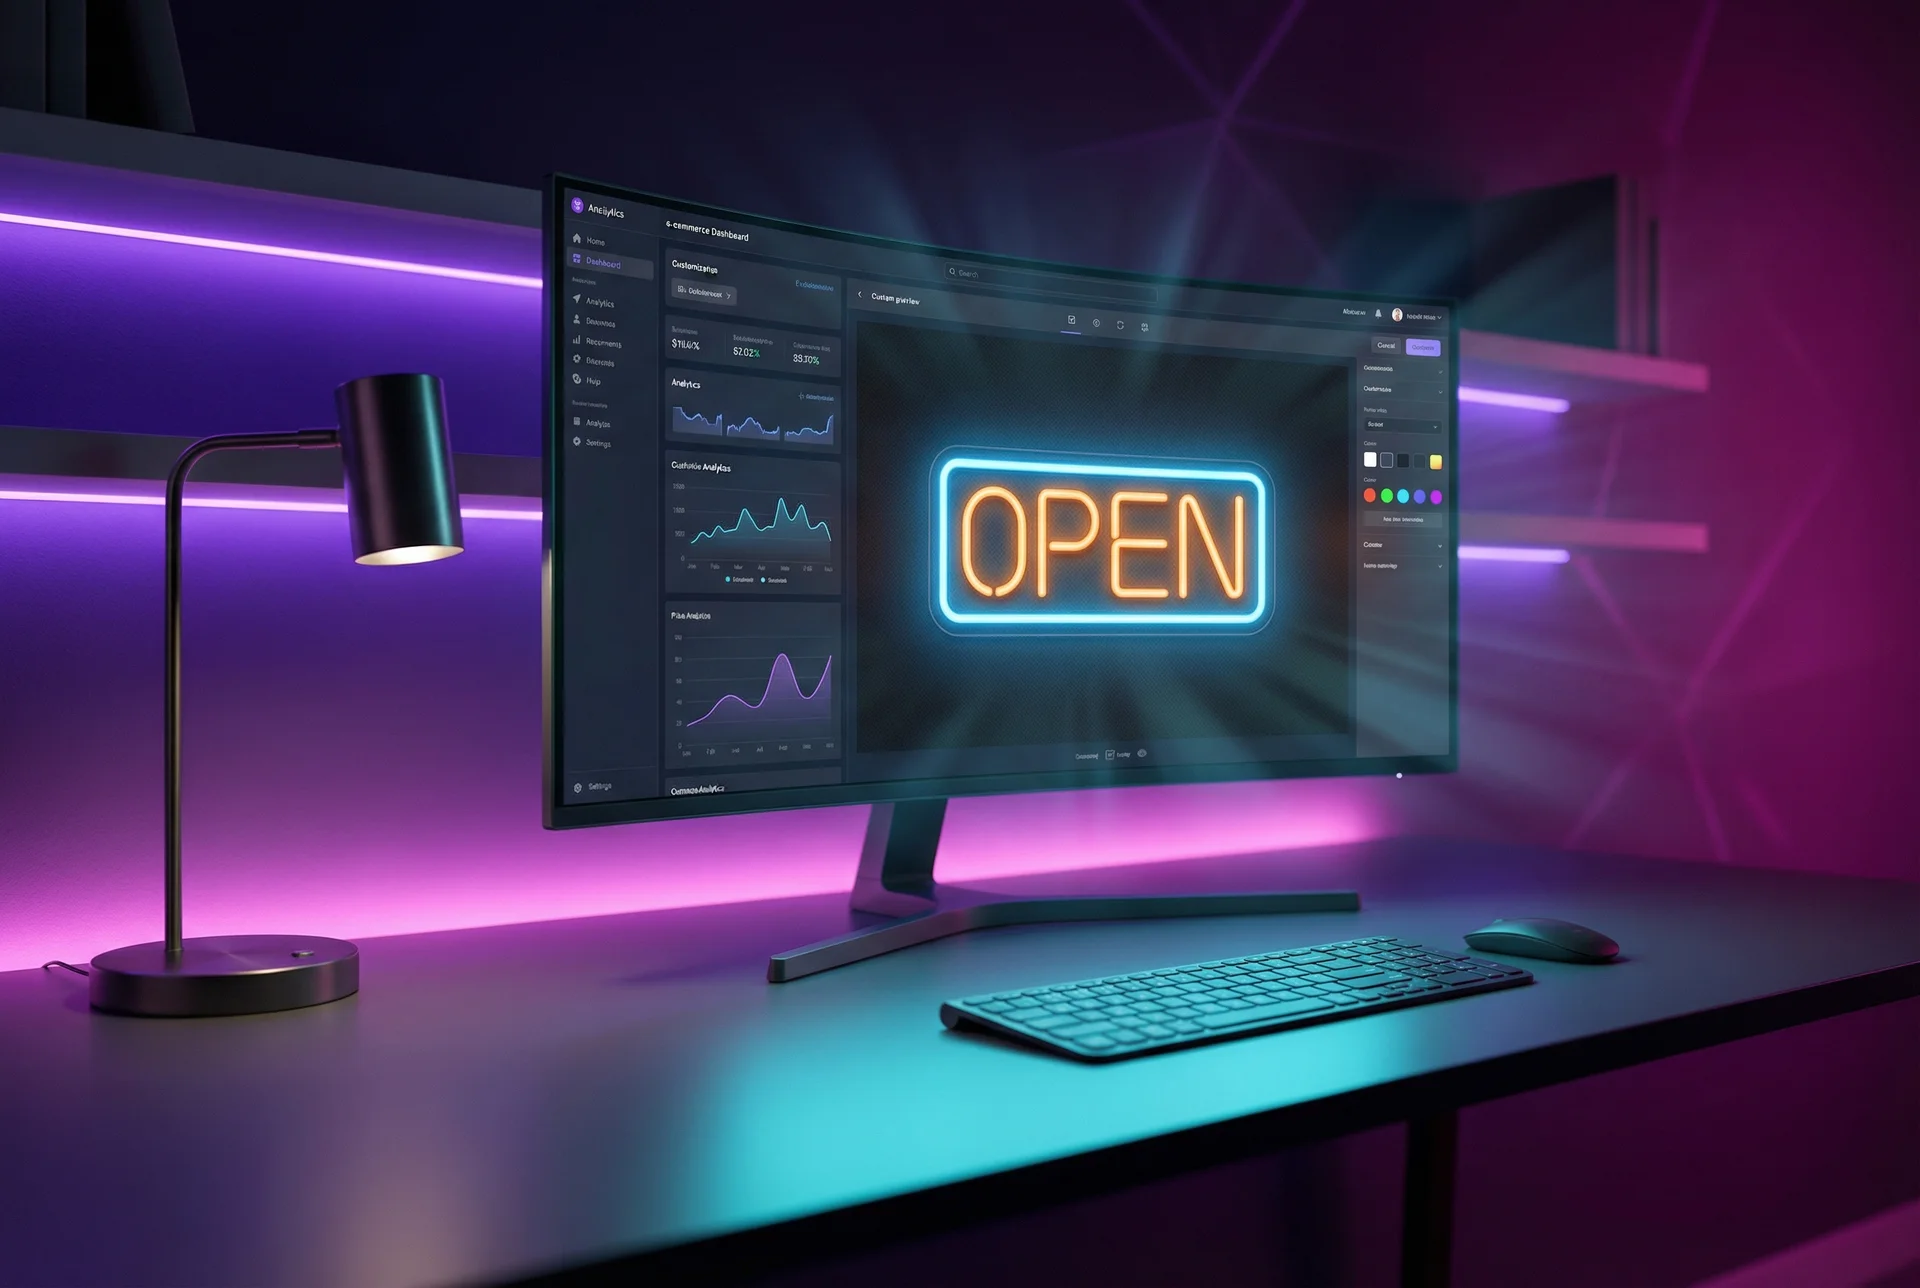
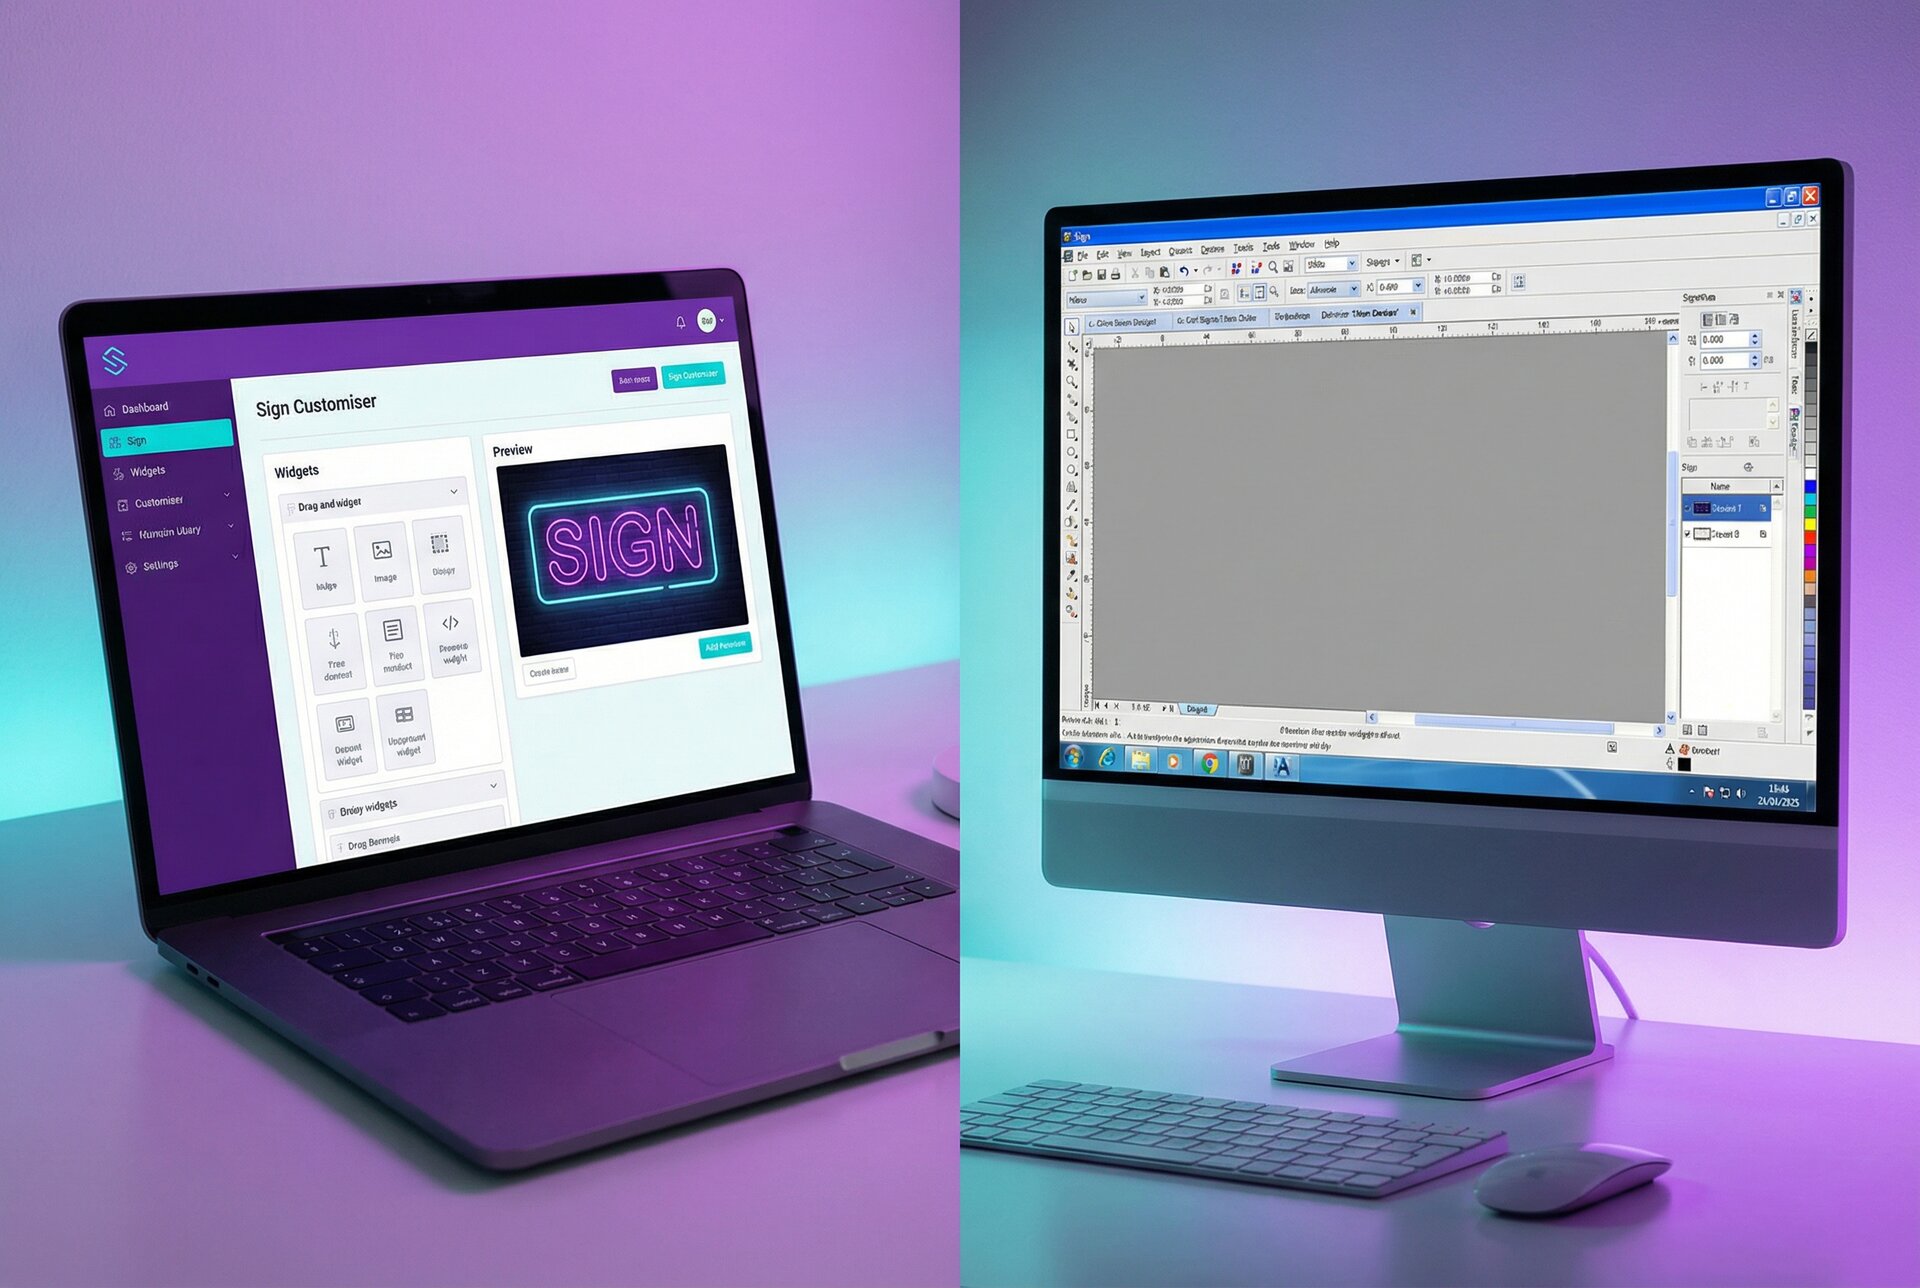
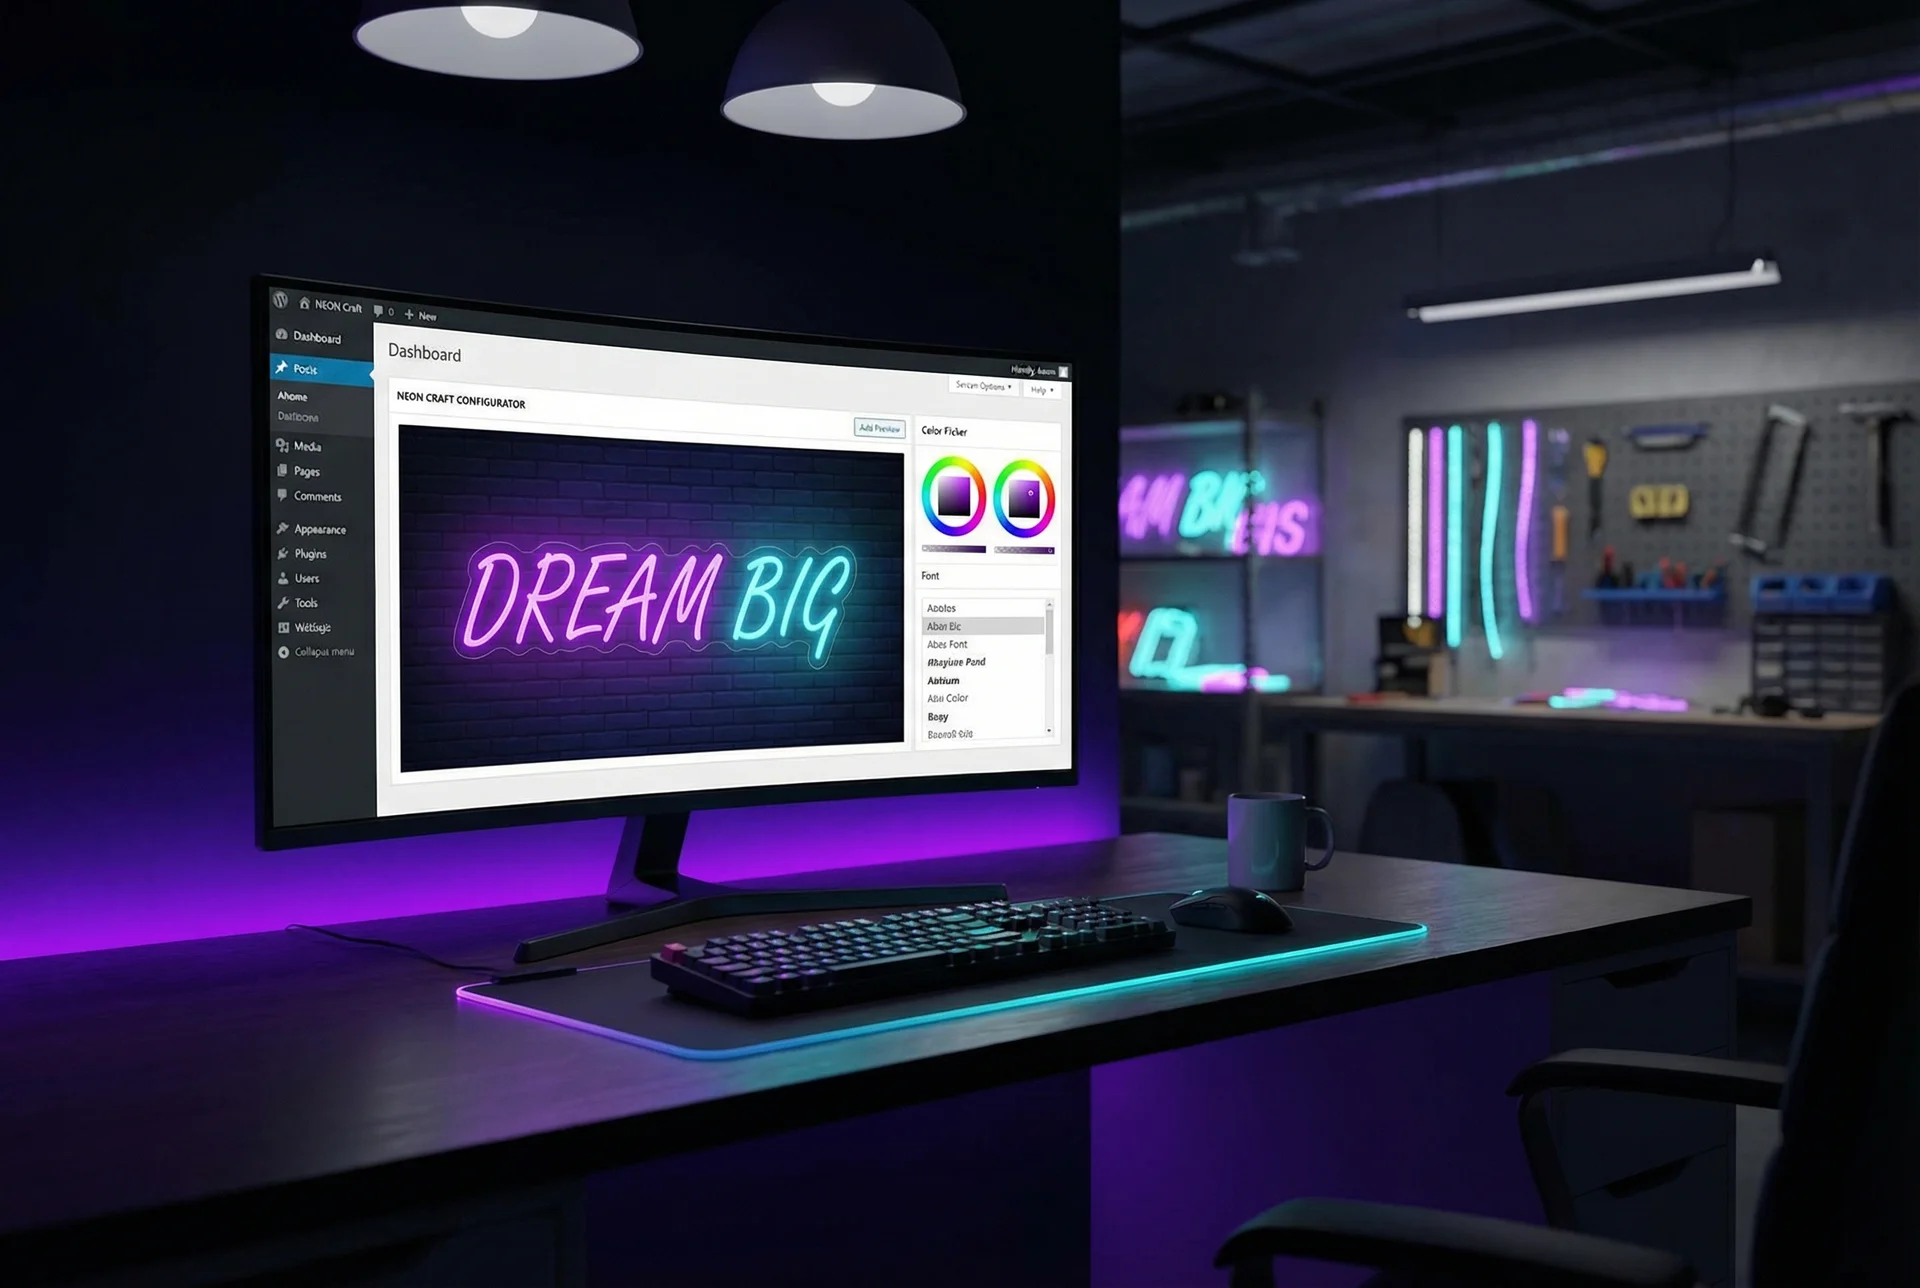
For shops looking to streamline the design-to-production handoff, Sign Customiser generates production-ready files automatically from customer designs. The customer’s creative choices flow directly into files formatted for your production equipment—no manual file prep required.
Need to understand the complete design-to-production pipeline? Our workflow guide covers every step from customer approval to shipping.