
Quality control isn’t about catching mistakes at the end of production. By then, you’ve already spent the time and materials. Effective QC is about preventing problems at each stage—so that by the time a sign reaches final inspection, passing is almost guaranteed.
Sign shops that build quality checkpoints into their workflow spend less time on rework, waste fewer materials, and ship more jobs on schedule. The investment in process pays back quickly: a ten-minute pre-production check prevents a four-hour reprint. A five-second dimension verification avoids scrapping a £300 aluminium sheet.
This guide provides practical checklists for each production stage. Adapt them to your specific products and processes, but don’t skip the principles behind them.
Why Quality Control Matters in Sign Production
Custom signage has no inventory buffer. Every piece is made to order, often to tight deadlines. There’s no picking a replacement from the warehouse when something goes wrong.
The cost of quality failures:
- Material waste: Scrapped substrates, vinyl, ink, and components
- Labour waste: Time spent on work that won’t ship
- Schedule disruption: Rush jobs to remake failed pieces
- Customer relationships: Missed deadlines erode trust
- Reputation damage: Poor quality travels further than good reviews
Quality problems compound. A file error not caught in pre-production causes a printing error, which causes a mounting error, which means the entire job ships late and wrong. Each stage is a chance to prevent the next problem.
Pre-Production Quality Gates
The cheapest place to catch problems is before production begins. Every job should pass these gates before touching any equipment or materials.
File Review Checklist
Before any job enters the production queue, verify:
Format and specifications:
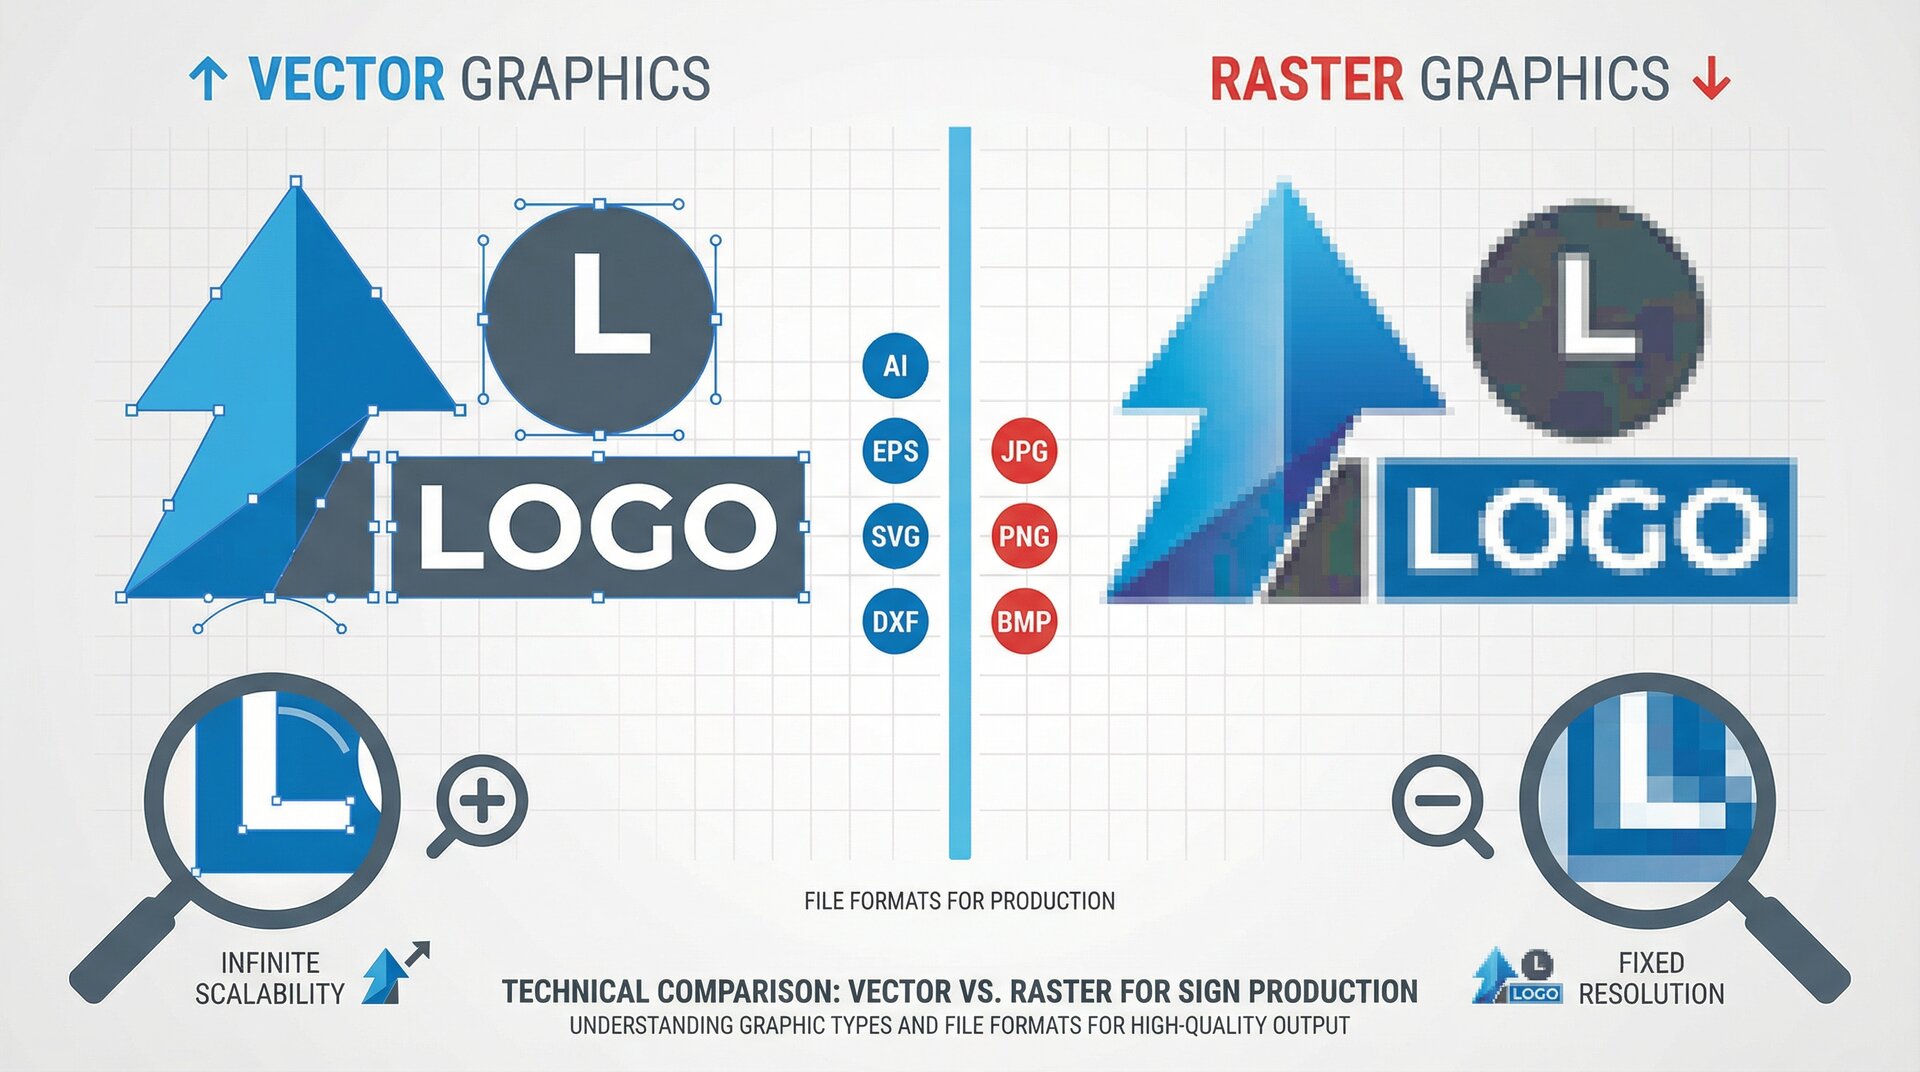
- File format is appropriate for production method
- Resolution is adequate for viewing distance (check actual dimensions, not just DPI)
- Colours are in correct colour space (CMYK for print, Pantone references documented)
- Fonts are outlined or embedded (open the file and verify—don’t trust file names)
- All linked images are embedded at adequate resolution
Content accuracy:
- Text matches order exactly (spelling, punctuation, capitalisation)
- Dimensions match order specifications
- Design elements match approved proof
- Customer has signed off on proof
Production requirements:
- Bleed and safety margins are adequate
- Cut paths are clean, closed, and correctly positioned
- Special finishes or processes are documented
- Files are named clearly with job reference
Who checks: Assign file review to a specific role. Don’t assume “someone” will check. One person owns this gate for each job.
Material Verification Checklist
Before production starts, confirm materials are ready:
Substrate:
- Correct material type for the job
- Adequate quantity in stock
- Material is cut to size (or scheduled for cutting)
- Material is in acceptable condition (no damage, warping, or contamination)
- Surface preparation is complete or scheduled
Consumables:
- Ink/toner levels adequate for job
- Correct vinyl colour in stock
- LEDs, power supplies, and electrical components available
- Hardware and fixings in stock
Who checks: Production scheduler or materials manager. This should happen 24-48 hours before scheduled production.
Equipment Readiness Checklist
The morning of production, verify equipment status:
Printers:
- Nozzle check completed—no missing or deflected jets
- Correct media profile loaded
- Adequate ink for the job
- Print bed clean and level
Cutters and routers:
- Appropriate tools installed and sharp
- Vacuum or hold-down functioning
- Origin point verified
- Exhaust and dust collection working
General:
- Workspace clean and organised
- Safety equipment in place
- Environmental conditions acceptable (temperature, humidity)
Who checks: Machine operators at shift start. Document checks in a log.
In-Process Inspection Points
Quality verification during production catches problems when they’re cheapest to fix. Build these checks into your standard workflow.
After Cutting and Routing
Before moving to the next stage, verify:
- All cuts are complete—no missed features
- Dimensions are within tolerance (measure, don’t assume)
- Edges are clean—no chipping, burning, or burring
- Interior details are correct—holes, pockets, chamfers
- Material surface is undamaged—no scratches from handling
- Parts are labelled with job reference
Tolerance standards: Define acceptable tolerances for your products. ±1mm might be fine for large exterior signs but unacceptable for precision-fit components.
Who checks: Machine operator performs initial check. For high-value jobs, a second person verifies.
After Printing
Before finishing or further processing:
- Colours match approved proof (check against physical swatch, not screen)
- No print defects—banding, missed nozzles, head strikes, ink spits
- Registration is correct for multi-layer prints
- Coverage is complete—no thin spots or missed areas
- Image content matches specification
- Print is correctly positioned on substrate
Colour verification: Keep printed swatches from previous approved jobs. Compare new prints against these references, not just screen images.
Who checks: Print operator with reference proof.
After Lamination and Finishing
Before assembly or packaging:
- Laminate is correctly applied—no bubbles, wrinkles, or debris
- Edges are properly trimmed and sealed
- Finish matches specification (gloss, matte, textured)
- Surface is clean—no fingerprints, dust, or marks
- Laminate is fully adhered—check edges and corners
Timing matters: Many laminate failures come from applying too soon after printing. Verify adequate cure time before lamination.
After Assembly
For multi-component signs, verify before final inspection:
- All components present and correctly positioned
- Alignment is accurate—letters straight, elements evenly spaced
- Fixings are secure—nothing loose or rattling
- No damage from assembly handling
- Electrical connections complete (if applicable)
- Moving parts operate correctly (if applicable)
Who checks: Assembler performs self-check. Complex assemblies benefit from a separate verification step.
Electrical Testing (for Illuminated Signs)
Never ship an illuminated sign without testing:
- All sections illuminate when powered
- No flickering or intermittent connections
- Brightness is even across the sign
- Correct colour output
- Dimmer function works (if specified)
- No visible arcing, hot spots, or damaged insulation
- Power supply runs cool under load
Burn-in testing: Run illuminated signs for at least 30 minutes. Problems often appear after components warm up, not immediately at power-on.
Final Quality Assessment
The last inspection before packaging. This is your final chance to catch problems before the customer sees them.
Visual Inspection Checklist
Examine the complete sign under good lighting:
Overall appearance:
- Clean, professional finish
- No scratches, marks, or damage
- Colours consistent with approved proof
- Text correct and legible
- Finish uniform—no variations in gloss, texture, or colour
Dimensional accuracy:
- Overall size within specification
- Mounting points correctly positioned
- All features present and correctly sized
Construction quality:
- Edges properly finished
- Components securely attached
- No visible adhesive squeeze-out
- Professional appearance from intended viewing angles
Functional Testing
For signs with functional elements:
- Illumination works correctly (tested under load)
- Moving components operate properly
- Mounting hardware fits and functions
- Electrical certificates completed (where required)
Documentation Check
Verify paperwork is complete:
- Job ticket marked complete
- Quality check records signed
- Photographs taken for records
- Customer documentation prepared (installation instructions, warranties, care guides)
- Shipping documentation ready
Sign-Off Authority
Define who can approve jobs for shipping:
- Not the person who made the sign (fresh eyes catch more)
- Someone with authority to reject or require rework
- Documented approval with signature and date
Keep records. When a customer claims a defect, you need to show what was checked and who approved it.
Common Defects and Prevention
Knowing what goes wrong helps you catch problems earlier. These are the issues that appear most often in sign production.
Print Defects
Banding: Horizontal lines across prints.
- Cause: Misaligned print heads, worn nozzles, incorrect media settings
- Prevention: Regular maintenance, correct profiles, calibration checks
Colour variation: Inconsistent colour across the print or between prints.
- Cause: Low ink, temperature changes, uncalibrated equipment, wrong profiles
- Prevention: Monitor ink levels, control environment, regular calibration
Media handling marks: Scratches, scuffs, or roller marks on printed surface.
- Cause: Dirty rollers, incorrect tension, improper handling
- Prevention: Clean equipment, proper media loading, handle with care
Cutting Defects
Edge quality issues: Chipping, burning, burring, or fuzzy edges.
- Cause: Worn tools, incorrect speeds and feeds, wrong tool for material
- Prevention: Scheduled tool changes, proper settings, appropriate tooling
Dimensional errors: Parts not matching specified dimensions.
- Cause: Incorrect origin, material shift, thermal expansion, miscalibration
- Prevention: Verify origin, secure material, temperature control, regular calibration
Missed cuts: Incomplete cut paths or missed features.
- Cause: File errors, toolpath problems, material lifting
- Prevention: File verification, toolpath simulation, proper hold-down
Assembly Defects
Alignment errors: Crooked text, uneven spacing, mispositioned elements.
- Cause: Poor templates, rushing, inadequate fixtures
- Prevention: Proper jigs, adequate time, verification before fixing
Adhesive failures: Components delaminating or adhesive visible.
- Cause: Wrong adhesive, inadequate surface prep, insufficient cure time
- Prevention: Correct adhesive selection, proper cleaning, patience
Electrical Defects
Intermittent operation: Flickering, dead sections, random failures.
- Cause: Poor connections, damaged cables, inadequate power supply
- Prevention: Proper soldering, strain relief, correctly rated PSU
Uneven illumination: Hot spots, dark areas, visible LED points.
- Cause: Incorrect spacing, inadequate diffusion, mixed LED batches
- Prevention: Consistent installation, quality materials, batch control
Building a Quality Culture
Checklists only work if people use them. Quality culture means everyone understands why these checks matter.
Leadership commitment: Quality isn’t optional when things get busy. If management allows shortcuts under deadline pressure, staff learn that checklists are suggestions.
Training: Everyone should understand what they’re checking and why. “Check the edges” means nothing without knowing what good edges look like.
Feedback loops: When defects are found, trace them back to their origin. Share what went wrong and how to prevent it. Blame creates hiding; learning creates improvement.
Recognition: Celebrate catches, not just completions. The person who stops a bad job from shipping has saved more value than the person who pushed it through.
Continuous improvement: Review defect patterns monthly. If the same problems keep appearing, the process needs adjustment—not just more careful checking.
Frequently Asked Questions
What is quality control in sign making?
Quality control in sign making is a systematic process of inspection and verification at each production stage to ensure finished signs meet specifications and quality standards. It includes file review before production, in-process checks during manufacturing, and final inspection before shipping. Effective QC catches problems early when they’re cheapest to fix.
How do you inspect custom signs before shipping?
Final inspection includes visual examination under good lighting (checking for scratches, colour accuracy, and finish quality), dimensional verification (measuring overall size and mounting point positions), and functional testing (illumination for lit signs, operation of any moving parts). Photograph every sign before packing to document its condition at shipping.
What are common sign production defects?
Common defects include print issues (banding, colour variation, media handling marks), cutting problems (edge chipping, dimensional errors, missed cuts), assembly errors (misalignment, adhesive failures), and electrical faults (flickering, uneven illumination). Each defect type has specific causes and prevention strategies detailed in a comprehensive QC programme.
How often should sign shop equipment be calibrated?
Printers should be calibrated for colour accuracy at least monthly, or whenever media types change. CNC routers need origin verification at each job start and periodic checks of axis accuracy. Cutting tools should follow manufacturer replacement schedules rather than waiting for visible quality degradation. Document all calibration and maintenance activities.
What documentation should accompany quality checks?
Quality records should include job reference, date and time of inspection, name of inspector, specific items checked, pass/fail status, and notes on any issues found or corrective actions taken. For illuminated signs, include electrical test results. Retain records for warranty period plus reasonable margin—typically 3-5 years minimum.
Conclusion
Quality control isn’t bureaucracy. It’s the system that turns one-time customers into repeat buyers and saves the time and money lost to rework.
Start with the basics: a file review before production, dimension checks after cutting, and visual inspection before shipping. Add more detailed checks as you identify recurring problems.
The goal is simple: every sign that leaves your shop should be one you’re proud of. Build the checks that make that achievable, every time.
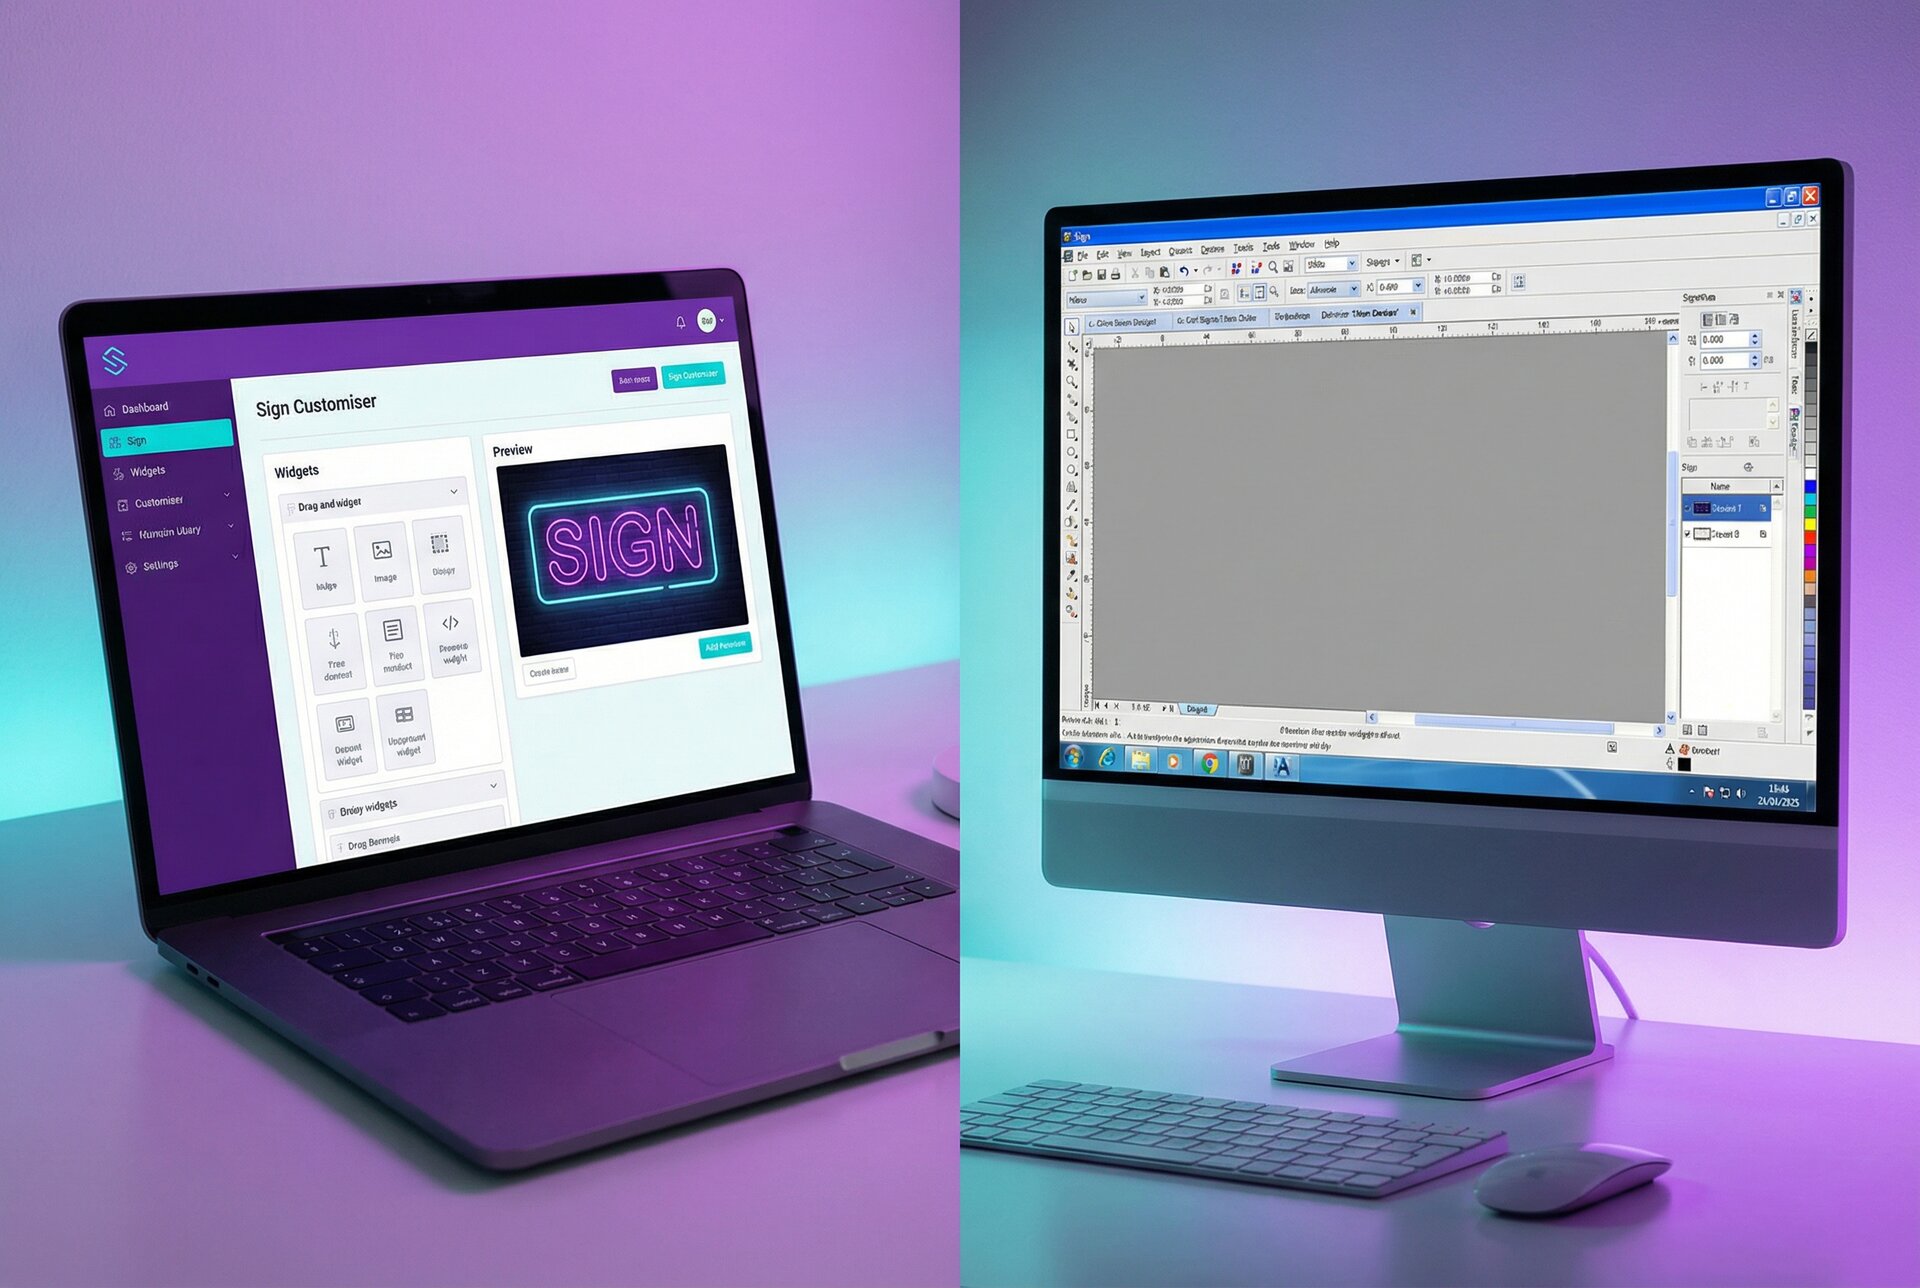
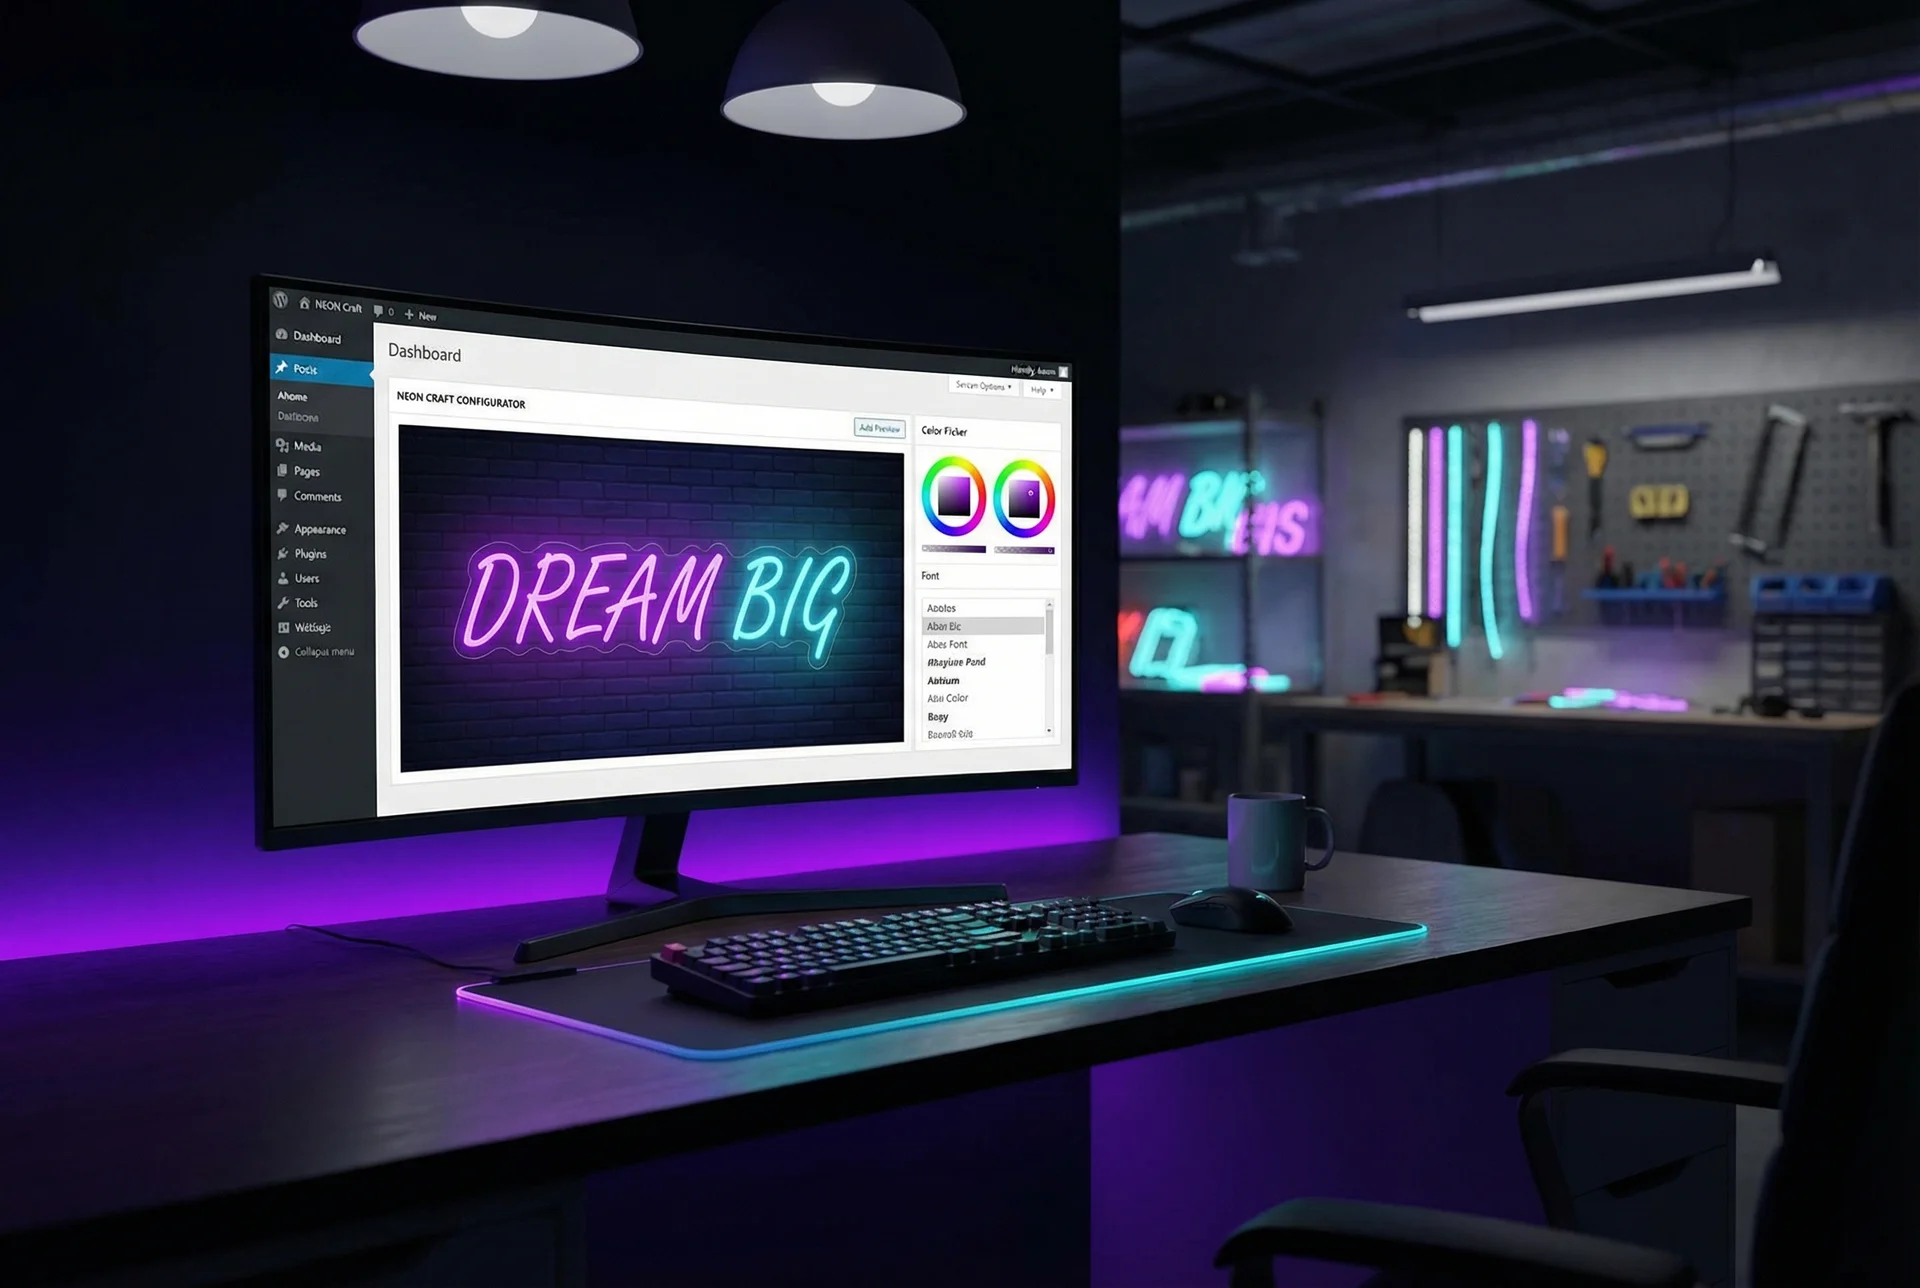
For sign shops looking to reduce file-related quality issues, Sign Customiser generates production-ready files directly from customer designs. No more chasing specifications or fixing customer artwork—the design tool captures requirements upfront. Explore our features to see how automated design-to-production handoffs support consistent quality, or read our complete production workflow guide for end-to-end process optimization.