
Acrylic letters are the workhorse of the sign industry—affordable to produce, easy to ship, and popular with businesses of all sizes. A typical sign shop marks up acrylic letters 150-250%, making them one of the most profitable product lines you can offer.
This guide covers the practical side: material costs, pricing by size and thickness, which fonts cut cleanly, and how to configure Sign Customiser to sell acrylic letters online. Whether you’re manufacturing in-house or dropshipping from a trade supplier, you’ll find actionable information for building this product line.
What are acrylic letters?
Acrylic letters are cut from sheets of PMMA (polymethyl methacrylate), the same material sold as Perspex, Plexiglas, or Lucite. They’re produced using laser cutters, CNC routers, or water jets, depending on thickness and quantity.
Standard thicknesses for sign letters: 3mm, 5mm, 10mm, and 20mm. Most orders fall into 5-10mm for wall-mounted signs.
Acrylic offers 93% light transmission (clearer than glass), weighs half as much, and resists shattering. These properties make it ideal for both illuminated and non-illuminated signage.
Understanding acrylic material
Cast vs. extruded acrylic
Two manufacturing methods produce the acrylic sheets you’ll work with:
Cast acrylic is poured into moulds and cured. It has superior optical clarity, consistent thickness (±0.2mm), and machines better—laser edges come out flame-polished. Cast costs 20-30% more but produces professional results.
Extruded acrylic is pushed through rollers continuously. Thickness can vary ±10%, and laser-cut edges may require additional polishing. It’s cheaper and comes in more colours, making it suitable for budget projects.
For signage, use cast acrylic. The quality difference shows, especially on illuminated letters where edge clarity matters.
Transparency options

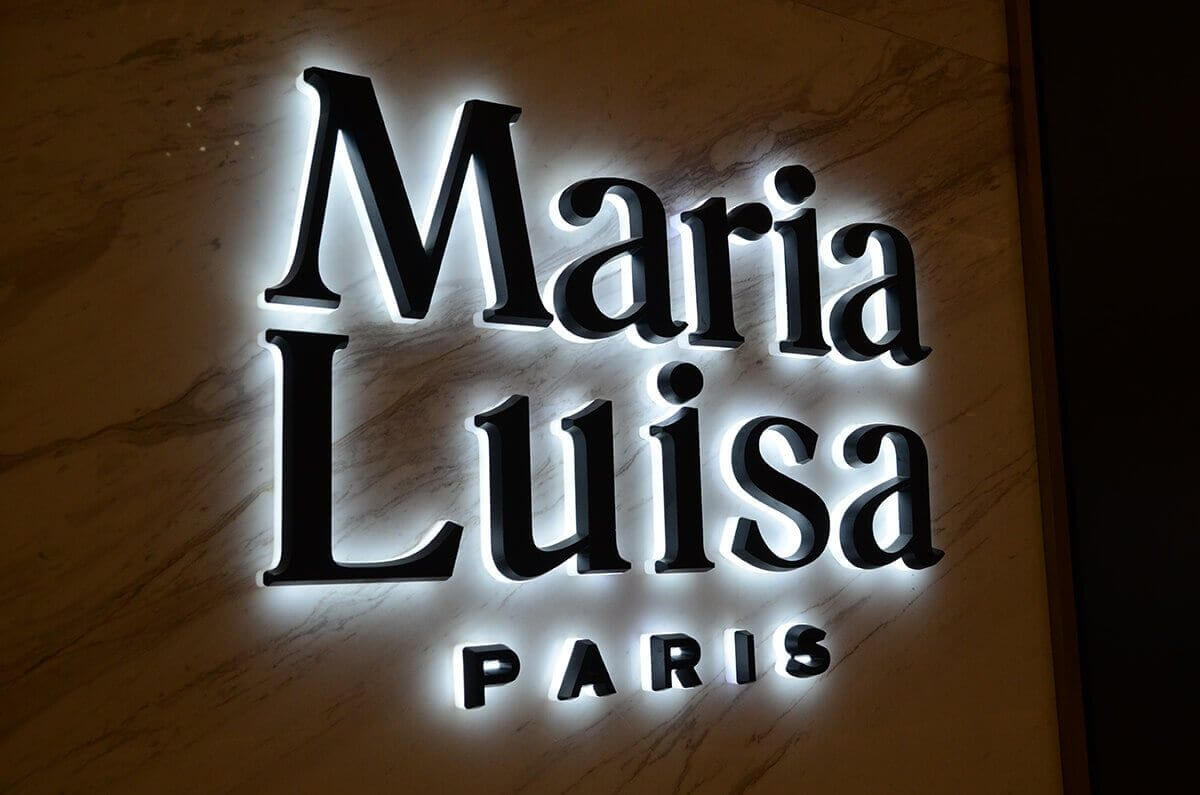
Transparent/clear acrylic transmits 93% of light. Used for illuminated letters where you want edge-lit glow effects.
Translucent/opal acrylic diffuses light evenly. The go-to choice for backlit channel letters and lightbox faces.
Opaque acrylic blocks light entirely. Standard choice for non-illuminated flat-cut letters. Available in 100+ colours including metallics.
Acrylic vs. other sign materials
| Material | Cost | Weight | Durability | Best Use |
|---|---|---|---|---|
| Acrylic | £ | Light | Good | Indoor/sheltered outdoor |
| Aluminium | ££ | Light | Excellent | Outdoor, corporate |
| Stainless steel | £££ | Heavy | Excellent | Premium outdoor |
| Wood | £-££ | Medium | Poor outdoors | Rustic/interior |
| Foam PVC | £ | Very light | Fair | Budget/temporary |
For most sign shops, acrylic covers 60-70% of letter sign orders. Metal handles premium outdoor work. Wood suits specific aesthetic niches.
Pricing acrylic letter signs
Material costs by size and thickness
Raw material costs for acrylic letters (cast acrylic sheet prices, UK 2026):
| Thickness | Sheet Cost (600×400mm) | Cost per 100mm letter | Notes |
|---|---|---|---|
| 3mm | £8-12 | £0.30-0.50 | Minimum for wall mounting |
| 5mm | £12-18 | £0.50-0.80 | Standard for most signs |
| 10mm | £22-30 | £1.00-1.50 | Premium look, good depth |
| 20mm | £40-55 | £2.00-3.00 | Statement pieces only |
These costs exclude cutting time, finishing, and hardware. For a full sign with 8-10 letters, multiply per-letter cost by 1.5× to account for waste and setup.
Retail pricing guide
Typical retail pricing for finished acrylic letters (excluding installation):
| Letter Height | Non-illuminated | Edge-lit | Backlit |
|---|---|---|---|
| 50-75mm | £8-15 each | £25-35 each | N/A |
| 100-150mm | £15-25 each | £35-50 each | £45-65 each |
| 200-300mm | £25-45 each | £55-80 each | £70-100 each |
| 400-500mm | £50-85 each | £100-150 each | £130-180 each |
Add 20-30% for script fonts (more cutting time) and metallic/specialty finishes.
Profit margins
Healthy margins for acrylic letter signs:
- Non-illuminated flat-cut: 150-200% markup on materials + labour
- Illuminated (LED): 180-250% markup
- Rush orders (under 3 days): Add 25-50% premium
A typical 8-letter business name in 150mm height costs £25-35 to produce (materials + 30 minutes cutting/finishing). Retail price: £150-250. That’s a 65-75% gross margin.
Font selection for acrylic letters
Not all fonts cut cleanly in acrylic. Thin strokes break, tight kerning creates weak points, and overly decorative scripts may not survive handling.
Fonts that work well
Sans-serif fonts (Helvetica, Arial, Montserrat, Gotham): Clean cuts, no weak points, fast production. Ideal for corporate signage.
Geometric fonts (Futura, Proxima Nova, Brandon Grotesque): Modern look, consistent stroke widths, reliable cutting.
Slab serifs (Rockwell, Museo Slab, Roboto Slab): Thicker serifs survive cutting. Good compromise between style and durability.
Fonts to avoid or modify
Thin scripts (Pinyon Script, Great Vibes): Strokes under 3mm wide will break in 3mm acrylic. Either enlarge significantly or use thicker material.
Hairline weights (Helvetica Neue Ultralight, Lato Thin): Same problem—insufficient material for structural integrity.
Tight kerning: Letters touching or nearly touching create weak connections. Expand letter spacing by 10-20%.
Font guidelines for customers
When customers submit custom fonts:
- Check minimum stroke width (3mm minimum for 5mm acrylic)
- Verify closed shapes (floating elements like dots on “i” need connections)
- Request outline files (OTF/TTF or vector AI/EPS)
- Warn about cursive fonts requiring bridges or backing plates
Applications by industry
Retail: Storefront signage, window displays, promotional lettering. Most orders: 100-200mm height, opaque colours.
Corporate: Reception signage, office branding, directory boards. Preference for 3D raised letters with brushed or metallic finishes.
Hospitality: Hotel reception, restaurant menus, room numbers. Often backlit or edge-lit for ambiance.
Healthcare: Wayfinding, department signage, exterior identification. Focus on clarity and ADA compliance for letter sizing.
Types of acrylic letter signs
Flat-cut acrylic letters
The most common type. Letters are cut from sheet acrylic using laser or CNC router, producing clean edges with 3-20mm depth. Production time: 15-30 minutes per sign.
Best for: Reception signs, office branding, retail displays, interior wayfinding. Most cost-effective option for non-illuminated signage.
Limitations: Single depth only, no built-in illumination (though can be backlit against wall).
Molded/formed acrylic letters
Acrylic sheet heated and vacuum-formed over moulds to create curved, dimensional shapes. More complex than flat-cut, requiring tooling investment.
Best for: High-volume identical letters, curved brand logos, retail chains needing consistency across locations.
Limitations: Mould costs (£200-500 per letter design), minimum quantities to justify tooling.
Laser-cut acrylic letters
Subset of flat-cut using CO2 lasers. Produces flame-polished edges automatically—no secondary finishing needed. Handles intricate details that CNC routers can’t achieve.
Best for: Fine scripts, detailed logos, small letters (under 50mm), clear acrylic where edge quality matters.
Limitations: Maximum thickness ~25mm, slower than CNC for large runs.
3D acrylic letters
Letters mounted on standoffs or studs to project 10-50mm from the wall surface. Creates shadow effects and premium appearance. See our detailed 3D acrylic letters guide.
Best for: Lobby signage, corporate reception, anywhere seeking premium appearance.
Pricing: Add 30-50% to flat-cut prices for standoff hardware and installation complexity.
Acrylic channel letters
3D box construction with acrylic face, aluminium or plastic returns, and internal LED illumination. The premium option for outdoor signage. Full details in our channel letters guide.
Best for: Storefront signs, outdoor business identification, 24-hour visibility requirements.
Pricing: 2-3× flat-cut prices due to fabrication complexity and LED components.
Illumination options
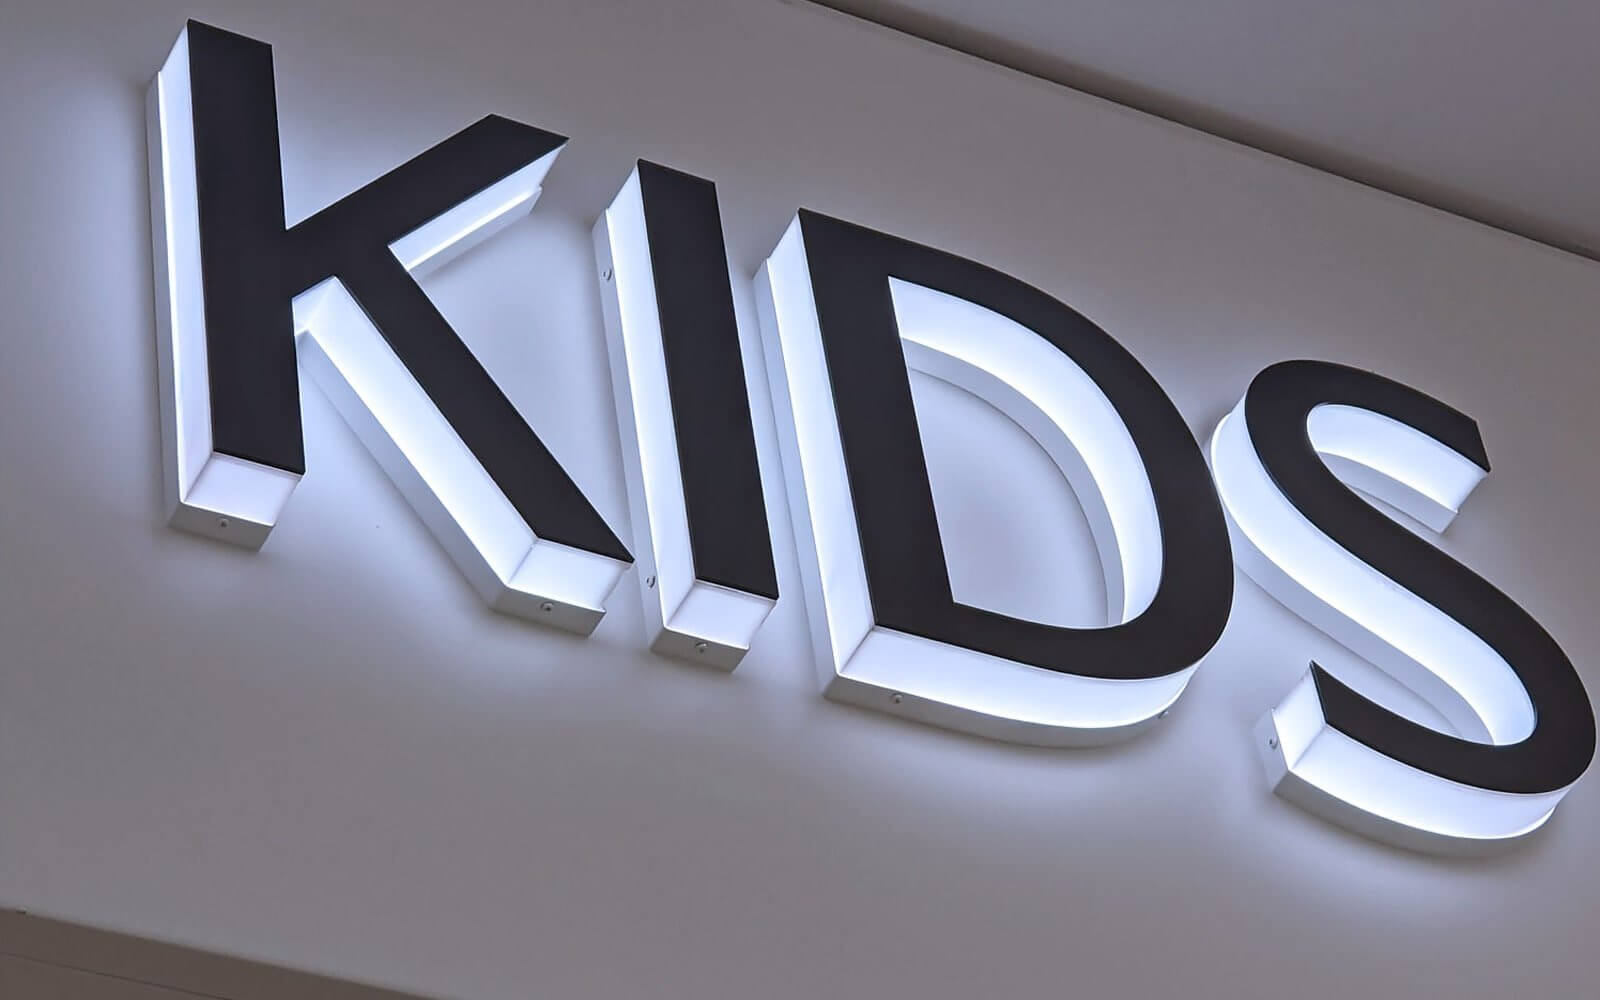
Backlit (halo-lit) acrylic letters
LEDs mounted behind letters cast light onto the wall, creating a glow around each letter. Requires 50-100mm standoff depth for proper light spread. Power consumption: 2-4 watts per letter.
Setup: Letters mounted on standoffs, LED strip or modules behind each letter, wiring concealed through wall or raceway.
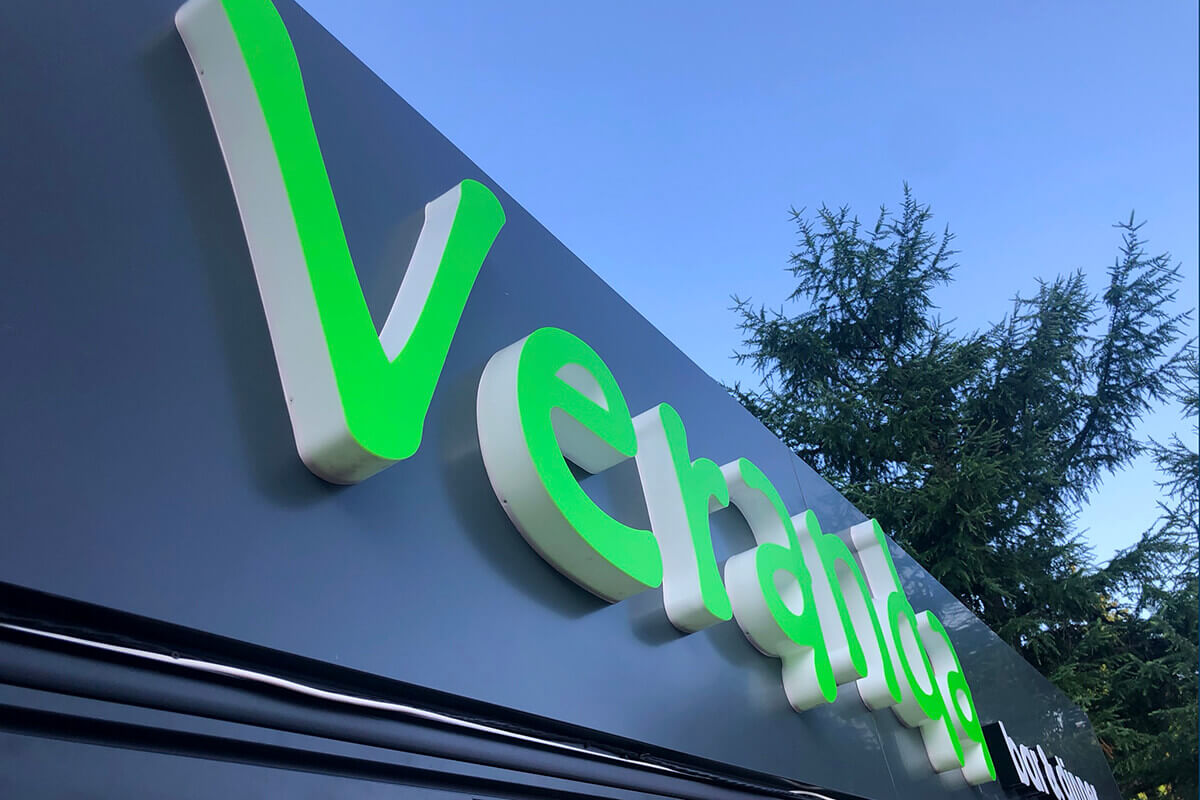
Front-lit acrylic letters
LEDs illuminate the letter face directly, either through translucent acrylic or via external spotlights. Brightest option—visible in direct sunlight. Used for outdoor commercial signage where maximum visibility matters.
Edge-lit acrylic letters
LEDs positioned at letter edges transmit light through clear acrylic. Creates a sleek, modern look with the letter appearing to glow internally. Works best with 10mm+ thickness for sufficient light transmission.
Material note: Requires clear or lightly frosted acrylic. Opaque colours won’t transmit light properly.
Finishes and surface options
Matte vs. glossy
Glossy: Standard finish, reflective, shows fingerprints easily. Good for illuminated signs where reflection adds impact.
Matte/satin: Non-reflective, hides fingerprints, photographs better. Preferred for reception signage and corporate environments.
Price difference: typically none—both available as standard sheet options.
Textured and specialty finishes
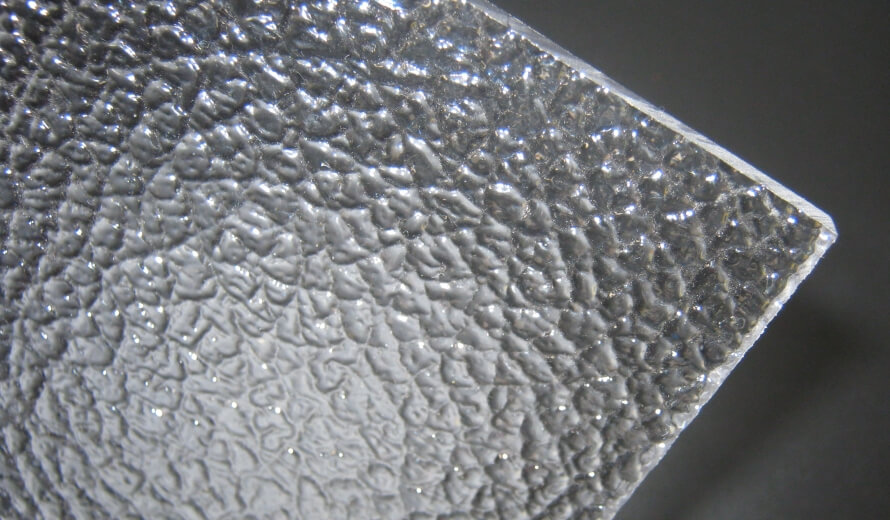
- Frosted/opal: Diffuses light evenly, popular for illuminated signs
- Mirror acrylic: Reflective metallic surface (gold, silver, rose gold)
- Woodgrain/stone effect: Printed or laminated patterns for rustic themes
- Fluorescent: Bright colours that glow under UV lighting
Specialty finishes typically add 20-40% to material costs.
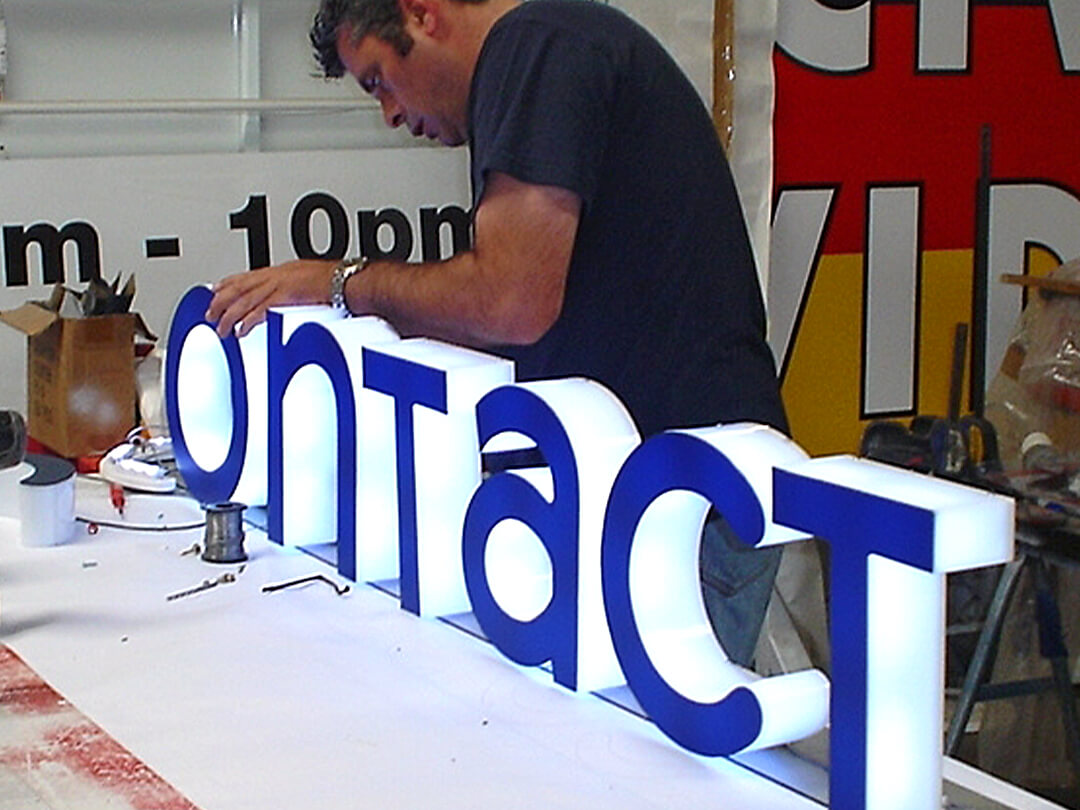
How to make acrylic letter signs?
Step 1: acrylic letters design and planning
- Define your message: clearly identify the message or text that your sign will convey.
- Select font and style: choose a font and design style that aligns with your brand or message.
- Determine size and layout: decide on the overall size of the sign and arrange the letters in a visually appealing layout.
Step 2: material and tools
- Acrylic sheets: acquire acrylic sheets in the desired color, thickness, and finish for your sign.
- Cutting tools: depending on the style, gather tools such as a jigsaw, bandsaw, CNC machine, or laser cutter for cutting the acrylic.
- Adhesive: select an appropriate adhesive for bonding the letters together or attaching them to the sign surface.
- Masking tape: use masking tape to protect the acrylic surface during cutting and handling.
- Ruler, square, and level: ensure precision in measurements, alignments, and levelness with these tools.
Step 3: cutting acrylic letters
- Transfer design to acrylic: place the layout on the acrylic sheet and secure it with masking tape. Trace the letters onto the masking tape.
- Cutting: use a suitable cutting tool (jigsaw, bandsaw, CNC machine, or laser cutter) to cut along the traced lines.
- Smooth edges: sand the edges of the acrylic letters to achieve a smooth and polished finish.
Step 4: surface preparation
- Clean the surface: ensure the surface where the sign will be mounted is clean and smooth.
- Layout arrangement: arrange the acrylic letters on the sign surface to finalize the layout and spacing.
Step 5: adhering acrylic letters
- Apply adhesive: use an appropriate adhesive (like acrylic cement) to secure the letters together for 3D signs or onto the sign surface for flat signs.
- Press firmly: press each letter firmly, ensuring proper adhesion.
- Allow to cure: follow the adhesive manufacturer’s instructions for curing time.
Step 6: finishing touches
- Remove masking tape: if masking tape was used during cutting, carefully remove it to reveal the pristine acrylic surface.
- Cleaning: wipe down the entire sign to remove any dust or residue from the fabrication process.
- Inspect for imperfections: check for any imperfections, scratches, or uneven surfaces. Address and rectify as needed.
Step 7: mounting
- Select mounting method: choose a suitable method for mounting your sign. This could involve screws, standoffs, or other mounting hardware.
- Secure to the surface: drill holes or use the chosen mounting method to secure the sign in its intended location.
Step 8: lighting (optional)
- Consider backlighting: for channel letters or 3D signs, explore backlighting options for added visibility and aesthetic appeal.

Installation tips and best practices
Step 1: gather materials and tools
- Acrylic letters: ensure all letters are fabricated and ready for installation.
- Mounting template: if available, use a mounting template to guide the positioning of the letters.
- Mounting hardware: select appropriate hardware, such as screws, anchors, or standoffs, based on the mounting surface and style of letters.
- Level: use a level to ensure the letters are straight and aligned during installation.
- Power drill: for drilling holes if required.
- Masking tape: for marking and protecting surfaces during installation.
Step 2: determine placement
- Layout arrangement: arrange the letters on the intended surface to finalize the placement and spacing.
- Marking: use masking tape or other non-permanent markers to mark the positions of the letters on the surface.
Step 3: installation for flat acrylic letter signs
- Adhesive application: apply an appropriate adhesive to the back of each flat acrylic letter.
- Press firmly: press each letter firmly onto the marked positions on the surface.
- Leveling: use a level to ensure the letters are straight and level.
- Allow to cure: follow the adhesive manufacturer’s instructions for curing time.
Step 4: installation for 3D acrylic letter signs
- Attach studs or standoffs: if the letters have studs or standoffs, secure them to the back of each 3D acrylic letter.
- Drill holes: drill corresponding holes in the marked positions on the surface.
- Screw in letters: secure the 3D acrylic letters to the surface by screwing them into the pre-drilled holes.
- Leveling: use a level to ensure the letters are straight and level.
Step 5: installation for channel acrylic letter signs
- Position channels: place the channel letters on the marked positions.
- Secure with mounting hardware: use appropriate mounting hardware to secure the channels to the surface.
- Connect wiring (if applicable): for illuminated channel letters, connect the wiring according to the provided instructions.
- Leveling: use a level to ensure the channel letters are straight and level.
Step 6: final adjustments
- Review alignment: step back and review the overall alignment and spacing of the letters.
- Tighten hardware: ensure all screws, standoffs, or other hardware are securely tightened.
- Remove masking tape: if used for marking or protection, carefully remove masking tape.
- Clean surface: wipe down the entire sign and surrounding area to remove any installation residue.
Step 7: lighting test (if applicable)
- Turn on illumination: if the sign includes lighting, test the illumination to ensure all elements are functioning correctly.
Maintenance and care
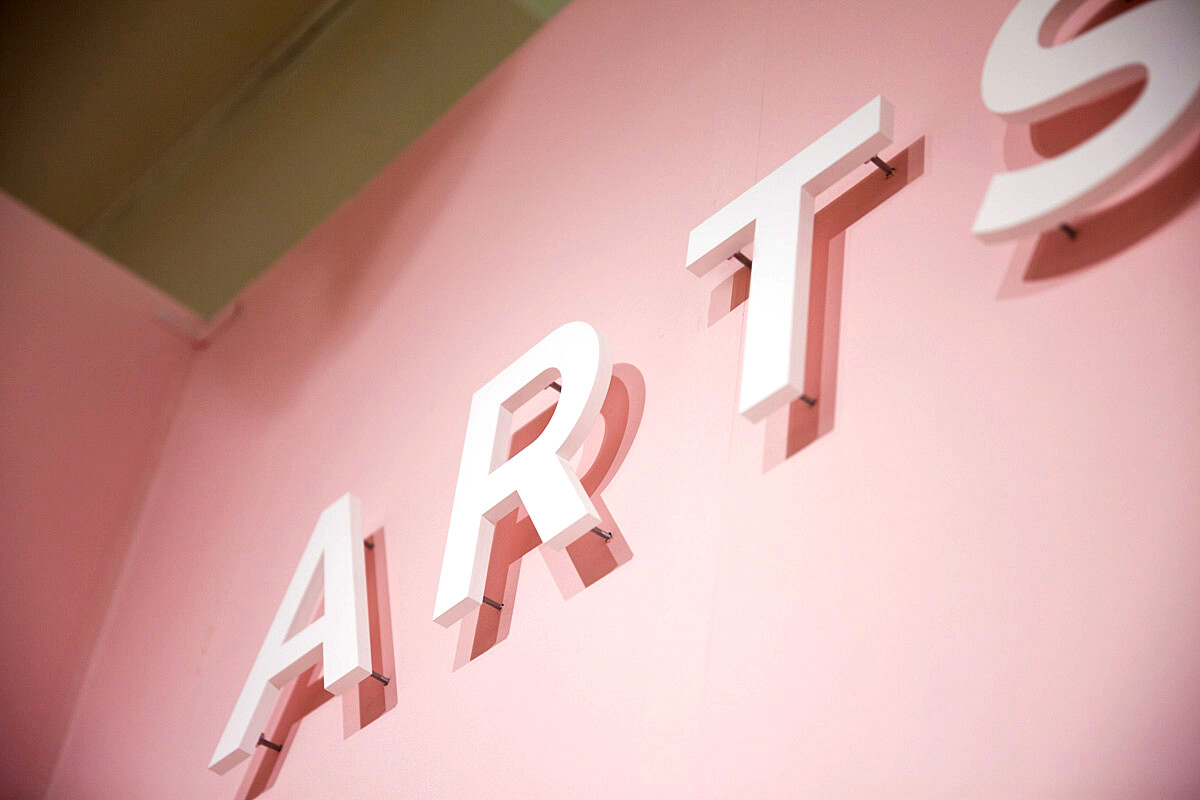
Image source: signkiosk.com
1. Regular cleaning
- Mild cleaning solution: clean the acrylic letters regularly using a mild soap and water solution. This helps remove dirt, dust, and any environmental residues.
- Soft cloth or sponge: use a soft, non-abrasive cloth or sponge to avoid scratching the acrylic surface.
- Gentle wiping: gently wipe the letters in a circular motion to prevent streaks and maintain a polished look.
2. Protection from harsh chemicals
- Avoid abrasive cleaners: do not use abrasive cleaners, harsh chemicals, or solvents, as they can damage the acrylic surface.
- Avoid scrubbing: refrain from using abrasive materials or scrubbing tools that may scratch or dull the acrylic.
3. Prevent scratches
- Handle with care: during cleaning and maintenance, handle acrylic letters with care to prevent scratches.
- Use microfiber cloths: microfiber cloths are effective in removing dust and fingerprints without scratching the surface.
4. Check for loose fasteners
- Regular inspections: periodically inspect the letters for any loose fasteners, especially for 3D or channel letters.
- Tighten as needed: if you find loose screws or standoffs, tighten them to ensure the letters remain securely attached.
5. Maintain illumination (if applicable)
- Check lighting elements: if the acrylic letters are illuminated, regularly check the lighting elements for functionality.
- Replace faulty bulbs: if using bulbs, replace any burnt-out or faulty ones promptly to maintain consistent illumination.
6. Weather protection
- Protect from extreme weather: if the sign is installed outdoors, consider protective coatings or covers to shield acrylic letters from harsh weather conditions.
- Seal exposed edges: for outdoor signs, ensure that exposed edges are properly sealed to prevent moisture infiltration.
7. Address damage promptly
- Inspect for damage: regularly inspect the sign for any signs of damage, cracks, or discoloration.
- Prompt repairs: address any damages promptly. For minor scratches, use acrylic scratch removers or polishes.
8. Follow manufacturer guidelines
- Refer to manufacturer guidelines: adhere to any specific care and maintenance guidelines provided by the manufacturer.
- Use recommended products: if the manufacturer recommends specific cleaning or maintenance products, use those for optimal results.
9. Protect against graffiti
- Anti-graffiti coating: consider applying anti-graffiti coatings to make it easier to remove any unwanted markings without damaging the acrylic.
10. Professional maintenance
- Schedule professional inspections: periodically schedule professional inspections to assess the overall condition of the sign, especially for large or complex installations.
- Professional cleaning: consider professional cleaning services for extensive signage that may be challenging to maintain regularly.
Acrylic letters: industry trends and innovations
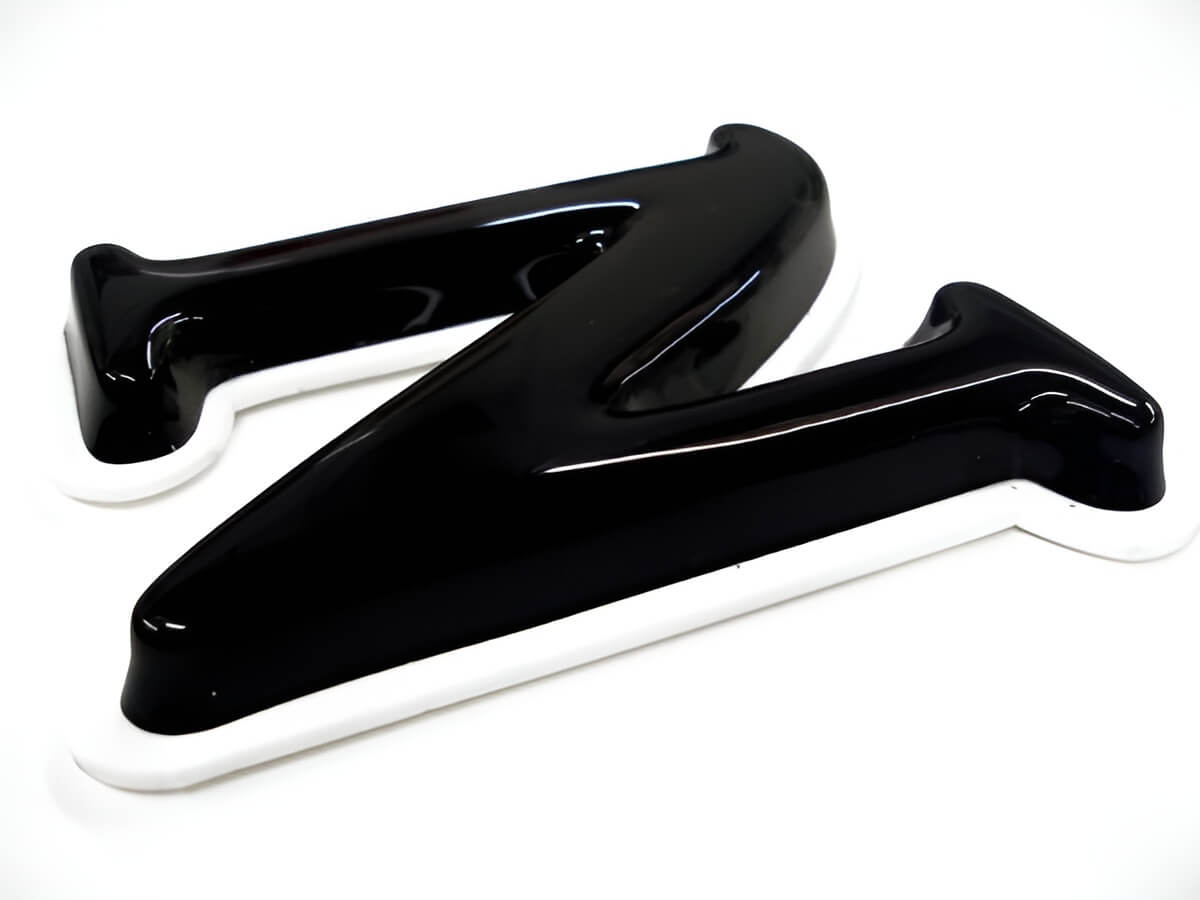
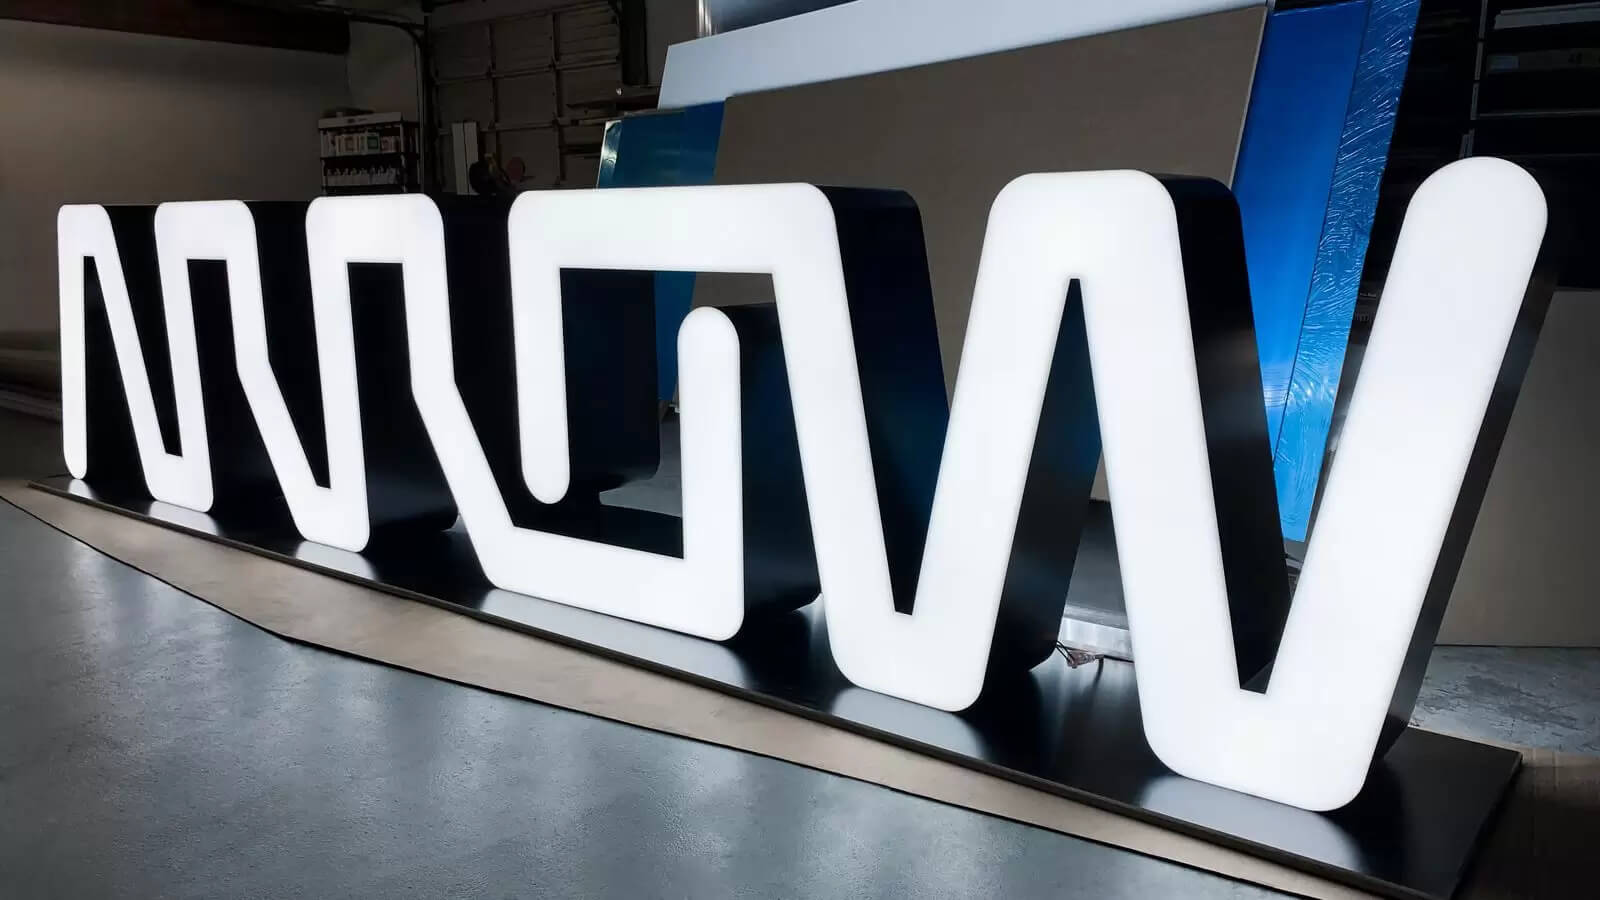
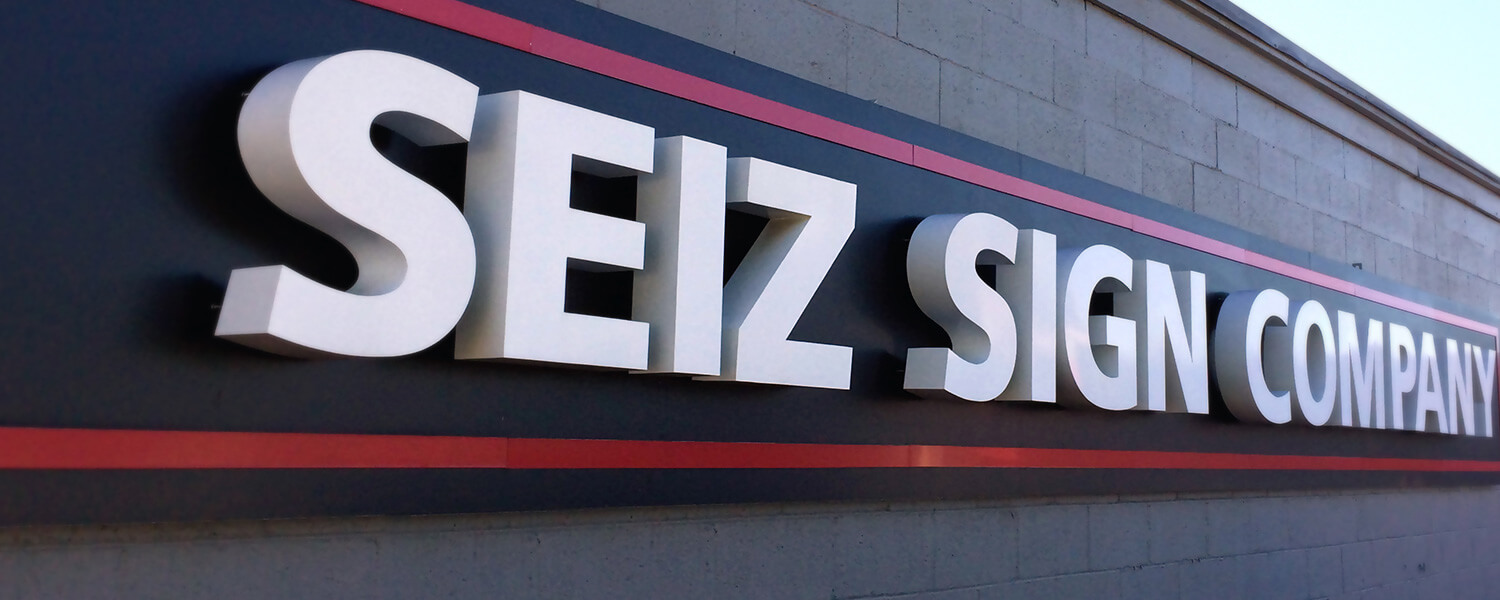
1. Bold and oversized acrylic letters
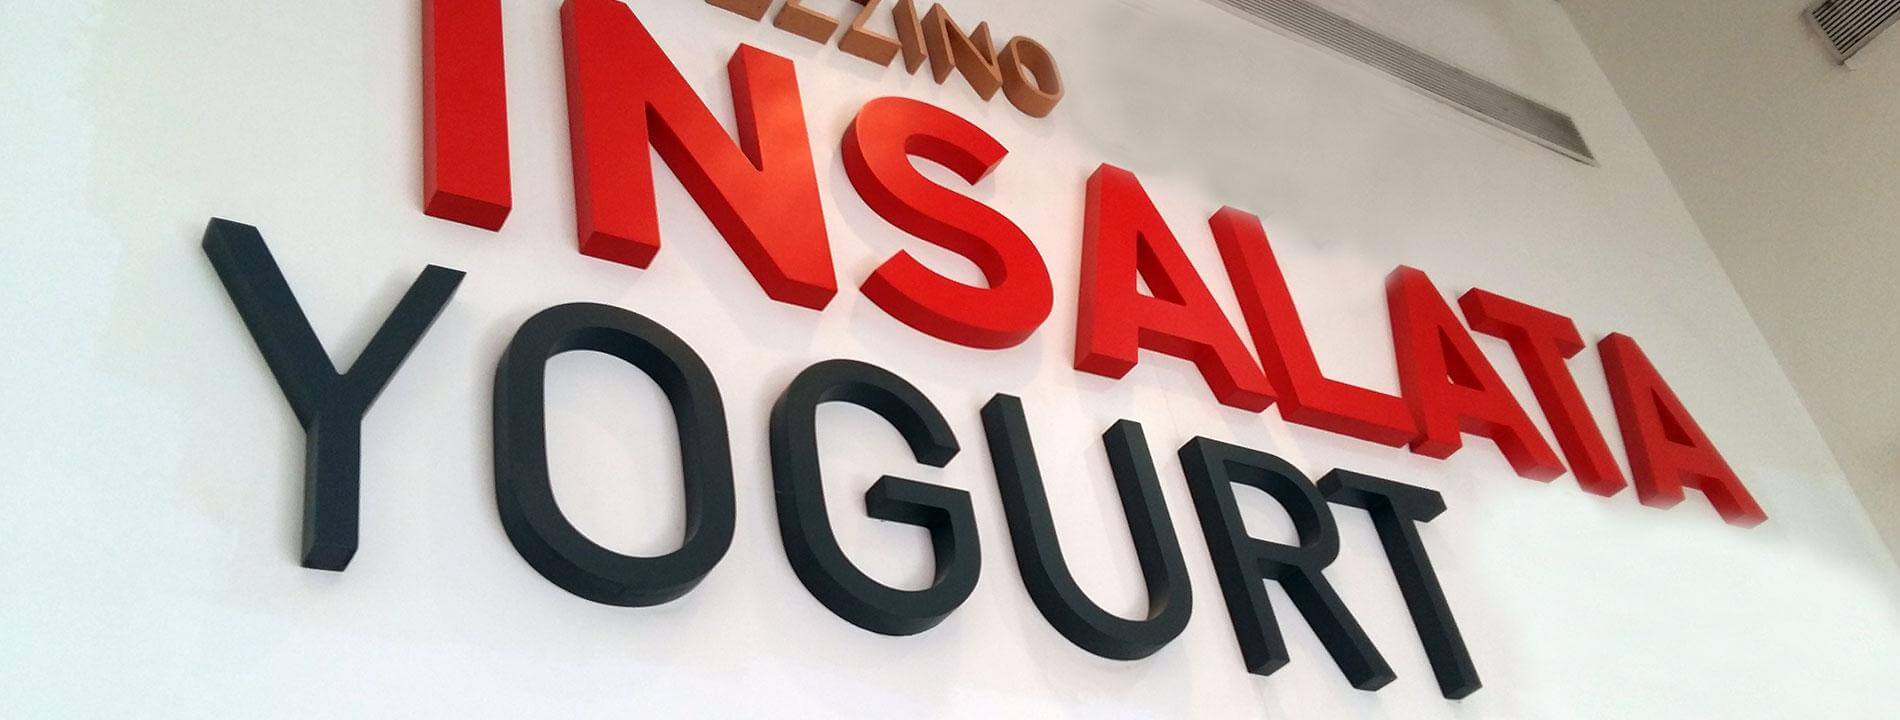
Image source: seizsigns.com
One notable trend is the increasing preference for bold and oversized acrylic letters, making a powerful visual impact. This trend aligns with the contemporary design ethos that emphasizes statement pieces in both indoor and outdoor settings.
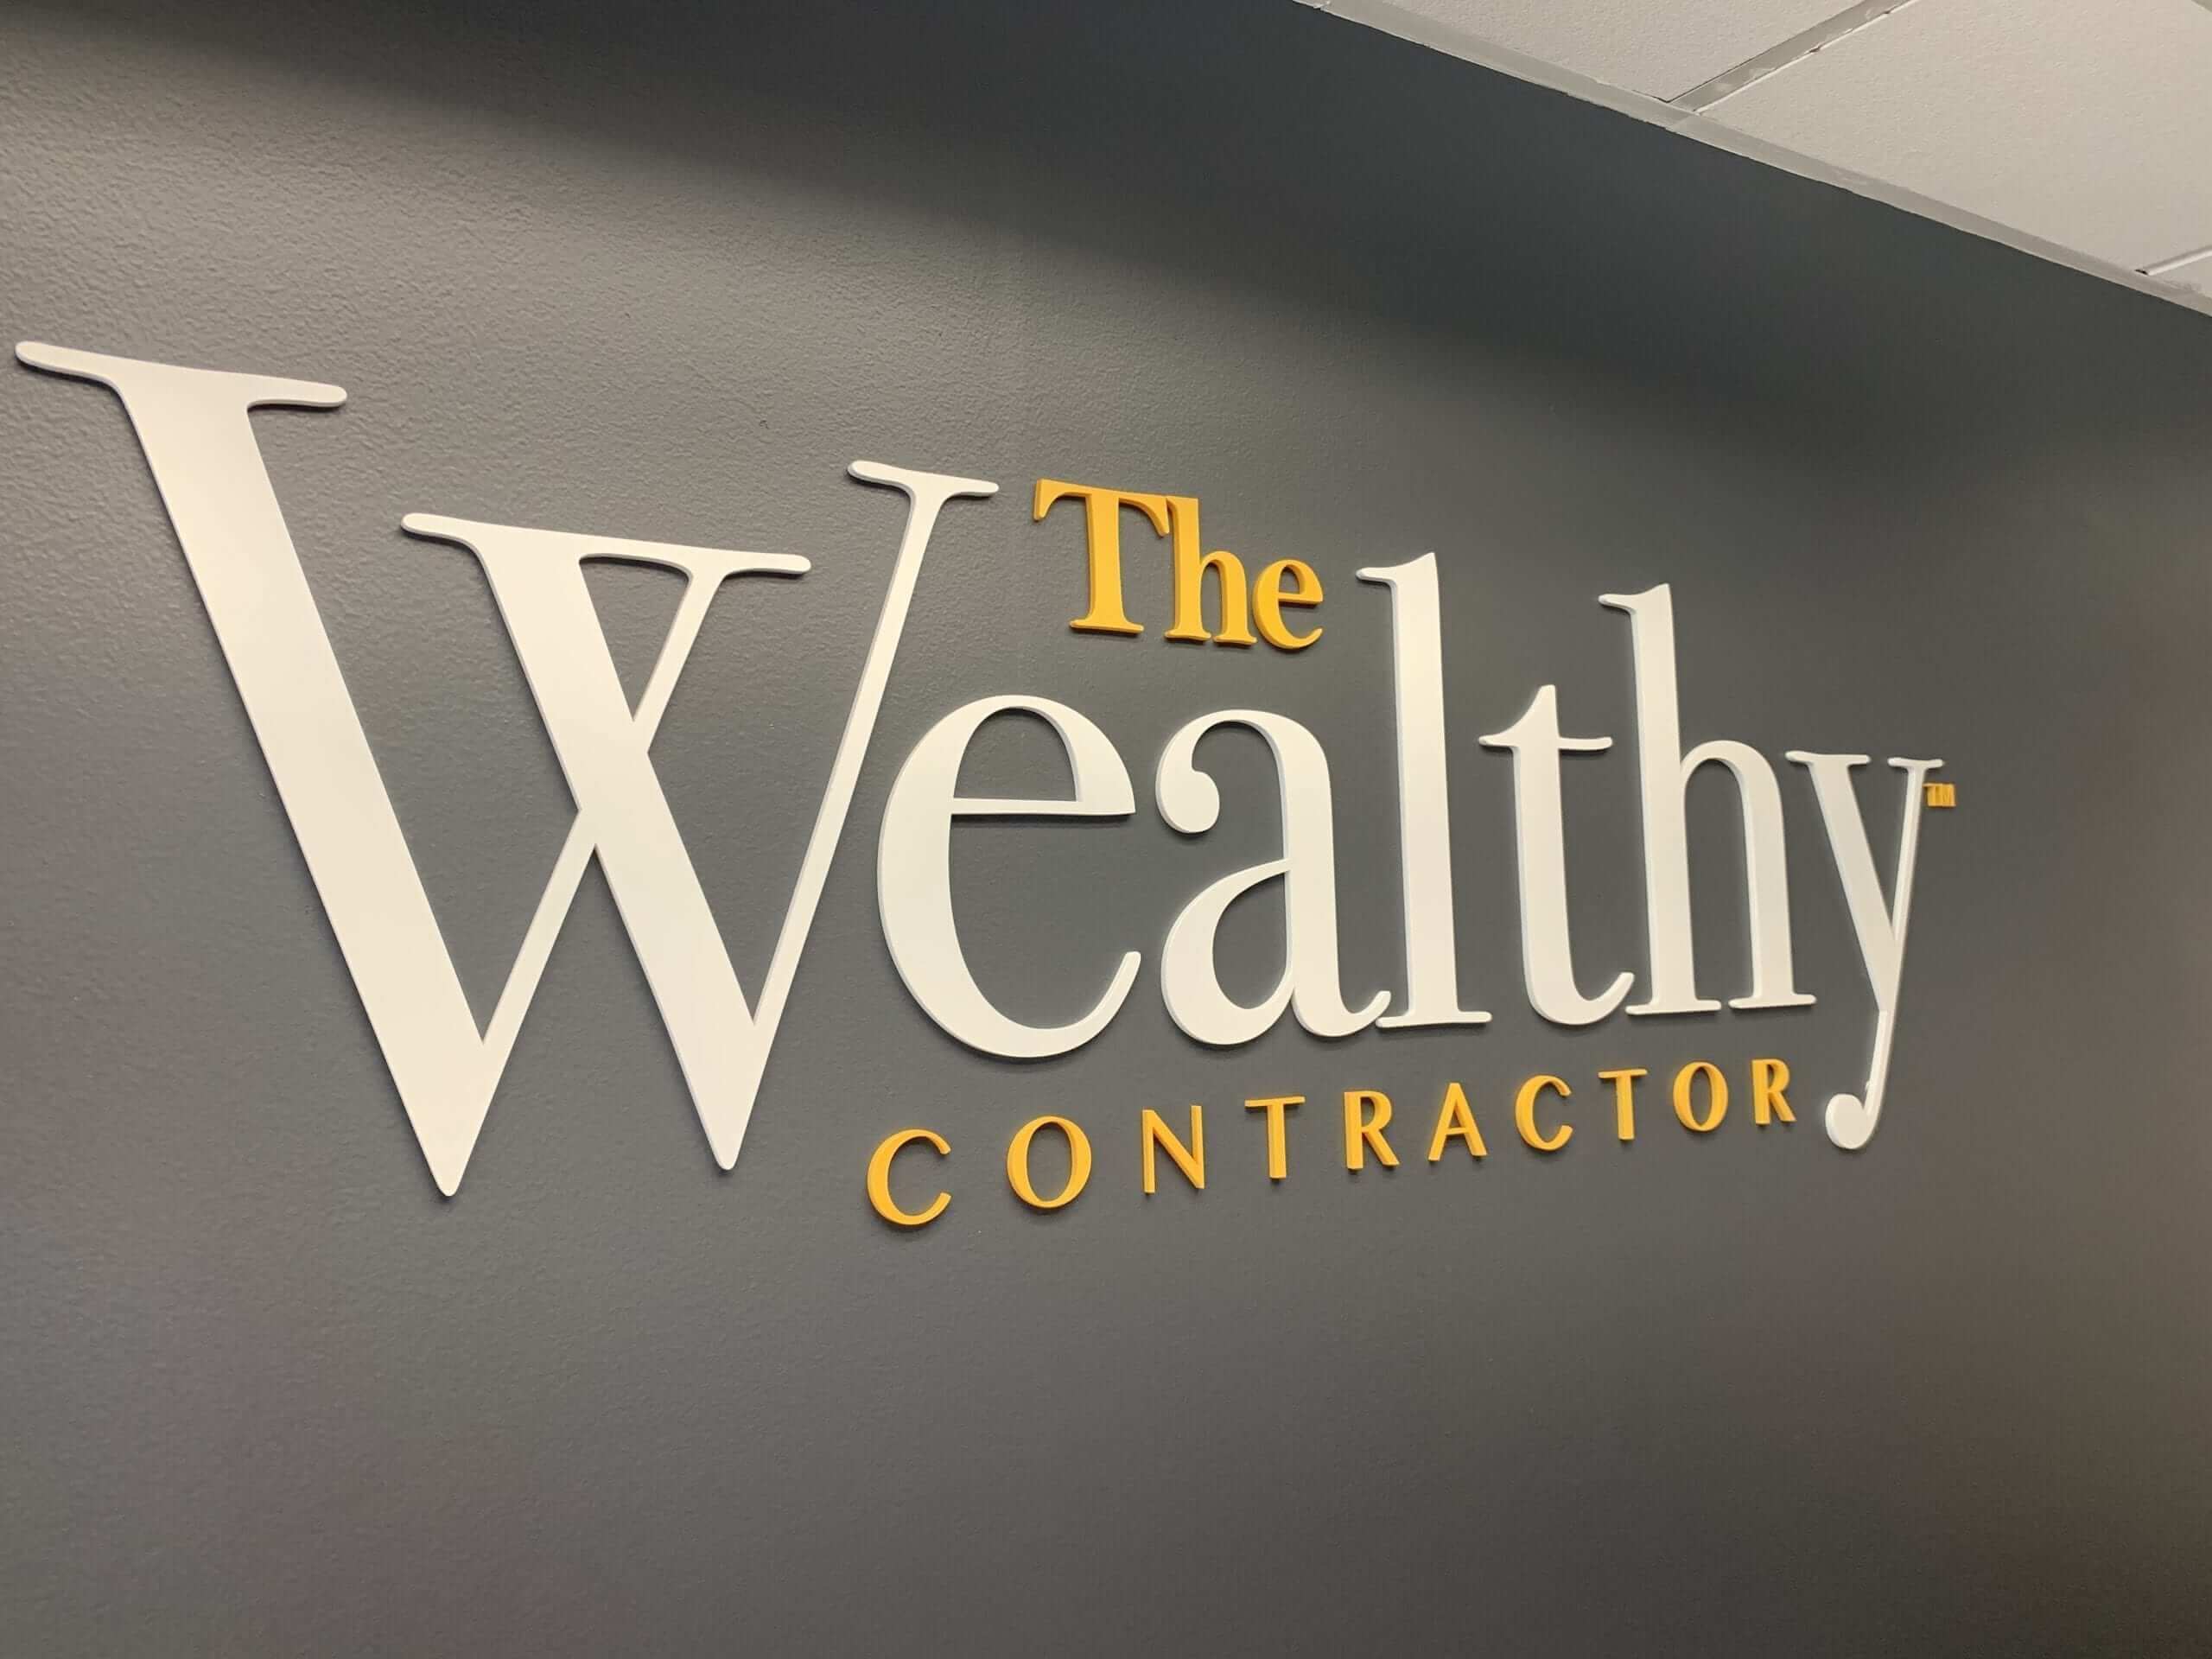
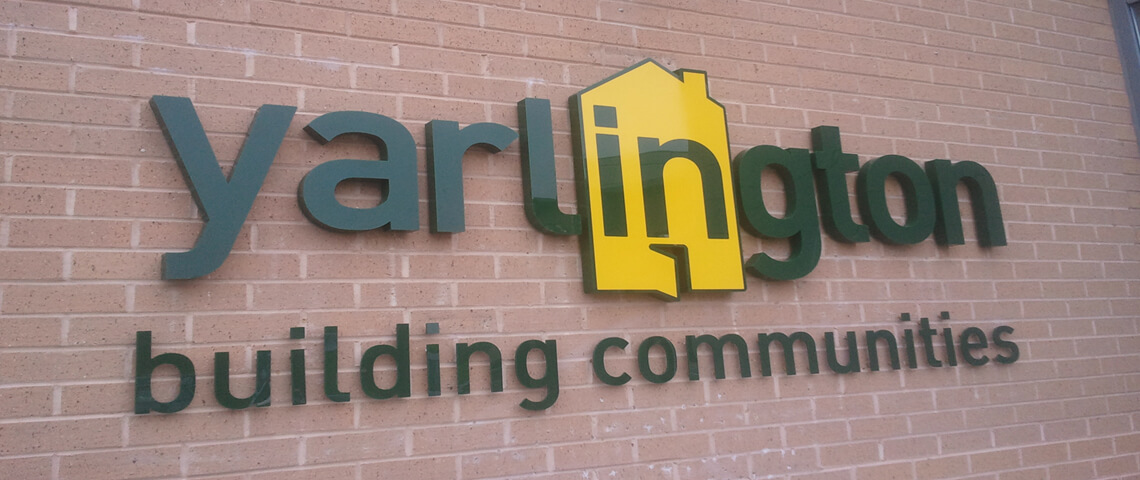
2. Mixed material combinations

Image source: cleveridaho.com
Elevate your acrylic letter signs by embracing a fusion of materials. Combine acrylic with wood, metal, or glass for a multidimensional and visually captivating effect. The juxtaposition of materials adds depth and texture to your signage, creating a modern and sophisticated aesthetic.
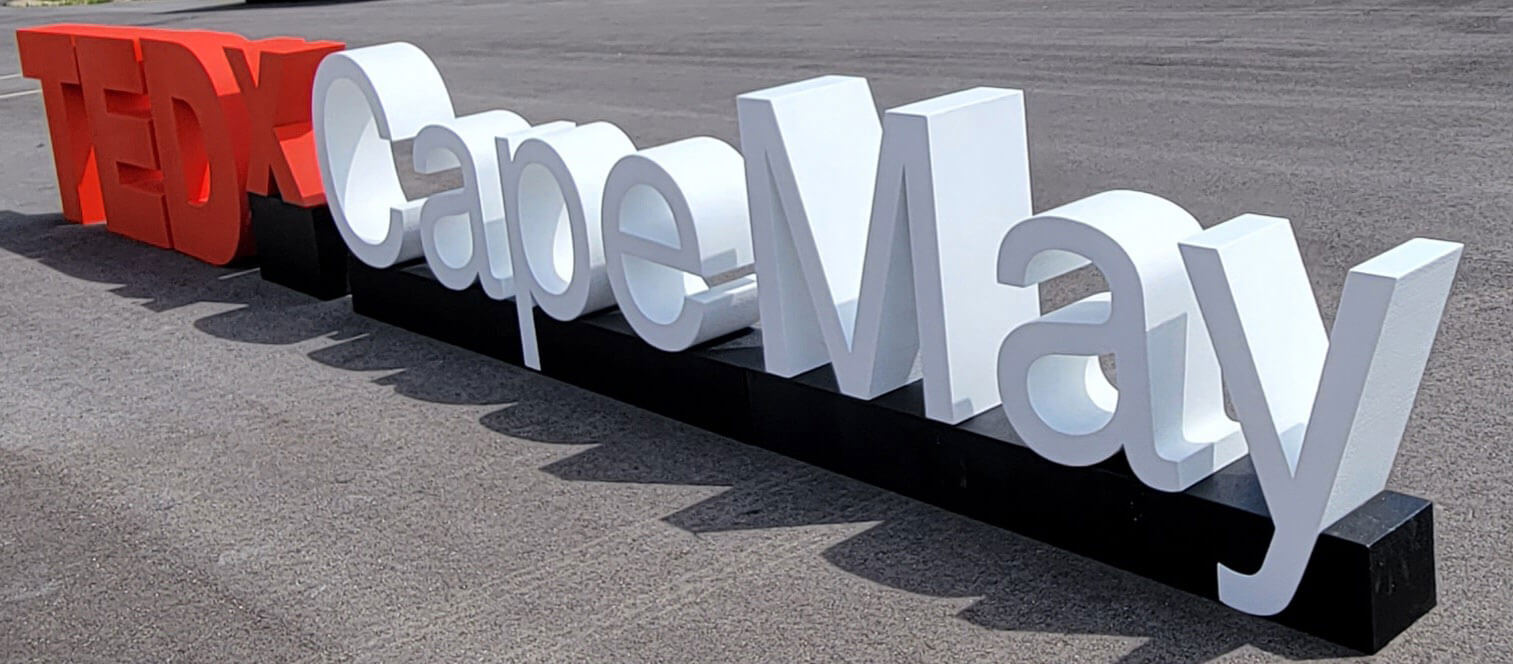
3. Geometric and abstract designs

Image source: surreyshopsigns.co.uk
Explore the artistic side of acrylic letter signs with geometric and abstract designs. Play with shapes and patterns to create visually striking signage that stands out in its modern and avant-garde appeal.
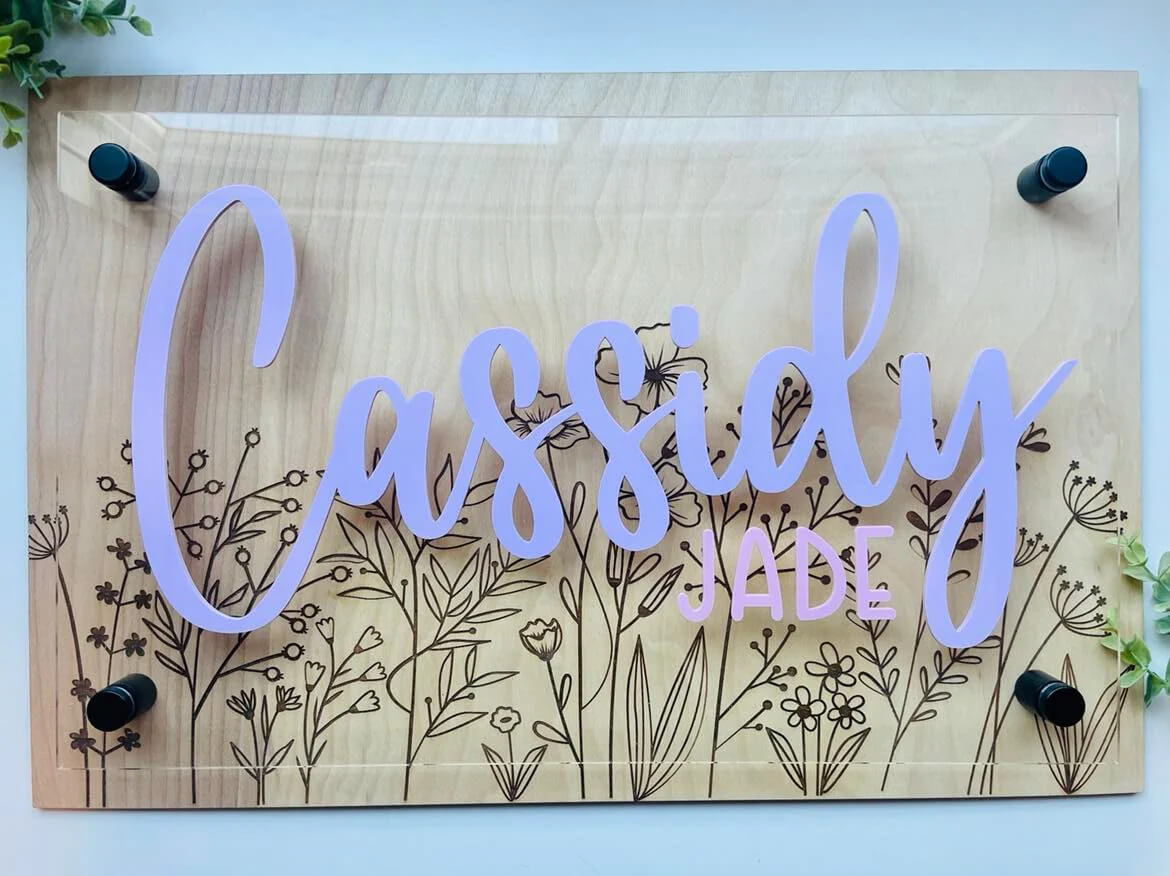
4. Gradient and ombre effects
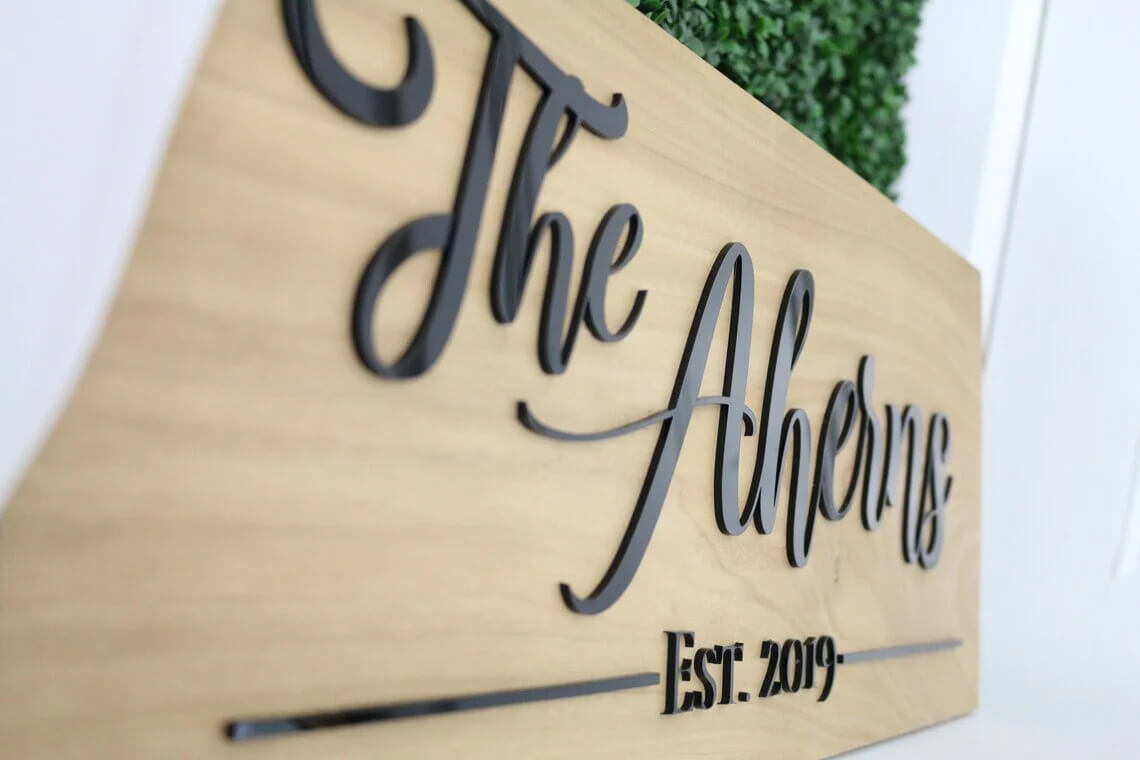
Image source: pinterest.com
Infuse a sense of modernity into your acrylic letter signs with gradient color schemes or ombre effects. These visually appealing transitions between colors add depth and sophistication to your signage, making it both trendy and aesthetically pleasing.
5. Floating or suspended letters

Image source: artsigns.com
Add an element of intrigue to your acrylic letter signs by creating the illusion of floating or suspended letters. This innovative design approach imparts a sense of whimsy and creativity, making your signage a memorable focal point.
6. Minimalistic and clean typography
Embrace the elegance of minimalism with clean and simple typography for your acrylic letter signs. Opt for timeless designs that prioritize clarity, allowing the beauty of the letters to shine through without unnecessary embellishments.
7. Retro and vintage styles
Take a nostalgic journey with acrylic letter signs inspired by retro and vintage aesthetics. Incorporate neon-inspired elements or typography reminiscent of specific eras to evoke a sense of nostalgia and capture the attention of those seeking a touch of the past.
8. Layered and stacked letters
Add depth and dimension to your acrylic letter signs by experimenting with stacked or layered letters. This design technique creates a three-dimensional effect, transforming your signage into a visually captivating and dynamic display.
9. Typography as art
Elevate your acrylic letter signs by treating typography as an art form. Embrace expressive fonts, creative layouts, and intricate details that transform your signage into a captivating piece of art, making a bold statement and leaving a lasting impression.
10. LED illumination with dynamic lighting
Acrylic letters with RGB LED backlighting allow for colour changes, fades, and animated sequences. The energy efficiency of LEDs (3-5 watts per letter) keeps operating costs minimal while creating striking visual effects.
Selling acrylic letters with Sign Customiser
Sign Customiser handles the complexity of pricing acrylic letters online. Instead of endless quote requests, customers configure their own signs and see instant pricing.
Configuration setup
Step 1: Define size tiers
Set letter height ranges that match your production capabilities:
- 50-100mm: Small (desktop/counter signs)
- 100-200mm: Medium (office/retail)
- 200-400mm: Large (storefront)
- 400mm+: Extra large (outdoor/commercial)
Step 2: Configure material options
Add your acrylic colours and finishes:
- Standard colours (from your regular stock)
- Premium colours (metallics, fluorescents)
- Thickness options (5mm standard, 10mm premium)
Step 3: Set pricing rules
Price per letter by height, adjusted for:
- Material type (opaque vs. translucent)
- Illumination (non-lit vs. LED)
- Font complexity (script fonts at 1.2× modifier)
Step 4: Add mounting options
Include hardware choices:
- Self-adhesive backing (included)
- Stud mounting kit (+£2-3 per letter)
- Standoff mounts (+£5-8 per letter)
Benefits for your business
- Reduces enquiry handling: Customers self-serve 80% of configurations
- Captures specifications: Order details flow directly to production
- Shows instant pricing: No more manual quote calculations
- Upsells automatically: Premium options displayed during customisation
Wholesale acrylic letter sourcing
Manufacturing in-house vs. outsourcing
In-house production requires:
- Laser cutter (£5,000-25,000 for sign-quality machines)
- Acrylic sheet stock (minimum £500 initial investment)
- Extraction system (essential for acrylic fumes)
- Finishing area for polishing and hardware
Suitable if: You expect 20+ orders/month and want full control over quality and turnaround.
Trade supplier outsourcing offers:
- No capital investment
- Pay-per-order pricing (typically 40-50% of retail)
- White-label delivery to your customers
- Wider material range than you’d stock yourself
Suitable if: Starting out, testing the market, or preferring a capital-light model.
UK trade suppliers
Major acrylic letter trade suppliers (unbranded/white-label):
- Sign trade suppliers with 2-3 day turnaround
- Online trade portals with instant quoting
- Regional fabricators offering collection
When evaluating suppliers, check:
- Edge finish quality (flame-polished vs. machine-cut)
- Colour matching consistency (PMS matching capability)
- Mounting hardware included or extra
- Minimum order values
- Delivery packaging (breakage rates vary significantly)
Dropshipping acrylic letters
For pure dropship operations:
- Mark up trade prices by 80-120%
- Set customer expectations for 5-7 day delivery
- Use Sign Customiser to manage customisation and pricing
- Handle customer service yourself, production via supplier
This model works well for Shopify stores and online-only businesses without workshop space.
Frequently asked questions
How much do acrylic letters cost?
Material costs range from £0.30-3.00 per 100mm letter depending on thickness (3mm-20mm). Retail prices for finished letters: £15-85 each for 100-500mm heights, with illuminated versions adding 50-100% to base prices. See our detailed pricing table above.
What’s the difference between acrylic letters and channel letters?
Flat-cut acrylic letters are 2D—cut from sheet material with optional illumination behind or around them. Channel letters are 3D boxes with acrylic faces and metal returns, housing internal LEDs. Channel letters cost 2-3× more but offer superior outdoor durability and brightness.
How long do acrylic letter signs last?
Indoor: 10+ years with minimal maintenance. Outdoor: 5-7 years before UV degradation affects colour (clear acrylic yellows slightly, colours may fade). UV-stabilised acrylic extends outdoor life to 8-10 years.
Can any font be cut in acrylic?
Most fonts work, but avoid thin strokes under 3mm wide—they’ll break during handling. Script fonts often need bridges connecting loose elements. Sans-serif and slab-serif fonts cut most reliably. See our font selection guide above.
What mounting options work for acrylic letters?
Three main methods:
- Adhesive pads: Quick installation on smooth surfaces, indoor use only
- Stud mounts: Threaded studs in letter backs, drill into wall, most secure
- Standoffs: Creates floating effect with gap between letter and wall
How do I clean acrylic letter signs?
Wipe with a damp microfibre cloth and mild soap. Avoid ammonia-based cleaners (Windex), abrasive materials, or paper towels—all scratch acrylic. For stubborn marks, use plastic polish.
Can I sell acrylic letters online?
Yes. Use Sign Customiser to let customers configure fonts, colours, sizes, and see instant pricing. You can manufacture in-house or work with trade suppliers for production and fulfillment.
Sell Custom Acrylic Signs on Your Website
Want to let your customers design and order custom acrylic channel letter signs online? Sign Customiser adds an acrylic sign designer to your Shopify or WooCommerce store with real-time pricing and instant quotes.