
Quick Overview: DIY Neon Signs
- Total time: 3-6 hours for a simple word/phrase
- Skill level: Beginner-friendly with patience
- Cost: £30-80 for materials (vs £100-300+ for custom signs)
- Best for: Simple words, shapes, and designs
Materials needed: LED neon flex, acrylic or wood backing, power adapter, template, wire, tools
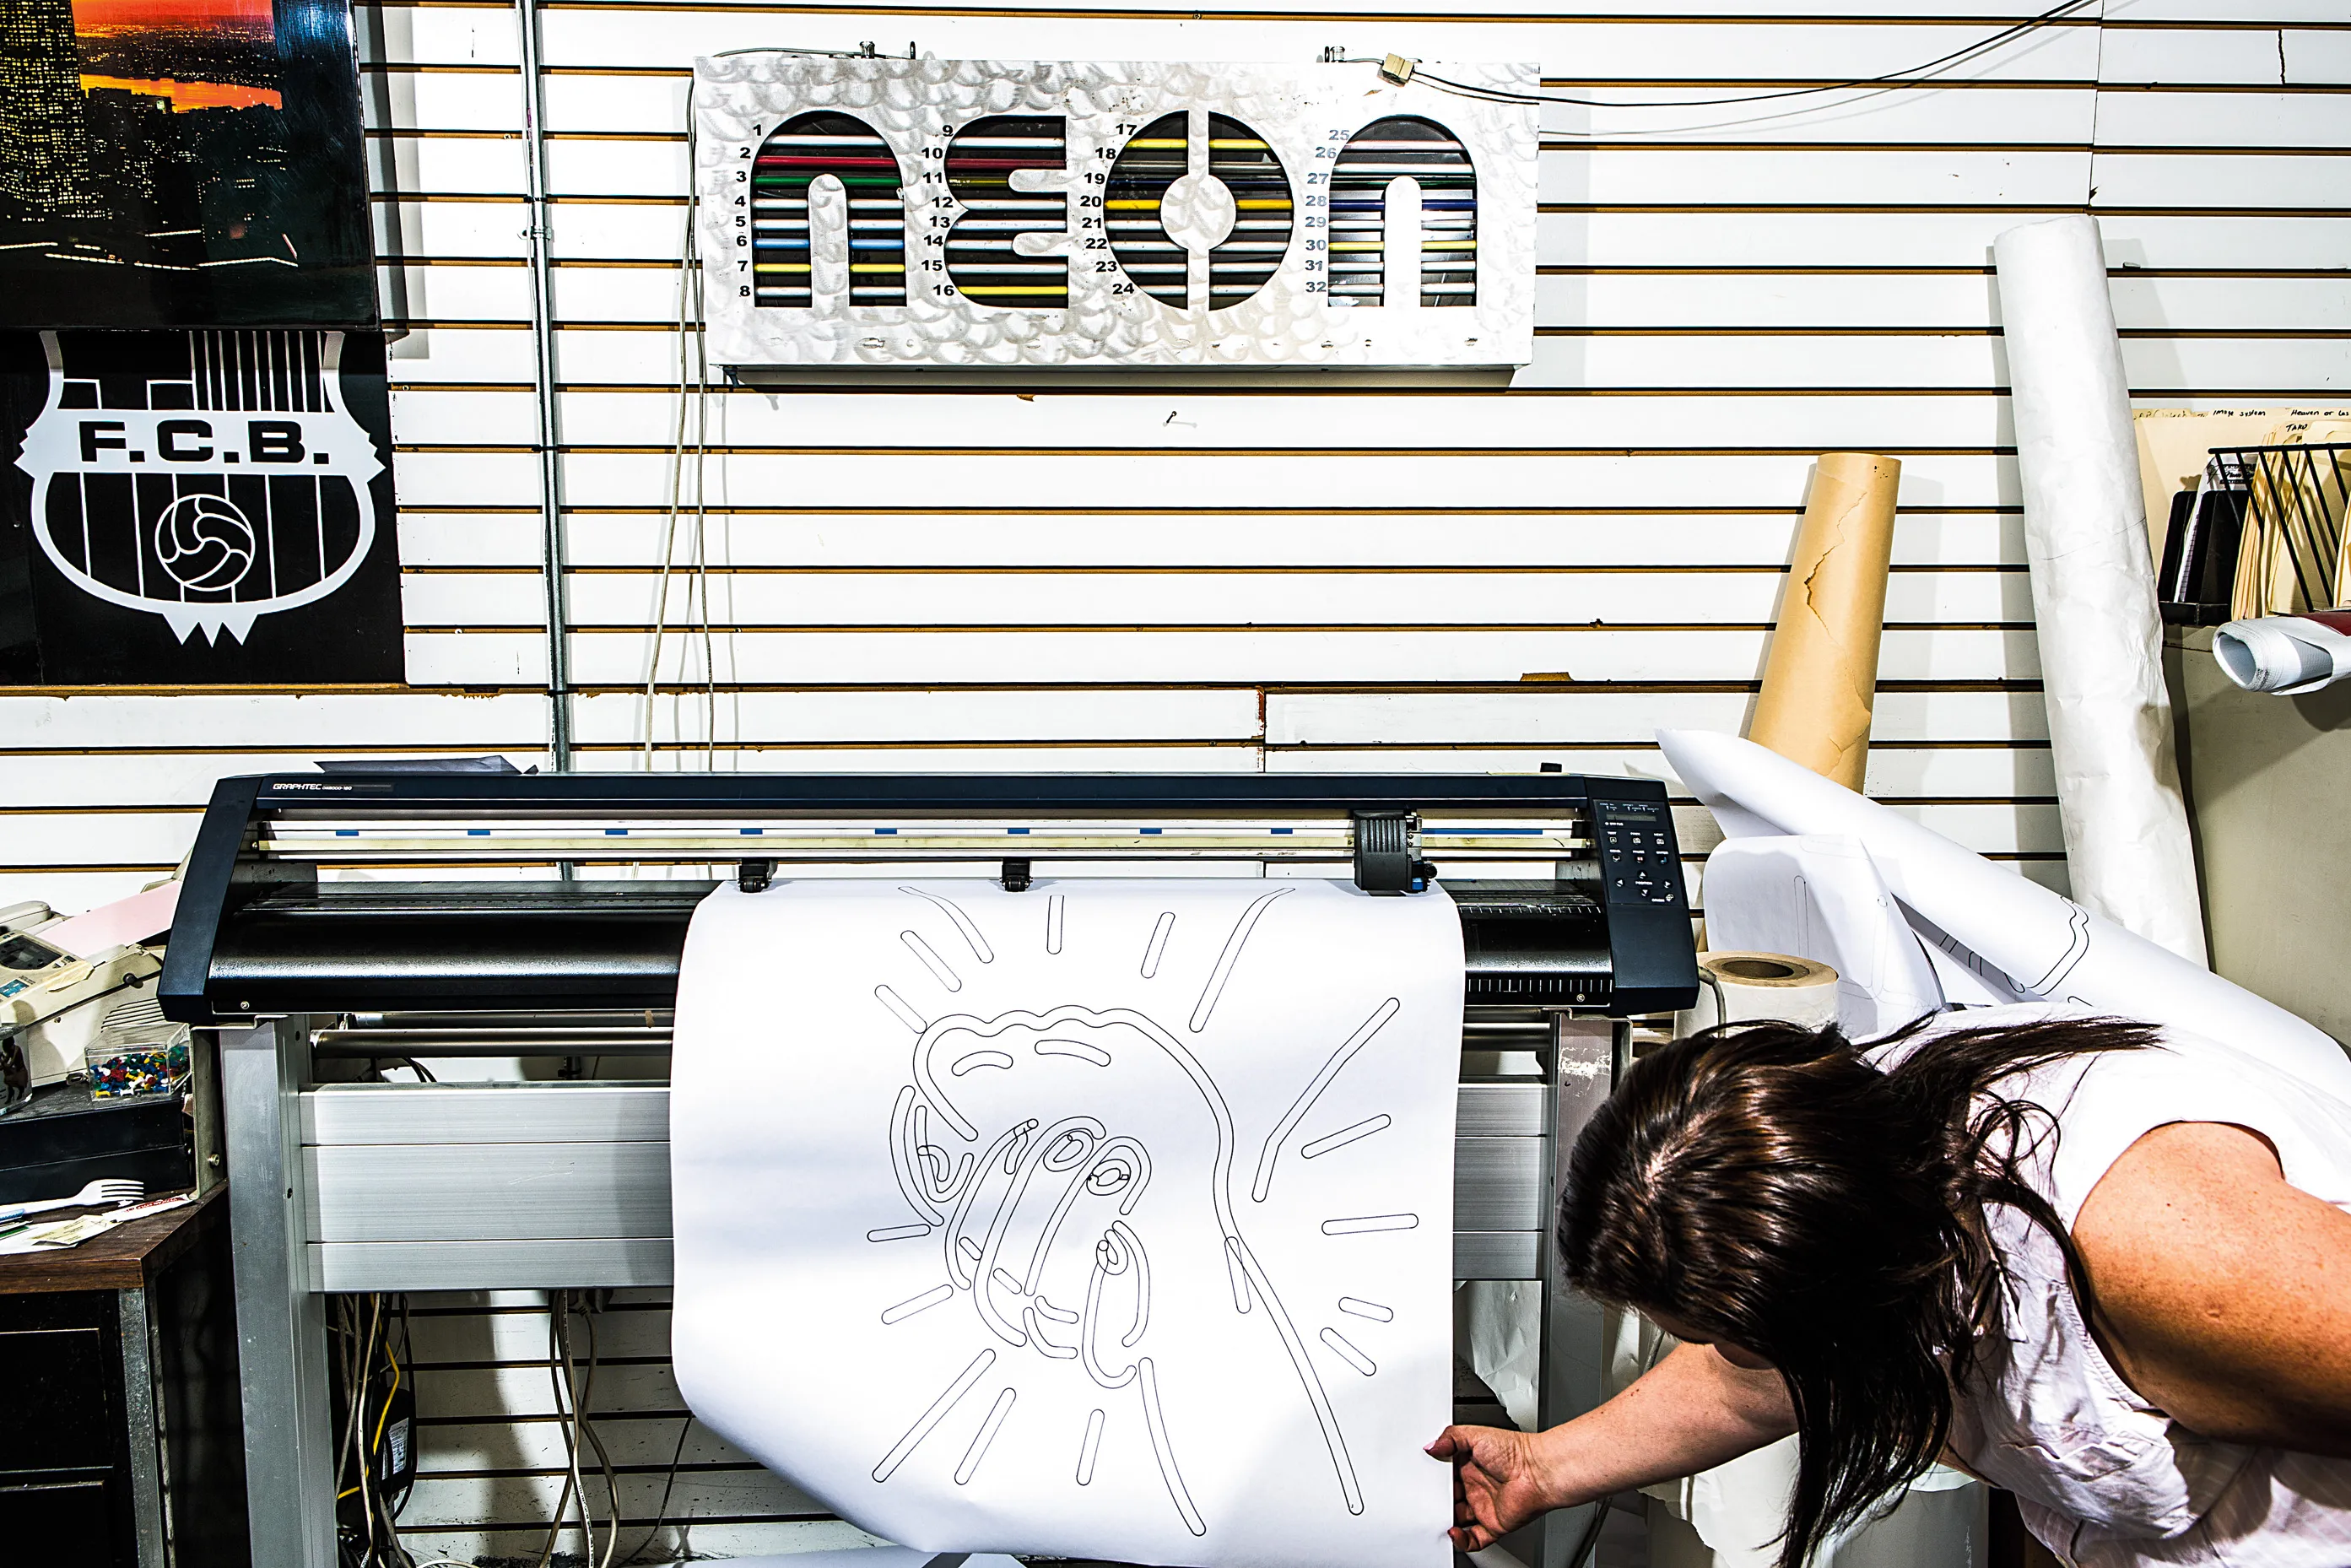
How to Make a DIY Neon Sign: Complete Tutorial
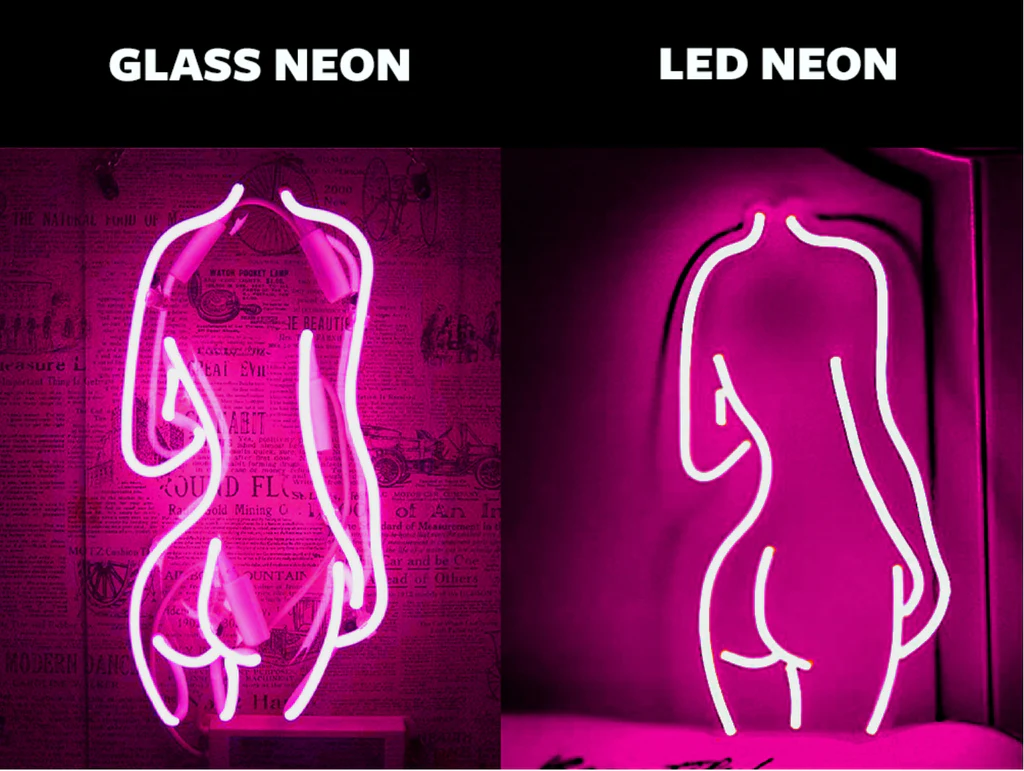
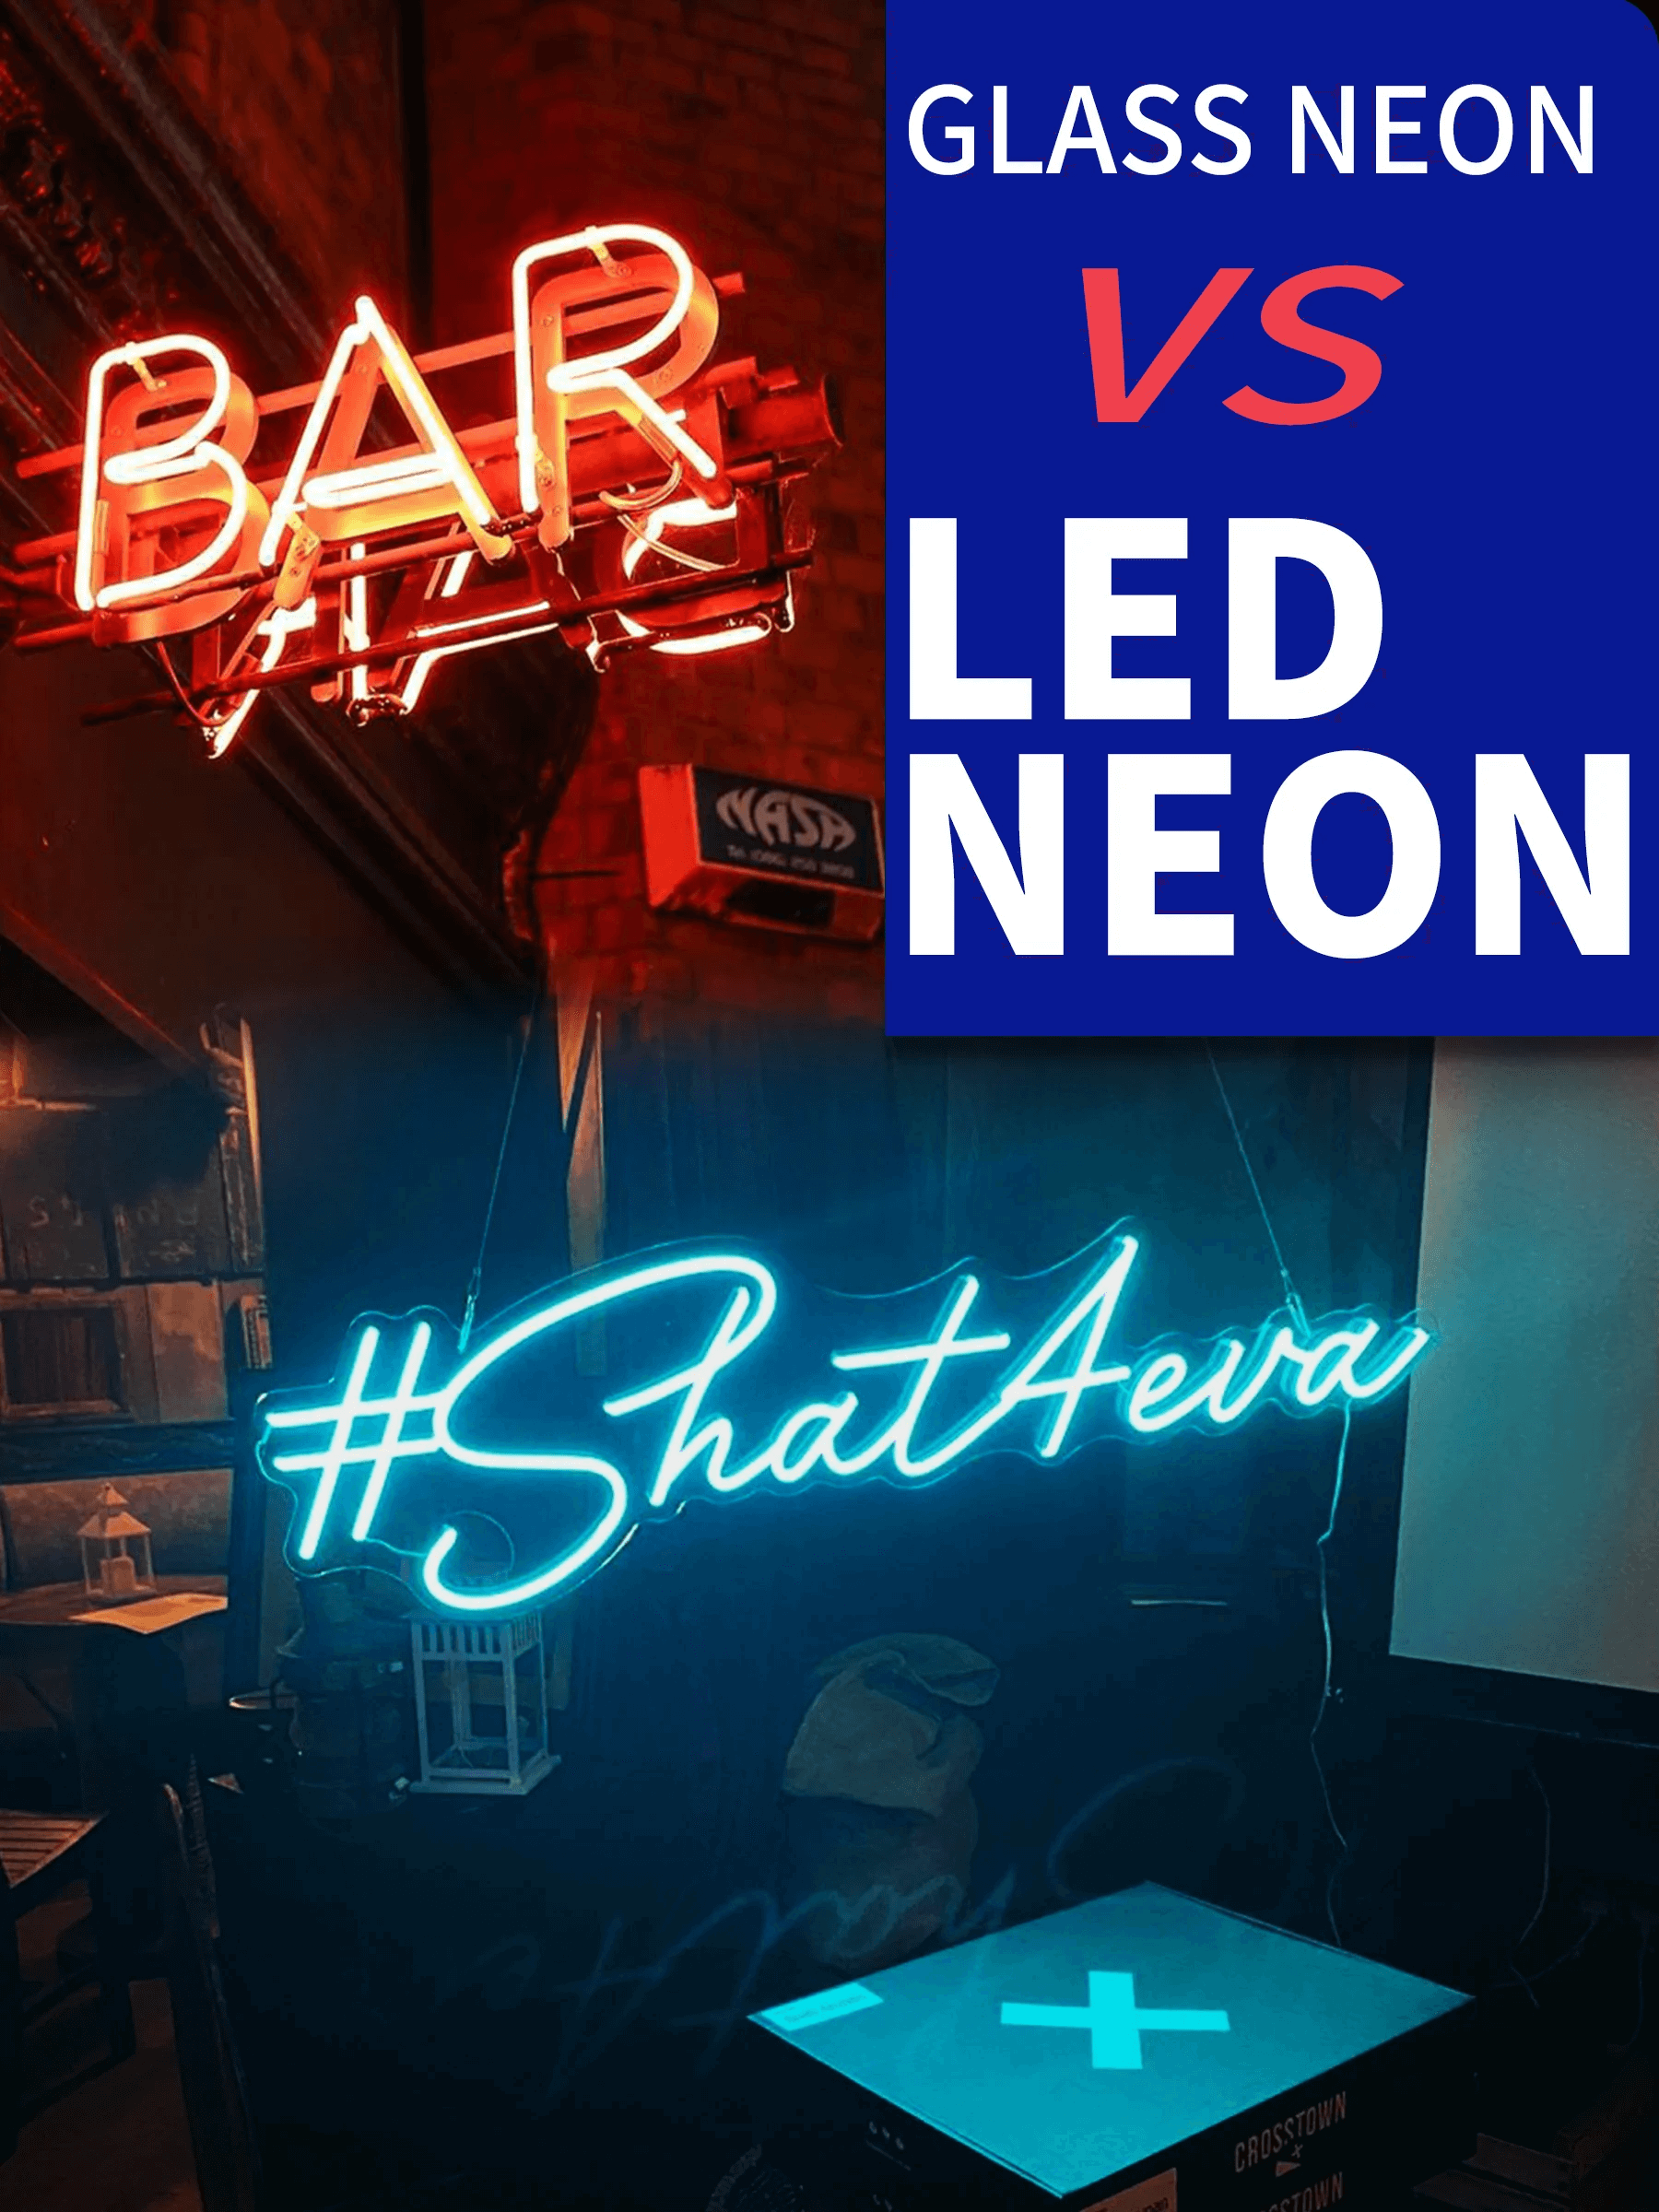
Making your own LED neon sign is easier than you might think - and incredibly satisfying. With modern LED neon flex (also called EL wire or flex neon), you can create stunning custom signs without the specialised skills or equipment that traditional glass neon requires.
In this comprehensive tutorial, we’ll walk you through the complete process of making a DIY neon sign from scratch, covering everything from materials and design to shaping, mounting, and wiring. Whether you want to save money, create something unique, or simply enjoy a crafting project, this guide has you covered.
This is part of the neon sign library.
Why Make Your Own Neon Sign?
Before we dive into the how-to, let’s consider why DIY might be right for you.
Cost savings
The most compelling reason to DIY is budget. A simple custom neon sign typically costs £100-300 from a professional. With DIY, you can create a similar sign for £30-80 in materials - sometimes even less if you already have some supplies.
Creative control
When you make your own, you control every aspect: exact size, specific colours, backing material, and design details that might be difficult to communicate to a sign maker.
Satisfaction factor
There’s something deeply satisfying about creating functional art with your own hands. A DIY neon sign becomes a conversation piece with a story behind it.
Custom solutions
DIY allows for unusual sizes, shapes, or placements that standard sign makers might not accommodate. Want a sign for an odd-shaped space? Build it yourself to fit perfectly.
However, consider professional options if you need:
- Complex multi-colour designs
- Large signs (80cm+)
- Perfect, factory-quality finish
- Signs for commercial use
See professional options: Custom neon signs
Materials Needed
Here’s everything you’ll need to make a basic DIY neon sign:
Essential materials
| Item | Purpose | Approximate Cost |
|---|---|---|
| LED neon flex | The glowing “neon” element | £10-30 (2-5m) |
| Backing board | Mounting surface | £5-15 |
| Power adapter | 12V DC power supply | £5-15 |
| Mounting clips | Secure neon to backing | £2-5 |
| Wire connectors | Join neon ends to power | £3-8 |
| Extension wire | Connect sections | £2-5 |
Tools required
| Tool | Purpose | Alternative |
|---|---|---|
| Scissors/craft knife | Cut neon flex | Sharp utility knife |
| Wire strippers | Expose wire ends | Careful knife work |
| Soldering iron | Connect wires (optional) | Crimped connectors |
| Heat gun | Heat shrink tubing | Hair dryer |
| Drill | Mounting holes | Hand awl |
| Ruler/tape measure | Accurate measurements | - |
| Pencil/marker | Mark template | - |
Backing board options
Choose your backing material based on aesthetics and budget:
Clear acrylic:
- Clean, modern look
- Neon appears to float
- More expensive (£10-20)
- Requires careful drilling
White acrylic:
- Sign stands out clearly
- Professional appearance
- Medium cost (£8-15)
- Easy to work with
Wood/MDF:
- Warm, rustic aesthetic
- Easy to drill and mount
- Cheap (£3-8)
- Can be painted any colour
Black acrylic:
- Dramatic contrast
- Sign really pops
- Medium cost (£8-15)
- Shows dust more easily
LED neon flex types
Not all neon flex is created equal. Here’s what to look for:
Size (diameter):
- 6mm - Fine detail work, tight curves
- 8mm - Most versatile, standard choice
- 10mm+ - Bold, chunky look
Colour options:
- Single colour - Warm white, cool white, red, pink, blue, green, purple, yellow, orange
- RGB - Colour-changing with controller
- Dual-colour - Two colours in one strip
Quality indicators:
- Even light distribution (no hot spots)
- Good flexibility without cracking
- Reliable solder points
- IP65+ rating for durability
Step-by-Step Instructions
Now let’s make your sign. Follow these steps carefully for best results.
Step 1: Design your sign
Before buying materials, finalise your design.
Keep it simple for your first sign:
- Single words work best for beginners
- Avoid complex cursive fonts initially
- Script fonts require tighter bends
- Block letters are easiest to shape
Create your template:
- Choose your text or design
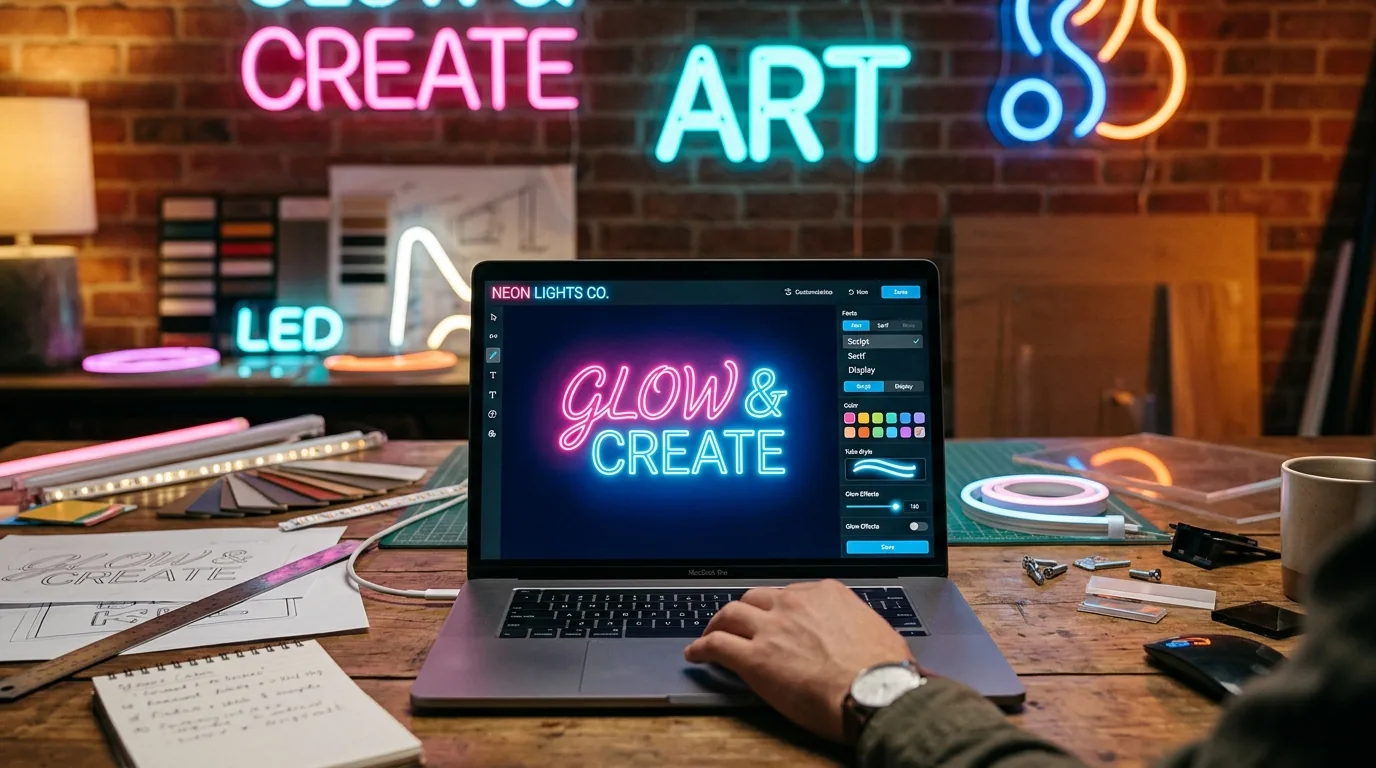
- Size it to your desired dimensions (use design software or our neon sign maker)
- Print at full size (may need multiple pages taped together)
- Trace onto your backing board with pencil
Design tips:
- Add connection points between letters if using continuous neon
- Plan where power wire will exit
- Consider which direction text will read (mirror for window-facing)
- Allow 2-3cm border around your design
Step 2: Prepare the backing
Your backing board needs to be ready before shaping the neon.
For acrylic:
- Remove protective film
- Clean with isopropyl alcohol
- Mark mounting clip positions along your template
- Pre-drill small holes for clips if needed (use low speed, sharp bit)
For wood/MDF:
- Sand any rough edges
- Paint or seal if desired (allow to dry fully)
- Mark mounting clip positions
- Drill pilot holes for clips
Tip: Lay your template on the backing and secure with masking tape. This keeps your guide in place while you work.
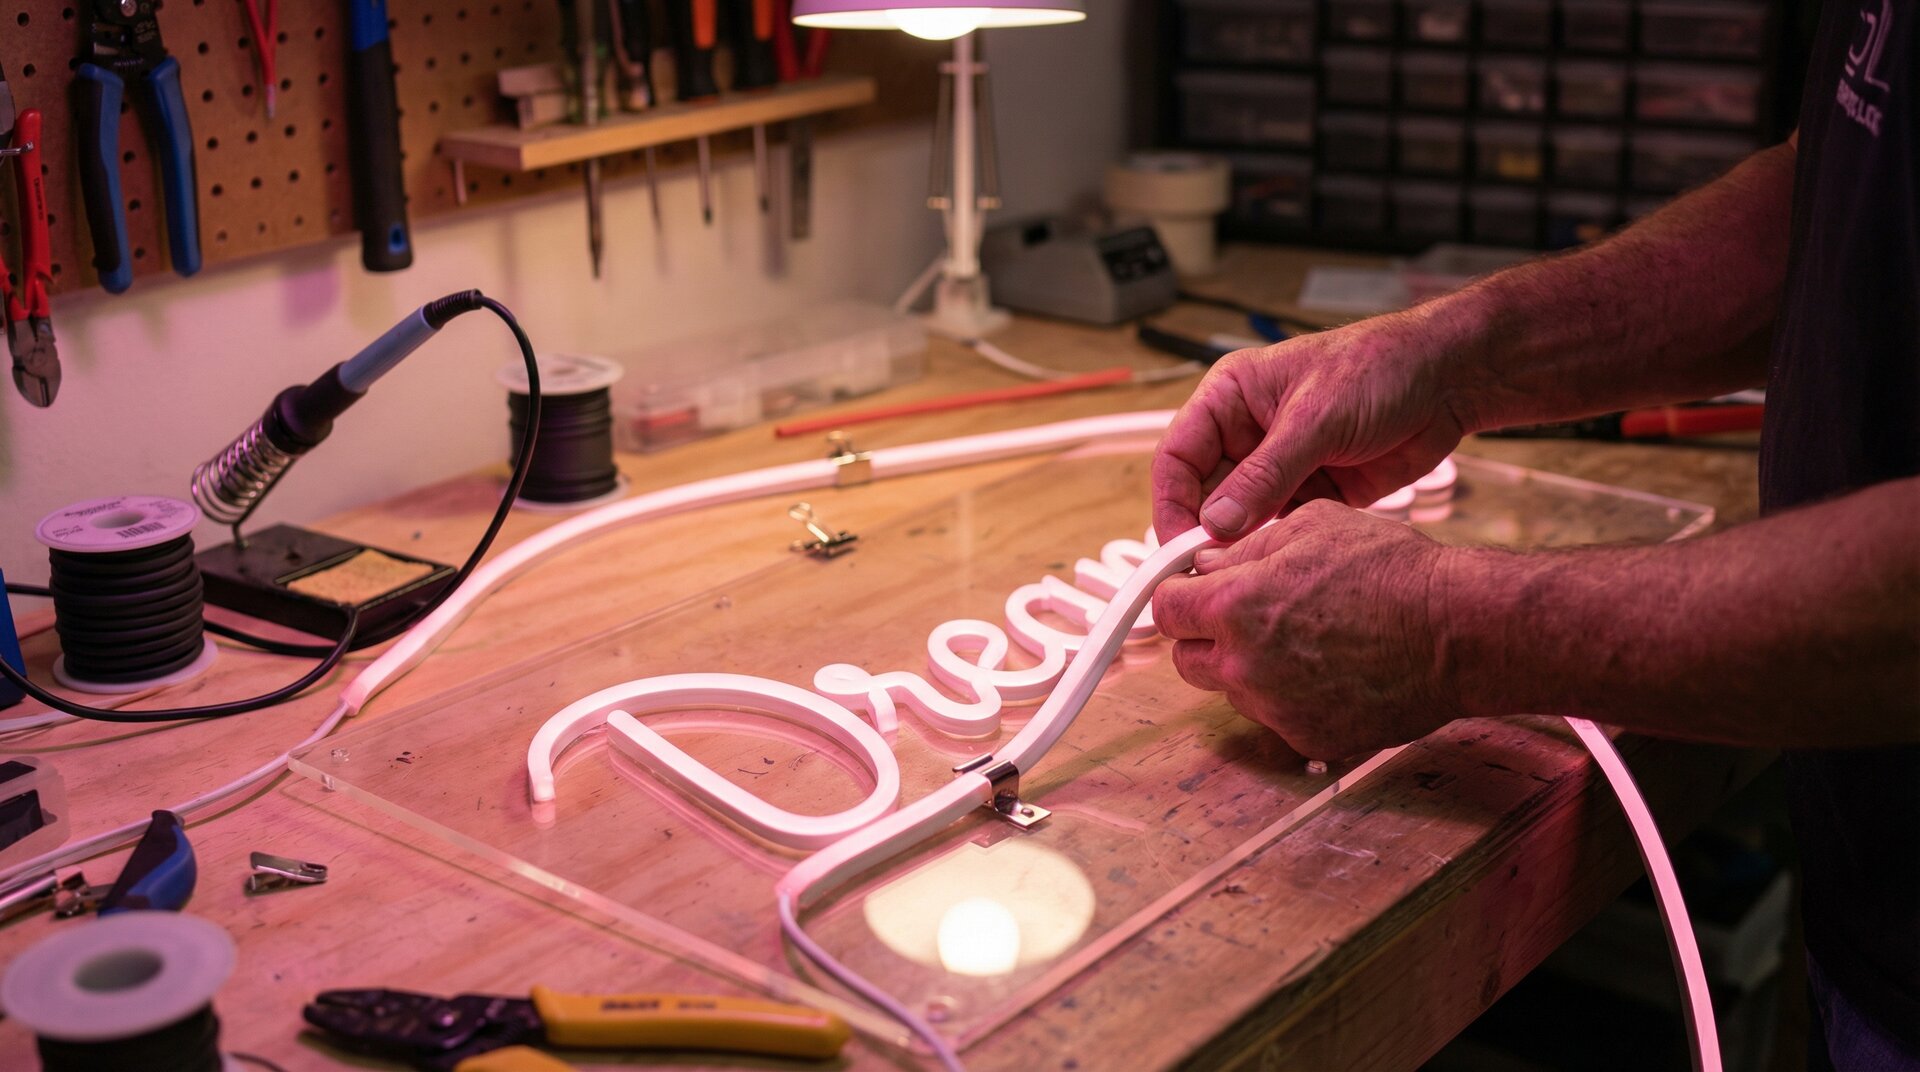
Step 3: Shape the LED neon
This is where your sign starts to take form.
Warm up the neon:
- LED neon flex bends easier when slightly warm
- Use a hair dryer on low heat to make it more pliable
- Don’t overheat - just enough to become flexible
Bending technique:
- Start at one end of your design
- Gently bend the neon to follow your template
- Hold each bend for a few seconds until it sets
- Work slowly - rushing causes kinks and damage
- For tight curves, heat the bend point more
Cutting neon flex:
- Only cut at designated cut points (marked on neon)
- Use sharp scissors for a clean cut
- Cutting between marks will create dead sections
- Plan your cuts carefully to minimise waste
Connection points:
- If your design requires breaks, use connectors
- Solder connections are most reliable
- Crimp connectors work but may fail over time
- Always seal connections with heat shrink tubing
Step 4: Mount and secure
With your neon shaped, it’s time to attach it to the backing.
Using mounting clips:
- Position clips every 5-10cm along the neon path
- Mark clip positions with pencil
- Secure clips to backing (screws for wood, adhesive for acrylic)
- Press neon into clips - it should click in securely
- Adjust positioning before final securing
Alternative mounting methods:
Adhesive channel:
- Clear plastic channel glued to backing
- Neon slides into channel
- Clean look, easy removal
- Good for straight sections
Silicone adhesive:
- Apply small dots along neon back
- Press onto backing
- Permanent but clean finish
- Harder to adjust once placed
Wire ties (temporary):
- Drill small holes, loop ties around neon
- Not attractive but functional
- Good for testing before final mount
Step 5: Wire and connect power
The final step is electrical connection - don’t worry, it’s low voltage and safe.
Identify wire polarity:
- LED neon has positive (+) and negative (-) wires
- Usually marked with red/black or stripe
- Check manufacturer documentation
- Wrong polarity won’t damage LEDs but they won’t light
Connection options:
Soldering (recommended):
- Strip 5mm of insulation from each wire
- Twist matching polarity wires together
- Apply solder to create solid connection
- Cover with heat shrink tubing
- Heat to seal
Crimp connectors:
- Strip wire insulation
- Insert both wires into connector
- Crimp firmly with pliers
- Add heat shrink for security
Screw terminals:
- Some adapters have screw terminals
- Strip wire and insert
- Tighten screw firmly
- Quickest method but less secure
Connecting to power adapter:
- Match adapter voltage to neon requirements (usually 12V DC)
- Check amperage is sufficient (calculate: length in metres x amps per metre)
- Connect positive to positive, negative to negative
- Ensure all connections are insulated
- Tidy excess cable at back of sign
Step 6: Test and troubleshoot
Before declaring victory, test thoroughly.
Testing checklist:
- Sign lights up fully
- No dim sections (indicates poor connection)
- No flickering (loose wire or failing section)
- Power cable secure
- All connections insulated
Common issues and fixes:
| Problem | Likely Cause | Solution |
|---|---|---|
| Sign doesn’t light | Wrong polarity | Swap +/- connections |
| Partial lighting | Cut between marks | Replace affected section |
| Dim section | Poor connection | Re-solder/reconnect |
| Flickering | Loose wire | Secure connection |
| Hot spots | Pinched neon | Relax bend, check for damage |
Tips for Best Results
Learn from common beginner mistakes:
Do’s
- Practice bends on spare neon - Get a feel for the material before working on your actual design
- Work slowly - Rushing is the number one cause of mistakes
- Use heat for tight bends - Warm neon is much more cooperative
- Plan cable routing - Think about where wires will hide
- Test as you go - Connect power and check before final mounting
Don’ts
- Don’t force sharp bends - LED neon has a minimum bend radius (usually 4-6cm)
- Don’t cut randomly - Only cut at designated points
- Don’t skip heat shrink - Exposed connections can short or fail
- Don’t over-tighten clips - Crushing the neon damages LEDs inside
- Don’t skip the template - Freehand rarely works well
Advanced tips
- Continuous vs segmented: Single continuous runs look cleaner but are harder to shape
- Hidden connections: Route connection wires through holes in backing for clean look
- Dimmer addition: Add a dimmer switch for adjustable brightness
- Timer installation: Connect to a smart plug for automatic scheduling
- Edge mounting: Run power cable off the side rather than back for wall mounting
DIY vs Professional Comparison
Wondering if DIY is really worth it? Here’s an honest comparison:
| Factor | DIY | Professional Custom |
|---|---|---|
| Cost | £30-80 | £100-300+ |
| Time | 3-6 hours | 1-2 weeks delivery |
| Quality | Variable (skill-dependent) | Consistent, factory-finish |
| Customisation | Complete control | Limited by manufacturer |
| Warranty | None | Typically 1-2 years |
| Complexity | Best for simple designs | Can handle anything |
| Satisfaction | High (handmade) | Standard purchase |
| Risk | May need redo | Guaranteed result |
When to DIY
- Simple word or phrase designs
- Budget is primary concern
- You enjoy crafting projects
- Need non-standard size or shape
- Want a learning experience
When to go professional
- Complex multi-colour designs
- Large signs (80cm+)
- Business/commercial use
- Tight deadline
- Want guaranteed results
- Detailed logos or artwork
Explore professional options: Custom neon signs cost guide
Cost Breakdown
Here’s what you might spend on a typical DIY project:
Budget option (simple word, ~40cm)
| Item | Cost |
|---|---|
| LED neon flex (2m) | £12 |
| MDF board | £4 |
| 12V adapter | £6 |
| Mounting clips | £3 |
| Wire/connectors | £3 |
| Total | £28 |
Standard option (phrase, ~60cm)
| Item | Cost |
|---|---|
| LED neon flex (4m) | £22 |
| Acrylic board | £12 |
| 12V adapter (higher amp) | £10 |
| Mounting clips | £4 |
| Wire/connectors | £5 |
| Heat shrink | £3 |
| Total | £56 |
Premium option (complex design, ~80cm)
| Item | Cost |
|---|---|
| LED neon flex (6m, quality brand) | £35 |
| Clear acrylic board | £18 |
| 12V adapter with dimmer | £15 |
| Mounting clips | £5 |
| Wire/connectors | £6 |
| Heat shrink | £3 |
| Standoffs for floating effect | £8 |
| Total | £90 |
Frequently Asked Questions
Is it hard to make your own neon sign?
With LED neon flex, it’s beginner-friendly. The key is patience and planning. Simple words take 3-6 hours for a first-timer. Traditional glass neon requires specialised skills, but LED flex is manageable with basic craft abilities.
How long does a DIY neon sign last?
Quality LED neon flex lasts 30,000-50,000 hours - over 10 years with daily use. Lifespan depends on LED quality, proper connections, and not overheating the flex during installation.
Can you make a neon sign without soldering?
Yes. Use crimp connectors or screw terminal adapters for a solder-free approach. Soldering creates more reliable connections, but alternatives work fine for home use. Many kits include no-solder connectors.
What size power adapter do I need?
Calculate your needs: LED neon typically uses 0.5-1 amp per metre. For 3 metres of neon, a 12V 3-5 amp adapter provides headroom. Always check your specific neon flex specifications.
Is DIY neon safe?
Yes, LED neon flex is very safe. It runs on 12V DC (low voltage), stays cool to touch, and contains no glass or gas. The main safety concern is proper electrical connections - always use insulated connectors and don’t work on live circuits.
What’s the minimum bend radius for LED neon?
Most LED neon flex has a minimum bend radius of 4-6cm (depends on tube diameter). Bending tighter can damage internal LEDs or create dark spots. For tighter curves, use smaller diameter neon (6mm).
Conclusion
Making your own DIY neon sign is a rewarding project that saves money and lets you create something truly unique. With LED neon flex, the process is accessible to anyone willing to take their time and follow instructions carefully.
Key takeaways:
- LED neon flex makes DIY accessible (no glass bending skills needed)
- Budget £30-80 for materials on a simple project
- Plan your design thoroughly before starting
- Work slowly - patience is the secret to good results
- Simple words are best for first projects
Whether you’re making a gift, decorating your space, or just enjoying a creative challenge, DIY neon signs are deeply satisfying to create. Start simple, learn from each project, and you’ll soon be making signs that rival professional work.
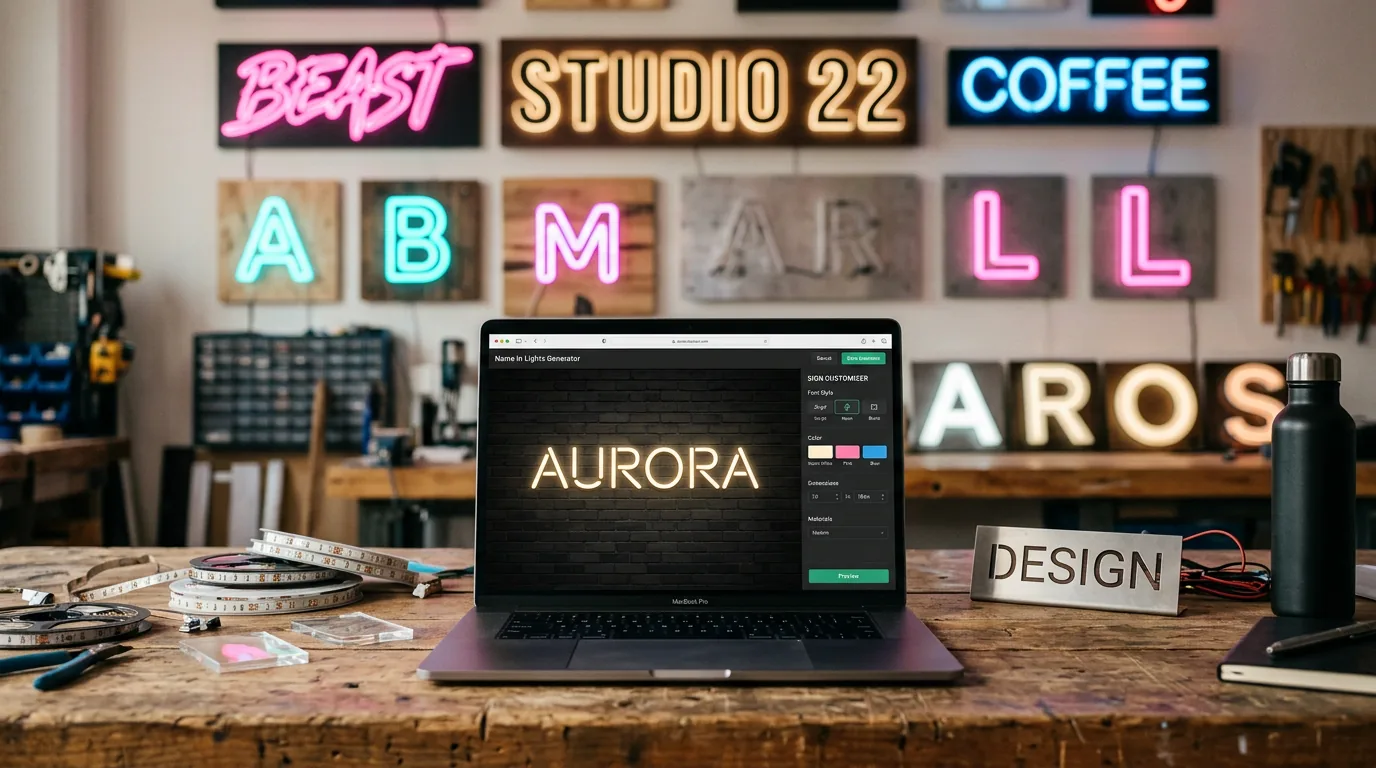
Need design inspiration first? Try our free online tool to visualise your creation:
Design Your Sign First
Related guides: