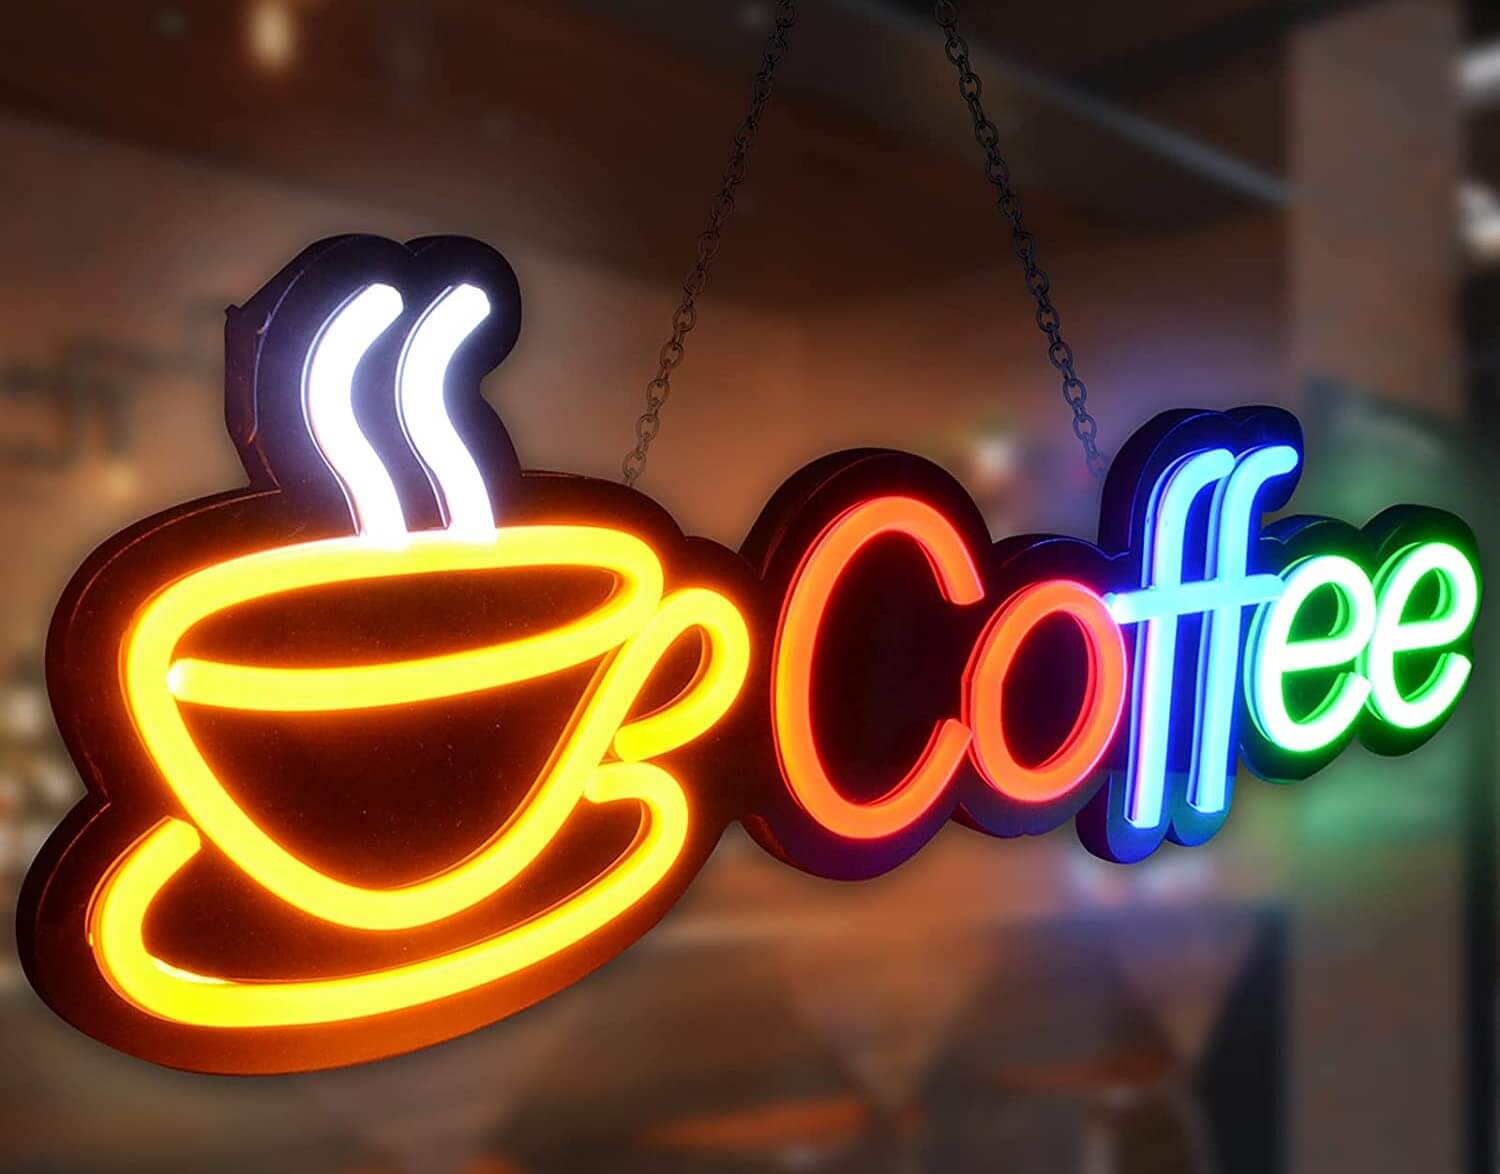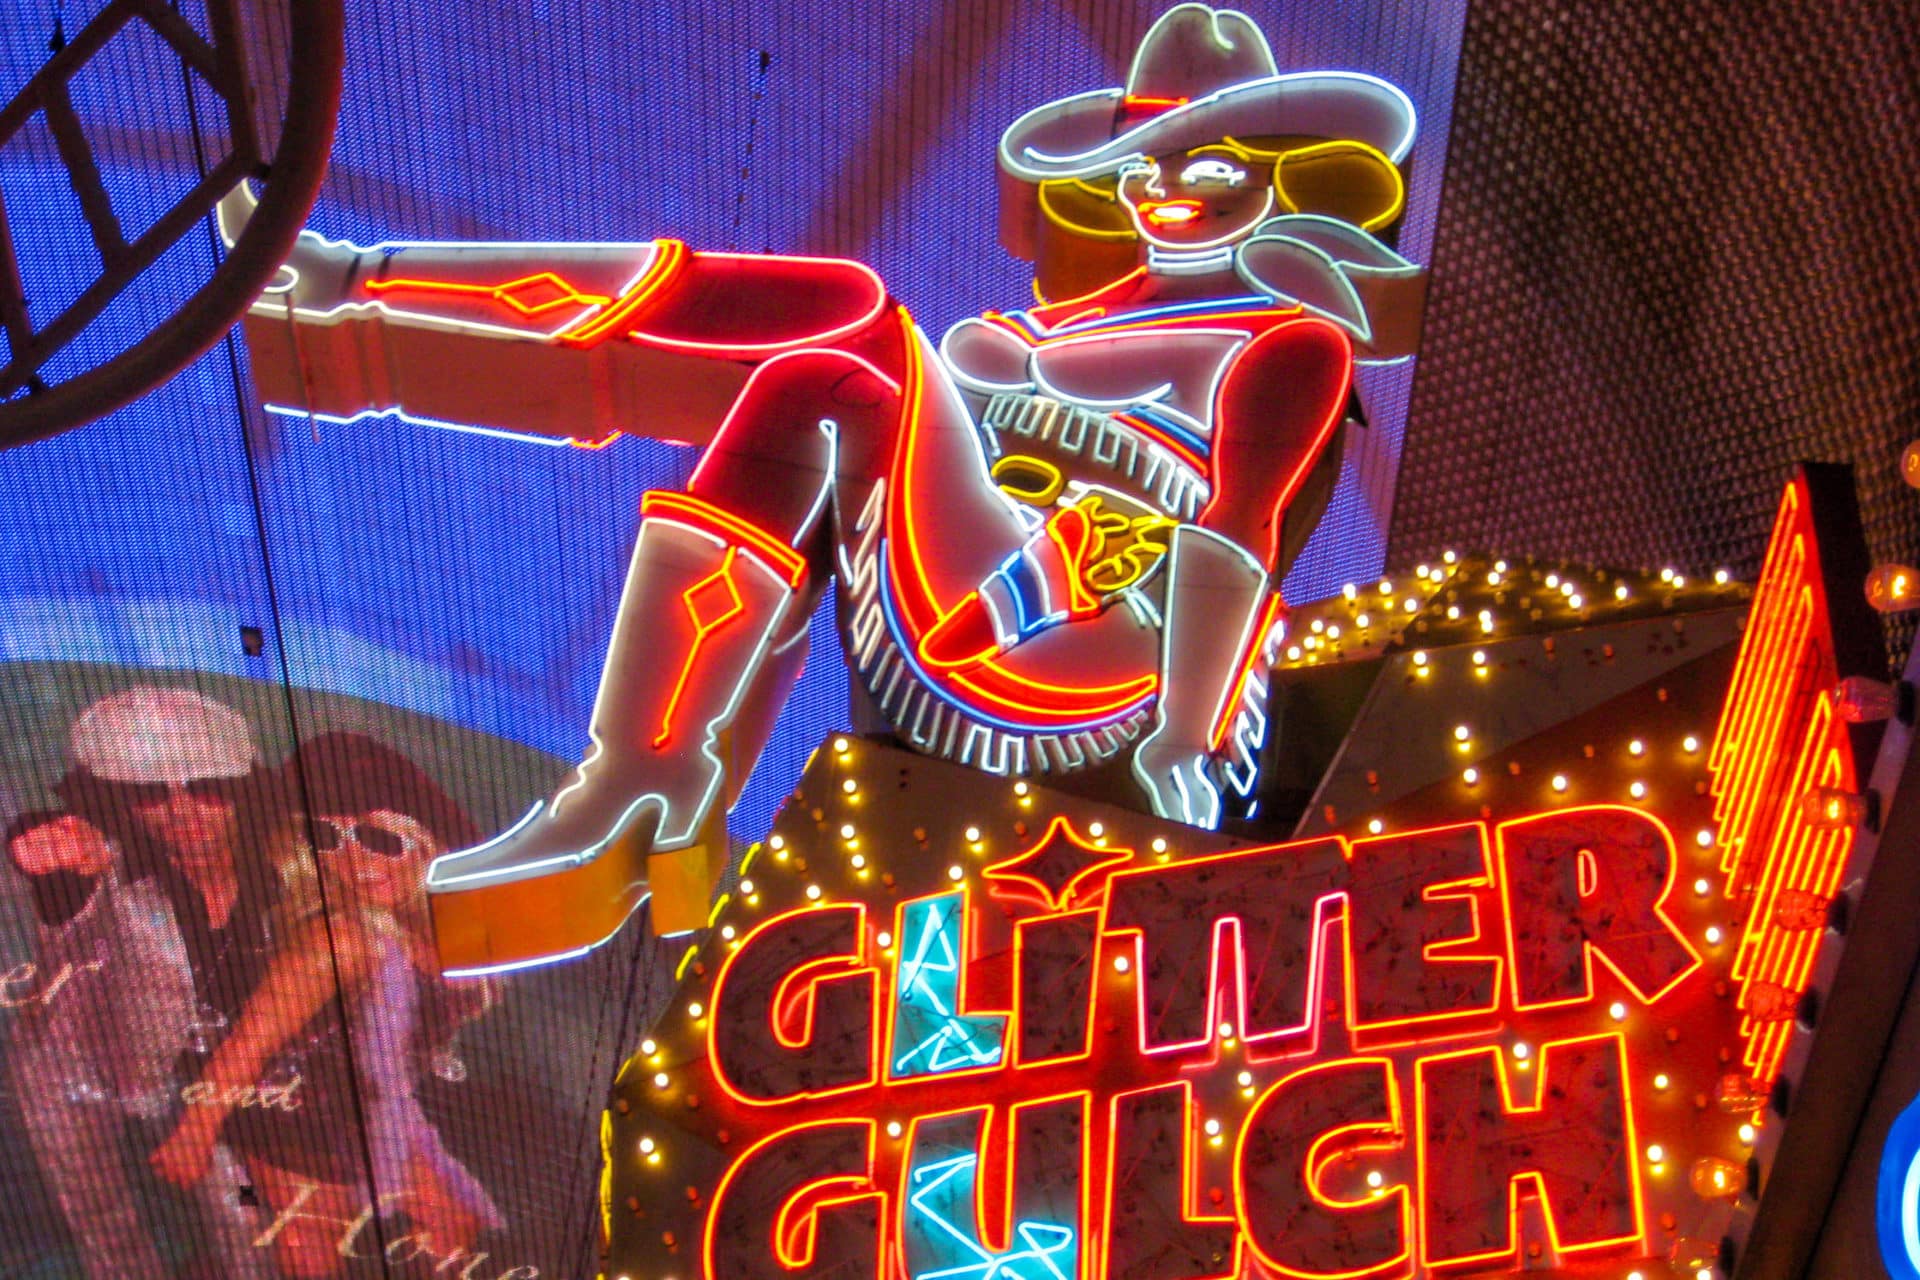

LED neon signs have largely replaced traditional glass neon in commercial signage. They’re safer, more energy-efficient, and far easier to produce. But “easier” doesn’t mean simple—quality LED neon production requires precision at every stage, from interpreting the customer’s design to packaging the finished sign for shipping.
Whether you’re a sign shop adding LED neon to your offerings or a buyer curious about what goes into your custom sign, this guide walks through the complete manufacturing process. Understanding these steps helps you appreciate why quality varies so dramatically between suppliers—and why the cheapest quote isn’t always the best value.
Order Review and Design Verification
Production starts before anyone touches materials. The order review stage catches problems that would be expensive to fix later.
Design Assessment
Every design needs evaluation for LED neon feasibility. What works as a logo or font doesn’t always translate to neon.
Key considerations:
- Minimum letter height: LED neon tubes have minimum bend radii. Tiny text becomes illegible or impossible to form.
- Line spacing: Letters too close together create wiring challenges and visual clutter.
- Stroke width consistency: Dramatic thick-to-thin transitions don’t render well in single-width tubing.
- Closed shapes: The inside of letters like ‘O’, ‘A’, and ‘D’ need planning for tube routing.
Experienced producers will suggest design modifications before production begins. A slight font change or size increase can transform an impractical design into one that looks brilliant when lit.
Technical Specifications
Before cutting or bending begins, lock down the specifications:
- Overall dimensions: Exact width and height of the finished piece
- Tube colour: LED neon comes in various colours; confirm the exact shade
- Backing material: Clear, coloured, or opaque acrylic; specific thickness
- Mounting method: Standoffs, flush mount, or hanging
- Power configuration: Plug type, cord length, dimmer requirements
- Indoor/outdoor rating: Affects material selection and sealing requirements
Missing any of these details means production stops while someone chases answers. Good order intake captures everything upfront.
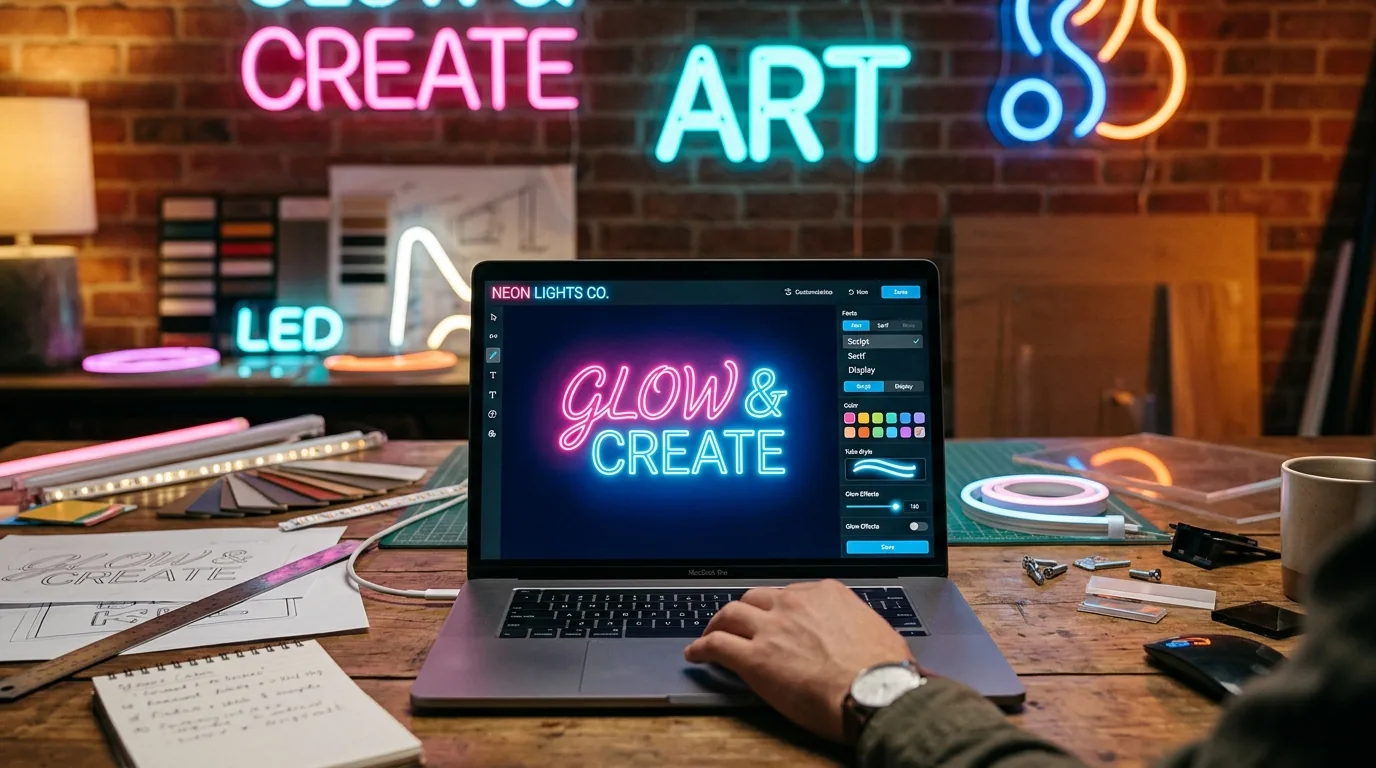
Proof Approval
The customer sees a digital mockup showing the design, colour, and dimensions before production begins. This is the last easy chance to catch errors.
The mockup should show:
- Exact lettering and spelling
- Colour representation (noting that screens vary)
- Size relative to a reference object
- Mounting configuration
- Any backing material colour
Never skip proof approval. “I thought it was obvious” is expensive when you’re halfway through bending tubes.
Acrylic Backing Preparation
The backing board gives LED neon signs their structure. Most modern LED neon signs use acrylic (also called Perspex or Plexiglas) because it’s durable, looks clean, and machines well.
Material Selection
Backing choice affects both appearance and durability.
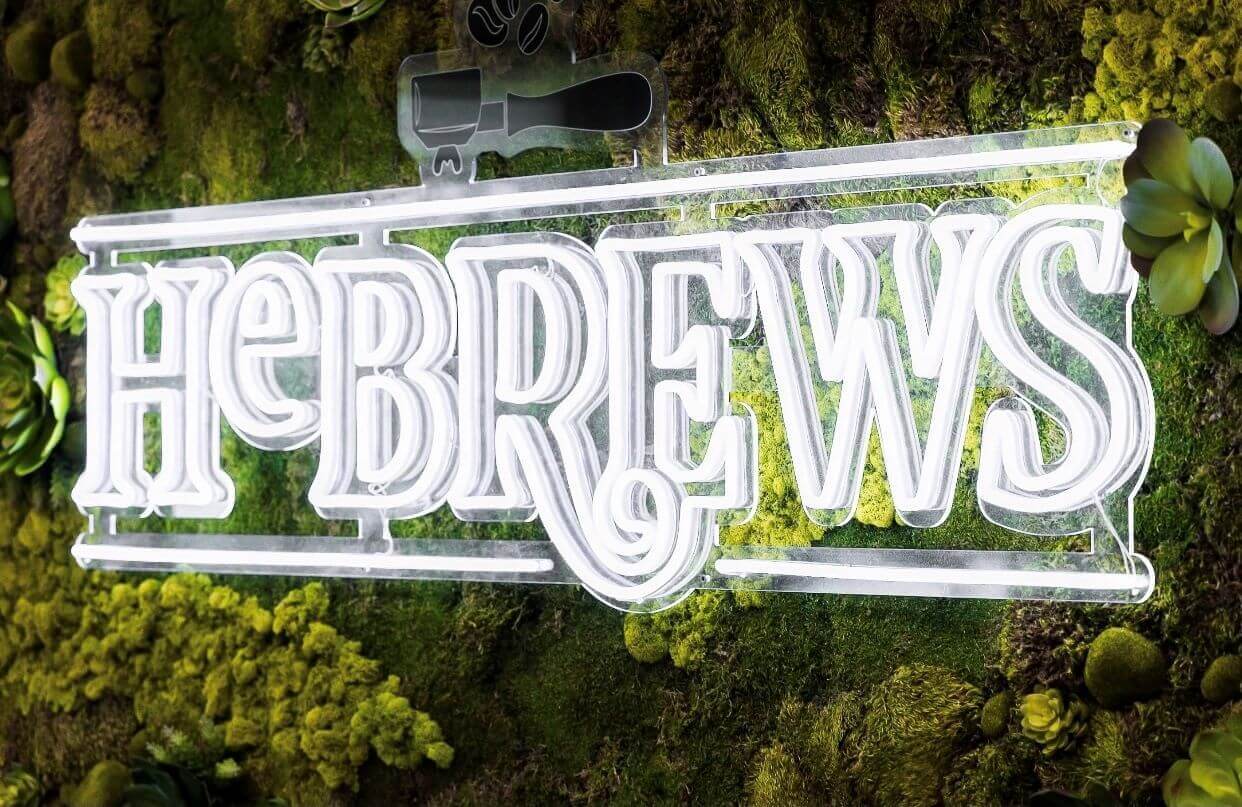
Clear acrylic: Shows the wall behind the sign. Popular for minimal, modern installations. The LED tubes and wiring are visible, so cable management matters.
Opaque white acrylic: Hides wiring completely. Gives a clean, professional look. The most common choice for commercial signage.
Coloured acrylic: Adds visual interest but can affect how the neon colour appears. Test colour combinations before committing to a large job.
Black acrylic: Creates dramatic contrast, especially with bright neon colours. Be aware that black absorbs heat, which can matter in hot environments.
Thickness matters: 5mm is standard for smaller signs. Large signs or those mounted in exposed locations may need 8mm or thicker for rigidity.
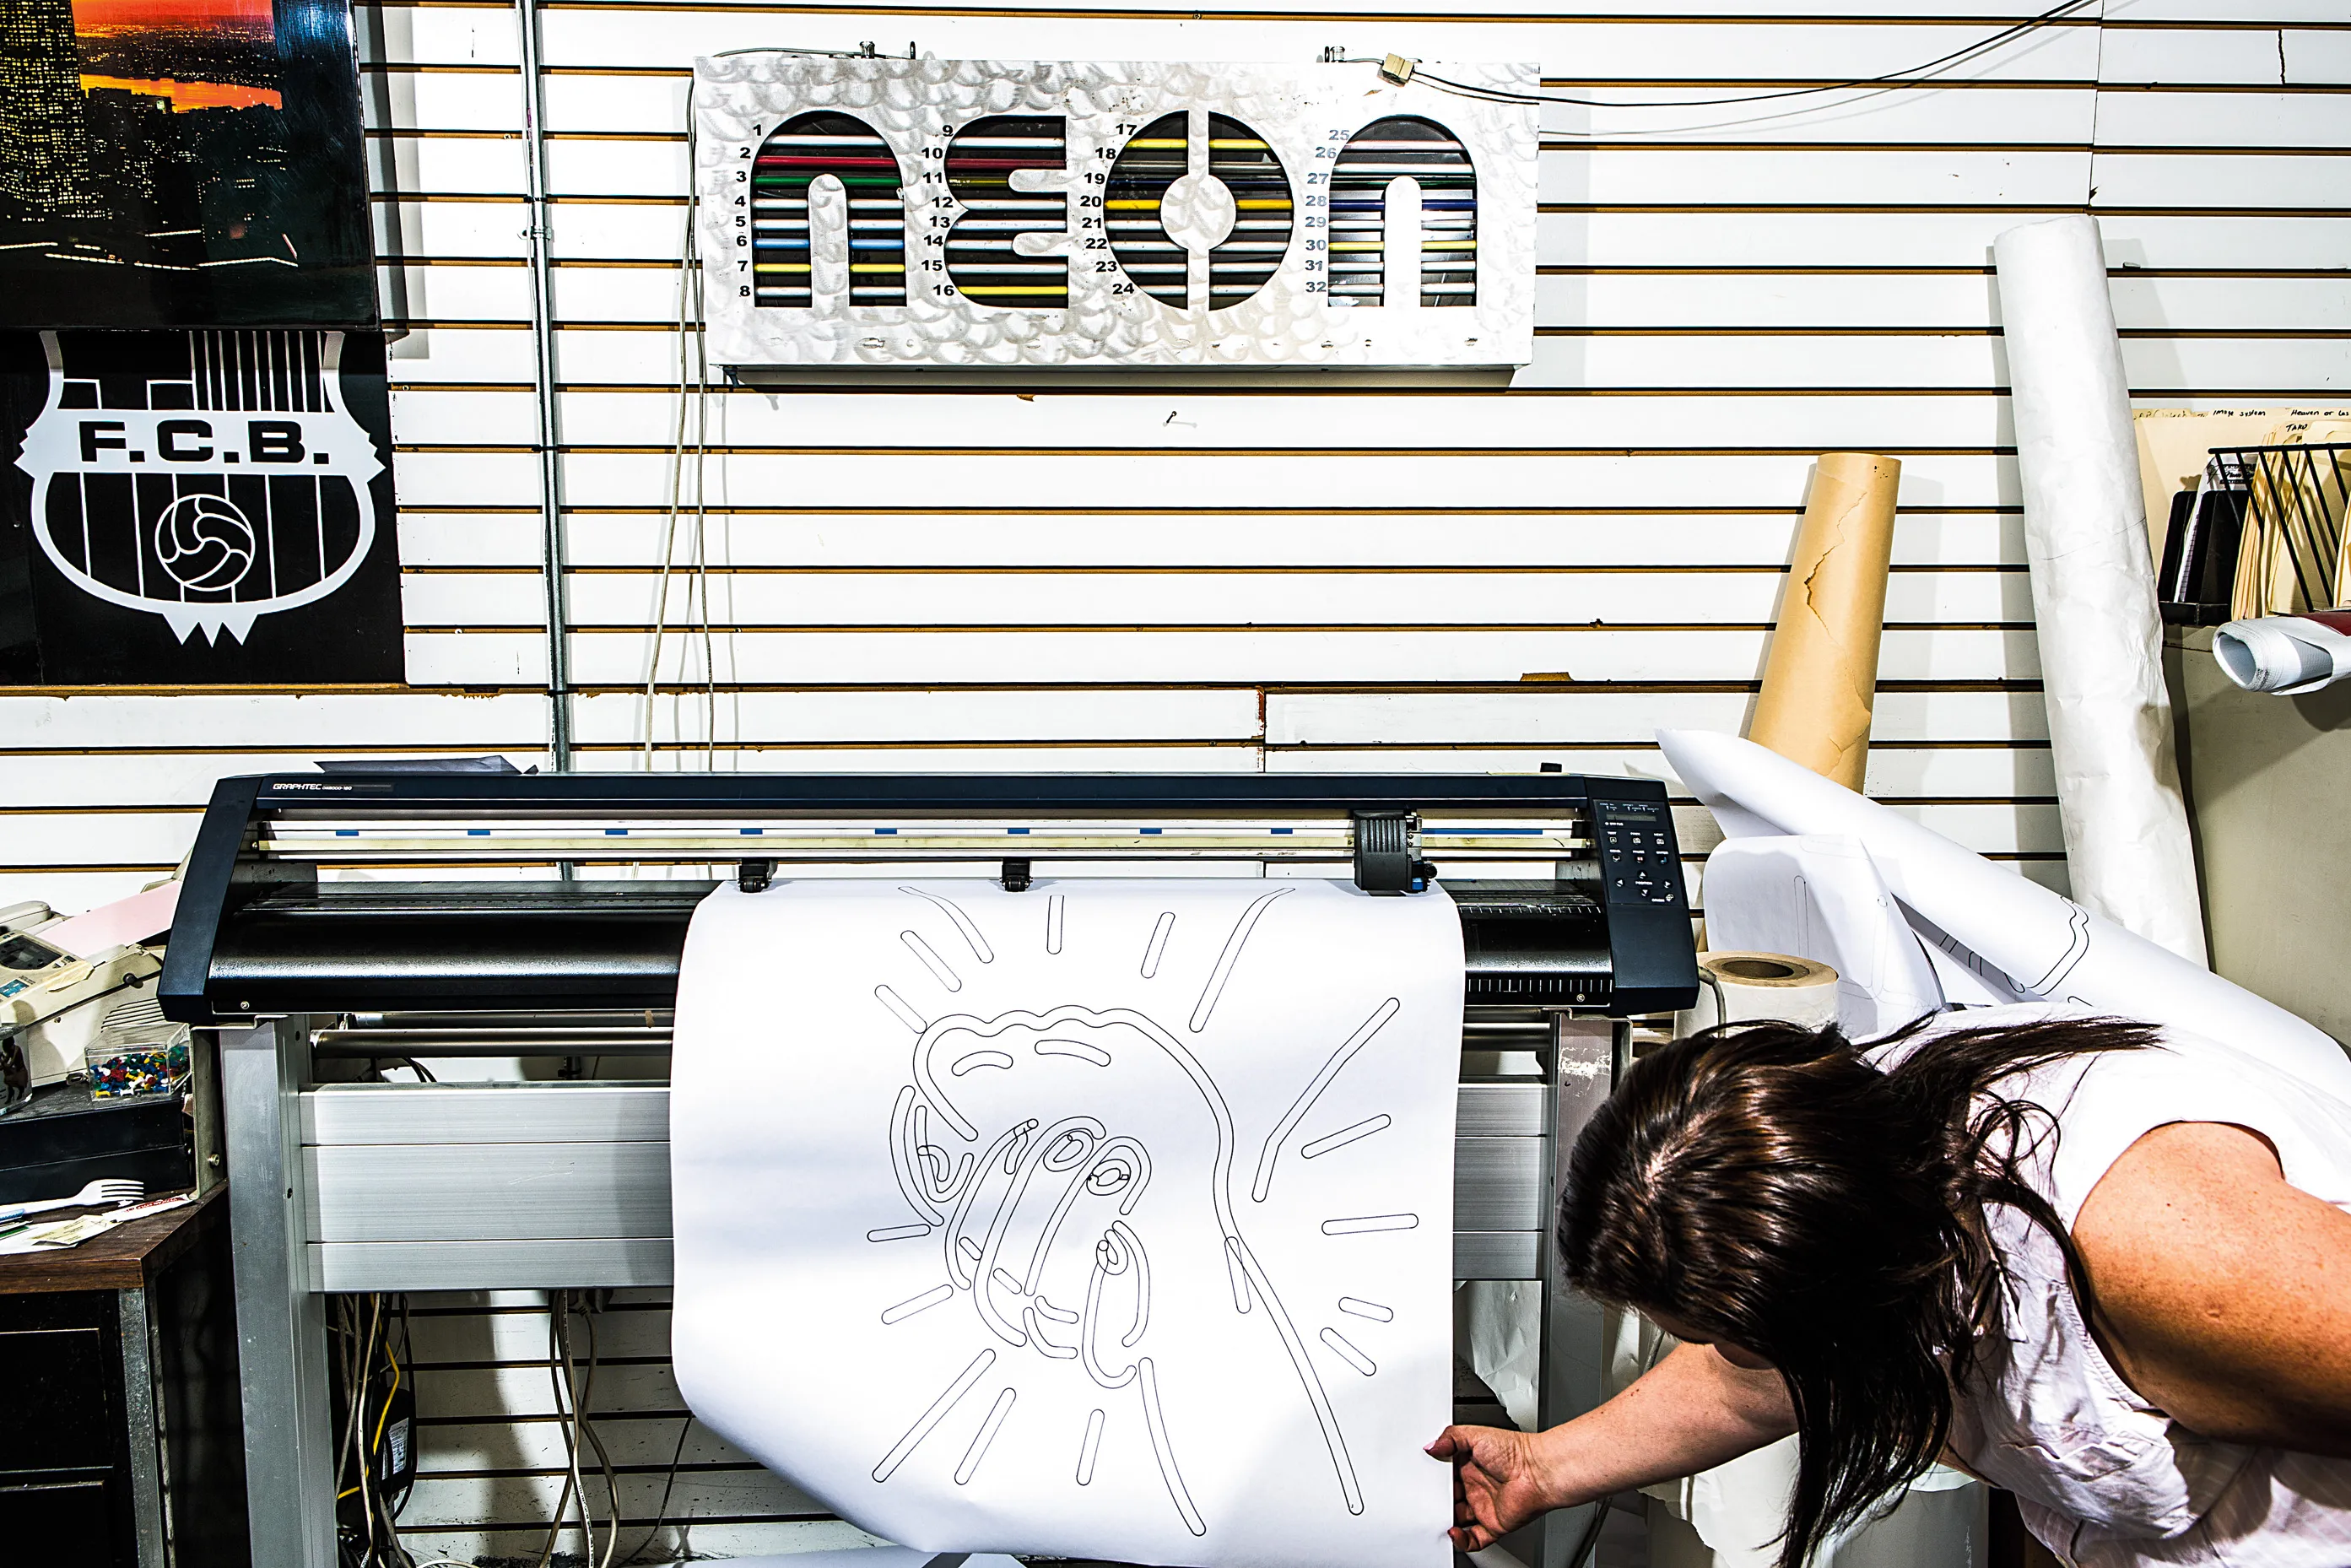
Cutting and Shaping
The backing is cut to the finished sign dimensions plus any mounting allowances.
Cutting methods:
- Laser cutting: Clean edges, precise curves, can cut complex shapes. The standard for quality production.
- CNC routing: Works for thicker materials where laser cutting isn’t practical. Requires edge polishing for a finished look.
- Hand cutting: Rarely used for final products, but useful for prototyping.
Edge finishing:
- Flame polishing creates crystal-clear edges on clear acrylic
- Diamond polishing gives a satin finish
- Edges can be painted or covered with trim for opaque backing
Drilling and Preparation
Before the LED tubes go on, the backing needs holes for:
- Mounting standoffs
- Wire routing to the rear
- Power supply connection points
These holes must be precisely positioned according to the design layout. Measure twice, drill once—an extra hole in acrylic means starting over.
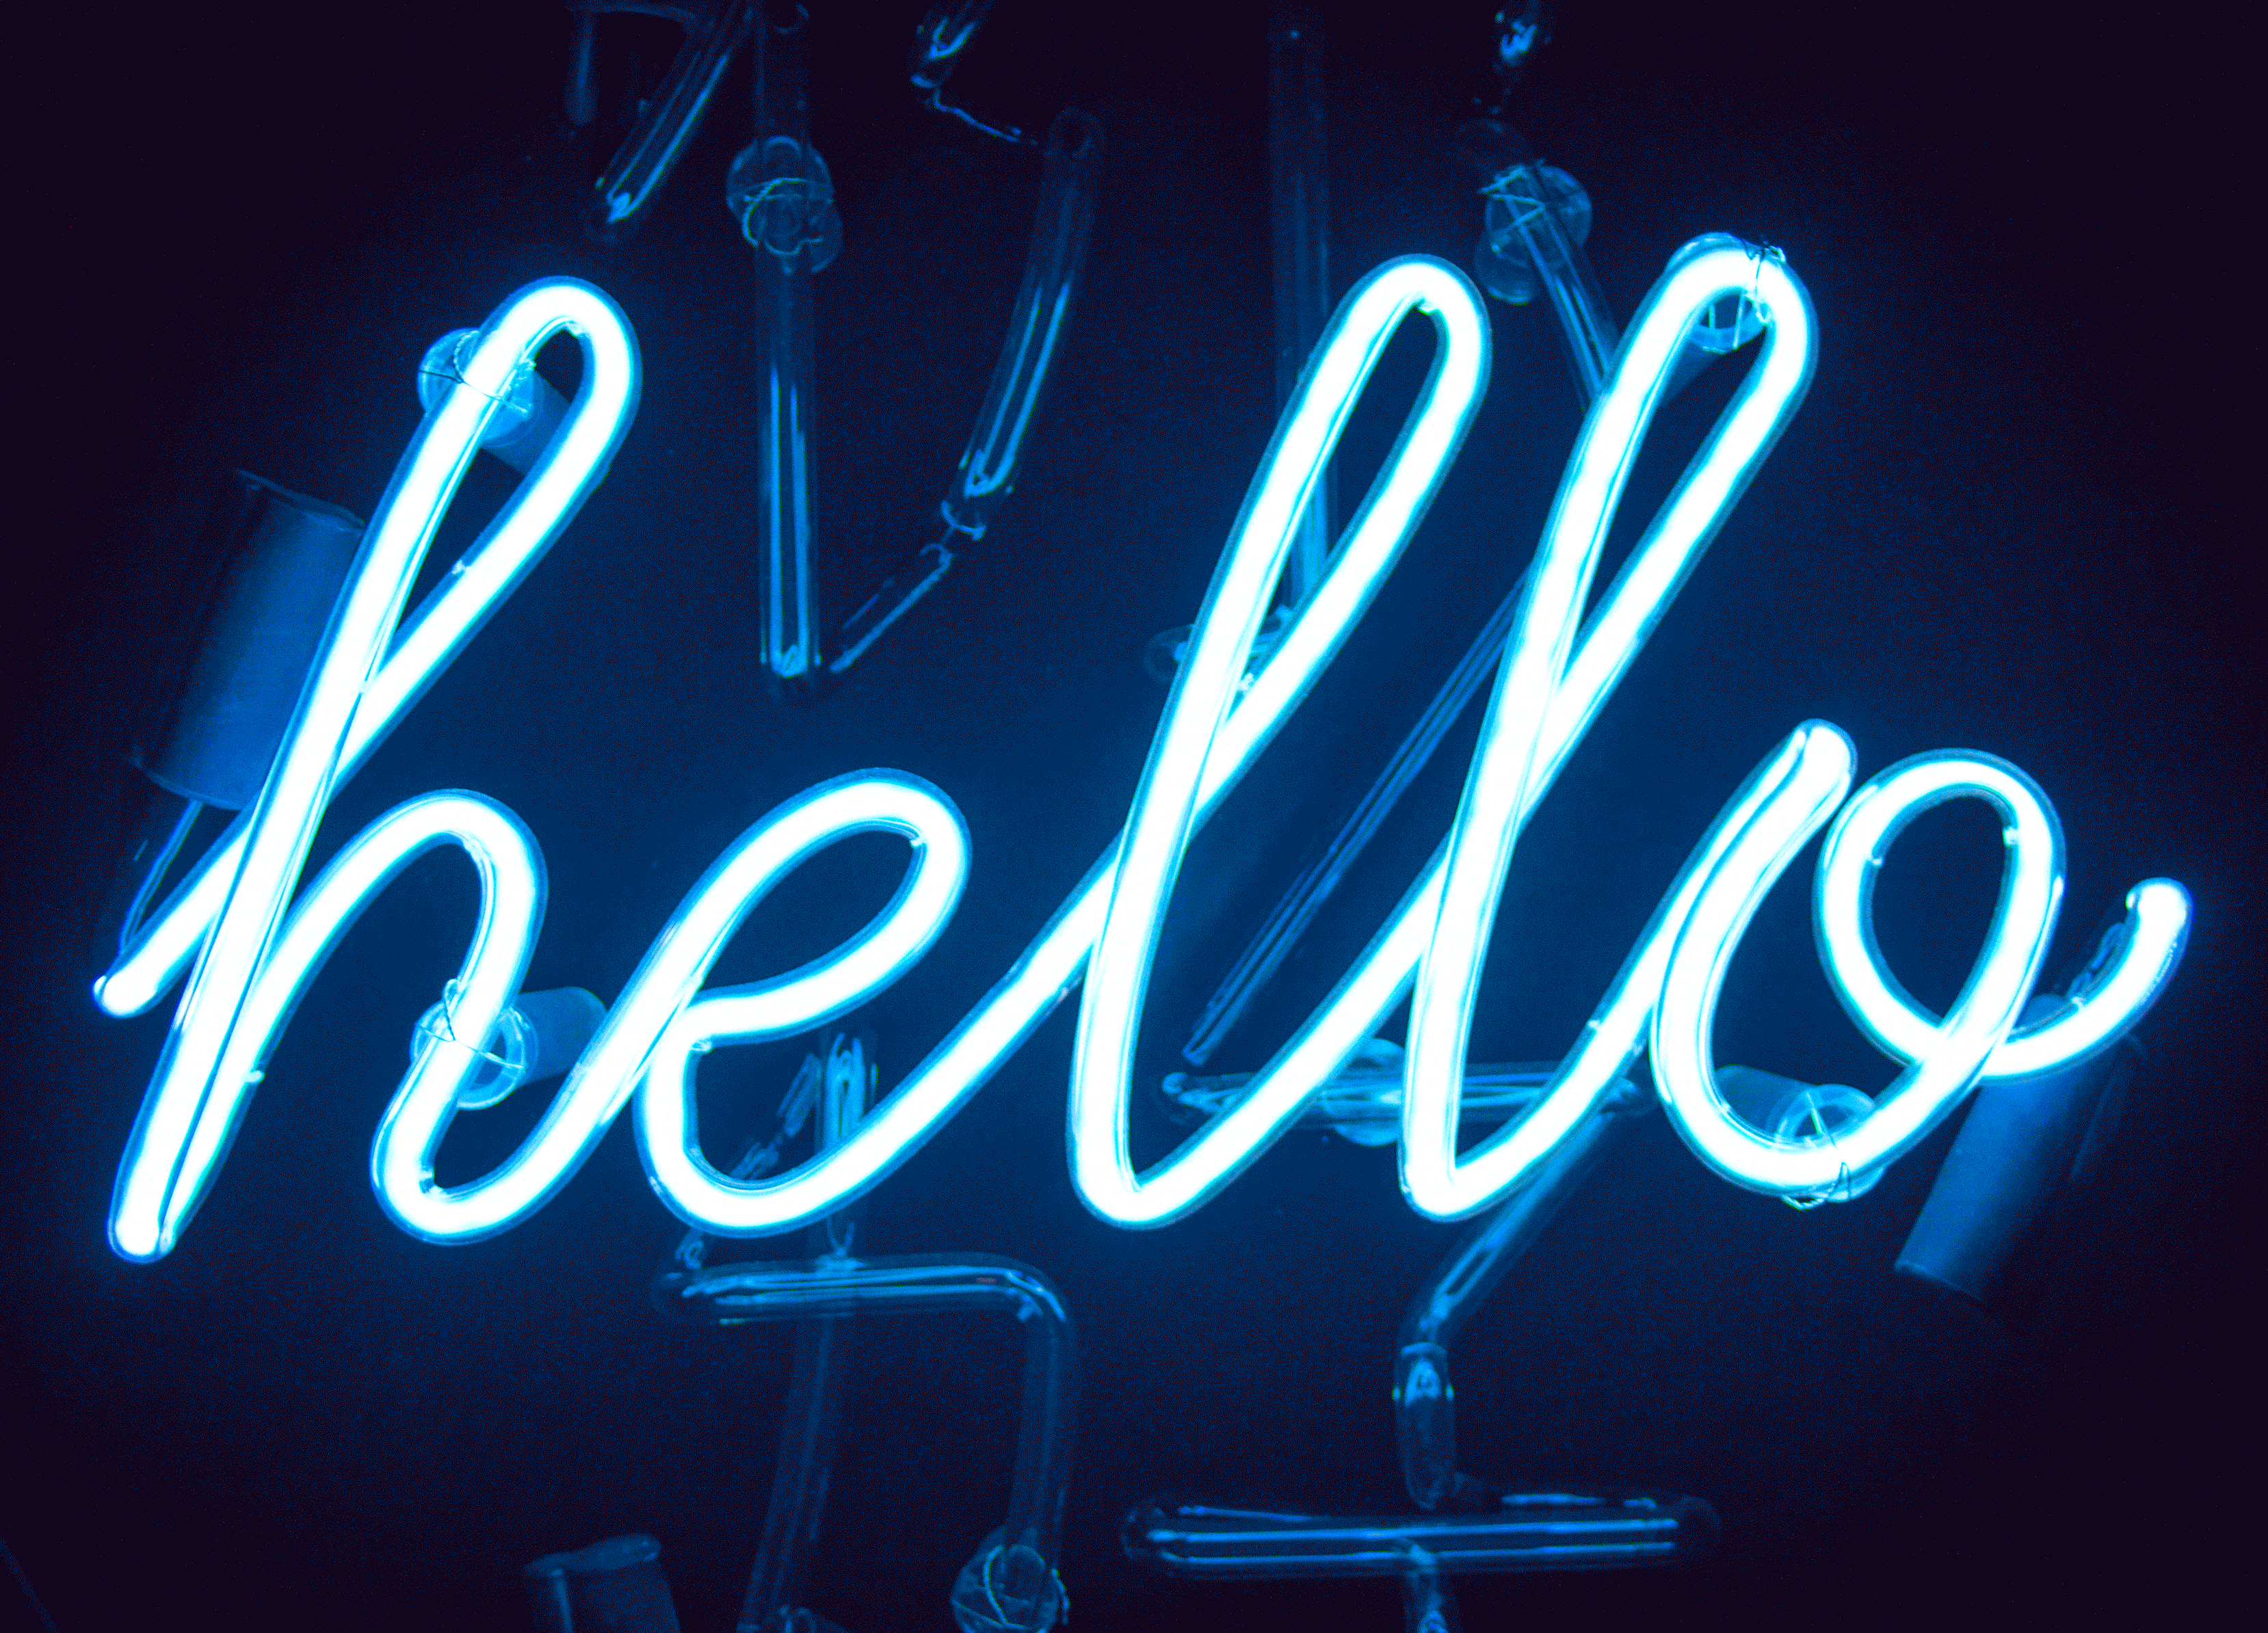
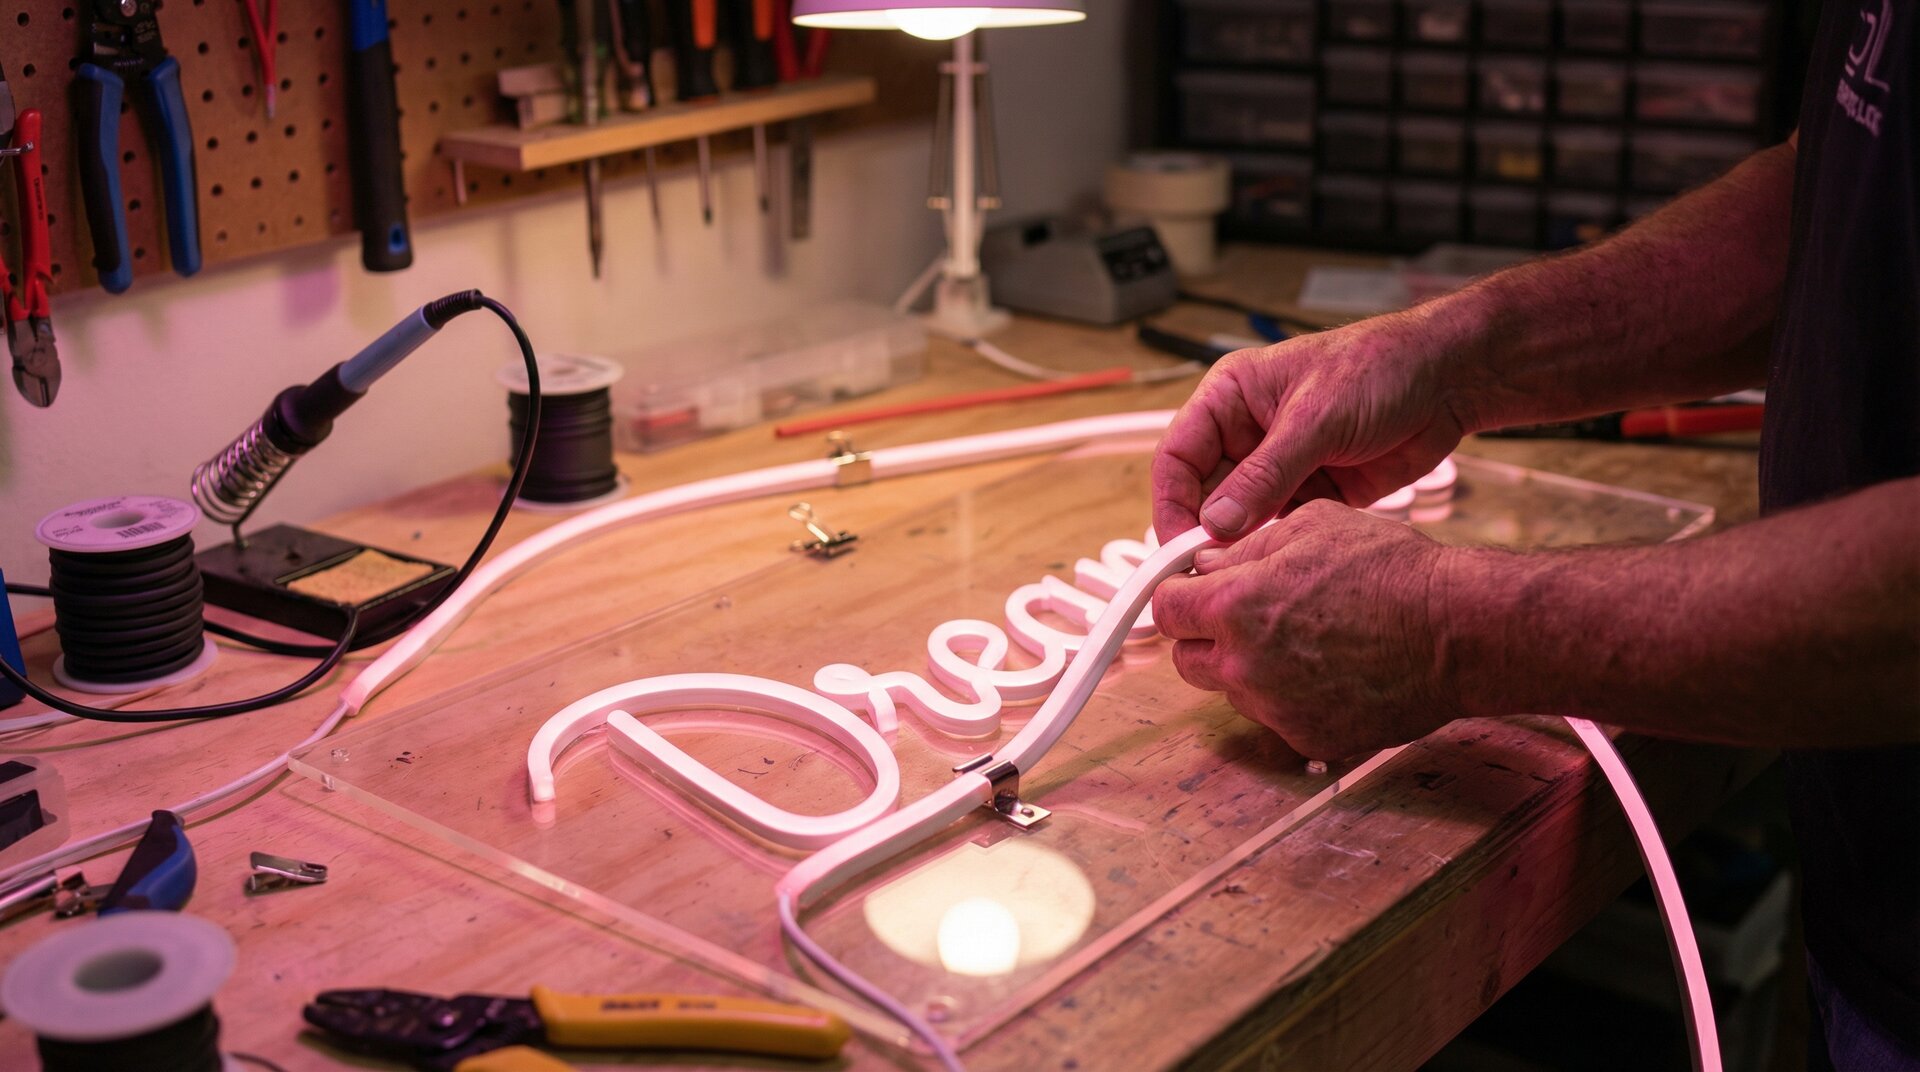
LED Neon Tube Bending and Mounting
This is where the sign takes shape. LED neon tubes are flexible silicone strips containing LEDs, and they’re bent to follow the design paths.
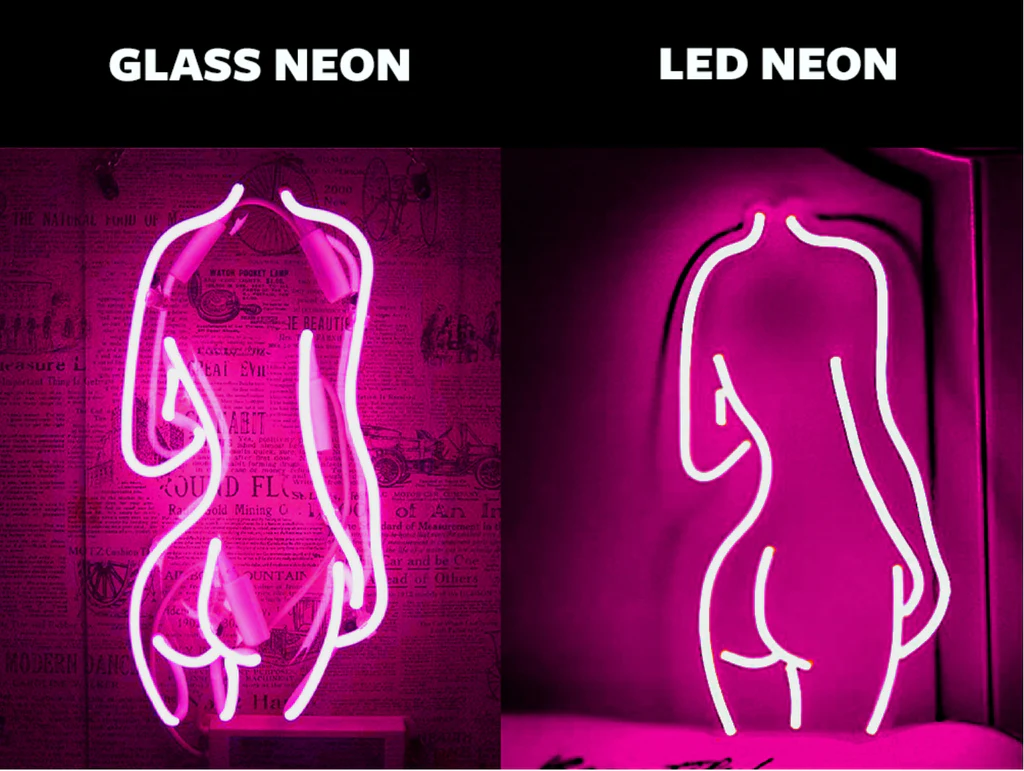
Understanding LED Neon Materials
Modern LED neon isn’t neon at all. It’s a flexible silicone tube containing a strip of LEDs, covered by a diffuser that creates the characteristic neon glow.
Tube specifications:
- Width: Typically 6mm, 8mm, or 12mm—affects the visual weight of lines
- Colour: Single colour or RGB for colour-changing effects
- Brightness: Measured in lumens per metre; affects visibility in different lighting conditions
- Bend radius: The tightest turn the tube can make without damage or dark spots
Quality varies enormously between suppliers. Cheap tubes have uneven brightness, visible LED dots, and fail prematurely. Premium tubes cost more but last years longer and look better throughout their life.
The Bending Process
Despite being called “bending,” LED neon installation is more like laying rope along a path.
Steps:
- Template transfer: The design outline is marked or printed on the backing surface
- Tube cutting: LED strips are cut to length, with allowance for connections
- Path following: Tubes are carefully positioned along the marked paths
- Securing: Clips, adhesive, or channels hold the tubes in place
- Connection: Individual sections are joined with appropriate connectors
Critical points:
- Corners: Tight angles need careful handling. Some designs use separate tube sections meeting at corners; others bend a continuous tube.
- Consistency: Tube height should be uniform across the sign. Uneven mounting creates shadows and brightness variations.
- Tension: Tubes should be secure but not stretched. Tension causes premature failure.
Handling Inside Spaces
Letters with enclosed areas—O, A, B, D, P, Q, R—need their inside spaces lit separately or left dark.
Options:
- Route tubing into the enclosed space and back out
- Use a separate small piece for the interior
- Leave the interior dark (acceptable for some designs)
Each approach affects wire routing and the overall look. Discuss preferences during the design phase.
Wiring and Electrical Assembly
Behind every glowing sign is wiring that needs to be safe, reliable, and invisible from the front.
Power Requirements
LED neon runs on low-voltage DC power (usually 12V or 24V), converted from mains electricity by a power supply unit (PSU).
Calculating power needs:
- Determine total tube length in metres
- Multiply by power consumption per metre (typically 10-15W per metre)
- Add 20% headroom for the PSU rating
Undersized power supplies run hot and fail early. Oversized supplies add unnecessary cost but provide longer life.
Wire Routing
Professional signs hide their wiring. From the front, you should see neon tubes and nothing else.
Routing strategies:
- Wires exit through holes drilled behind tube sections
- All connections happen on the back of the sign
- Wire colour matches backing or tube colour where visible
- Cables are secured to prevent movement and strain
For clear acrylic backing:
- Wire routing requires extra care since cables are visible
- Some designers incorporate visible wiring as a feature
- Others use channels or conduits to group and hide cables
Connection and Soldering
LED neon sections connect through soldering or specialised connectors.
Soldering:
- Provides the most reliable connection
- Requires skill to avoid damaging LED strips with heat
- Connections must be insulated with heat shrink or silicone
Connectors:
- Faster installation
- Slightly higher failure rate over time
- Useful for RGB signs where multiple conductors are involved
All connections should be strain-relieved so that cable movement doesn’t stress the electrical joints.
Power Supply Installation
The PSU converts mains voltage to the low-voltage DC the sign needs.
Mounting options:
- Attached to the sign backing (neat but adds weight)
- Separate unit connected by cable (can be hidden elsewhere)
- Remote mounting for outdoor signs (keeps electronics dry)
Safety requirements:
- Appropriate electrical ratings and certifications (CE, UL, etc.)
- Adequate ventilation for heat dissipation
- Protected from moisture in outdoor or humid locations
In many jurisdictions, final connection to mains power must be done by a licensed electrician. The sign shop’s responsibility typically ends at providing appropriate connection hardware.
Quality Testing and Inspection
Before a sign leaves the workshop, it needs thorough testing. Problems found after installation are expensive to fix.
Electrical Testing
Check every sign for:
- All sections illuminate when powered
- No flickering or intermittent connections
- Even brightness across all tubes
- Correct colour output
- Dimmer function (if specified)
- No visible arcing or damaged insulation
Run the sign for at least 30 minutes during testing. Heat-related issues often don’t appear immediately.
Visual Inspection
Examine the finished sign for:
- Tube alignment follows the design accurately
- Consistent tube height and spacing
- No visible wiring from the front viewing angle
- Clean backing with no scratches or marks
- Properly finished edges
- Correct mounting hardware attached
Take photographs before packing. These images document the sign’s condition at shipping and become essential if damage claims arise.
Documentation
Each sign should ship with:
- Operating instructions
- Power supply specifications
- Warranty information
- Care and cleaning guidance
- Troubleshooting for common issues
- Contact information for support
For commercial signs, include electrical certification documents required for the installation location.
Packaging and Shipping
LED neon signs are surprisingly durable, but poor packaging can still cause damage. The tubes themselves resist impact, but the acrylic backing can crack and power connections can break.
Protective Packaging
Packaging layers:
- Foam padding over the tube face to prevent crushing
- Corner protectors on the acrylic backing
- Rigid outer box or crate sized to prevent movement
- “Fragile” and “This Way Up” markings
For valuable or large signs:
- Custom foam inserts hold the sign securely
- Wooden crates prevent crushing in transit
- Consider insured shipping with signature confirmation
Shipping Considerations
Carrier selection:
- Standard parcel carriers work for smaller signs
- Freight carriers handle large or heavy pieces
- Some manufacturers offer white-glove delivery and installation
Customer communication:
- Share tracking information
- Provide delivery time estimates
- Include unboxing and installation instructions
- Offer support contact for delivery issues
What Separates Quality From Cheap
The LED neon market ranges from premium manufacturers to budget imports. Understanding the production process explains the price differences.
Premium production includes:
- Design review and optimisation before production
- High-quality LED tubes with consistent colour and brightness
- Careful bending and mounting for uniform appearance
- Professional wiring with secure, insulated connections
- Thorough testing before shipping
- Comprehensive documentation and support
Budget production often skips:
- Design verification (problems discovered after production)
- Quality materials (tubes fail prematurely or look uneven)
- Careful assembly (visible wiring, uneven mounting)
- Adequate testing (dead sections or intermittent faults)
- Documentation (customer left to figure out installation)
The cheapest sign costs more when it fails after six months, or when the customer complains about quality issues that should have been caught before shipping.
Frequently Asked Questions
How are LED neon signs made?
LED neon signs are made through a multi-stage process: design verification and proof approval, acrylic backing preparation (cutting and drilling), LED neon tube bending and mounting along the design paths, electrical wiring and power supply installation, quality testing, and protective packaging. Each stage requires precision to ensure the finished sign looks professional and operates reliably.
How long do LED neon signs last?
Quality LED neon signs typically last 30,000 to 50,000 hours of operation—roughly 8 to 15 years of typical business use. Lifespan depends on component quality, proper power supply sizing, and installation environment. Signs in extreme heat or direct sunlight may have shorter lifespans. Premium tubes with proper thermal management outlast budget alternatives significantly.
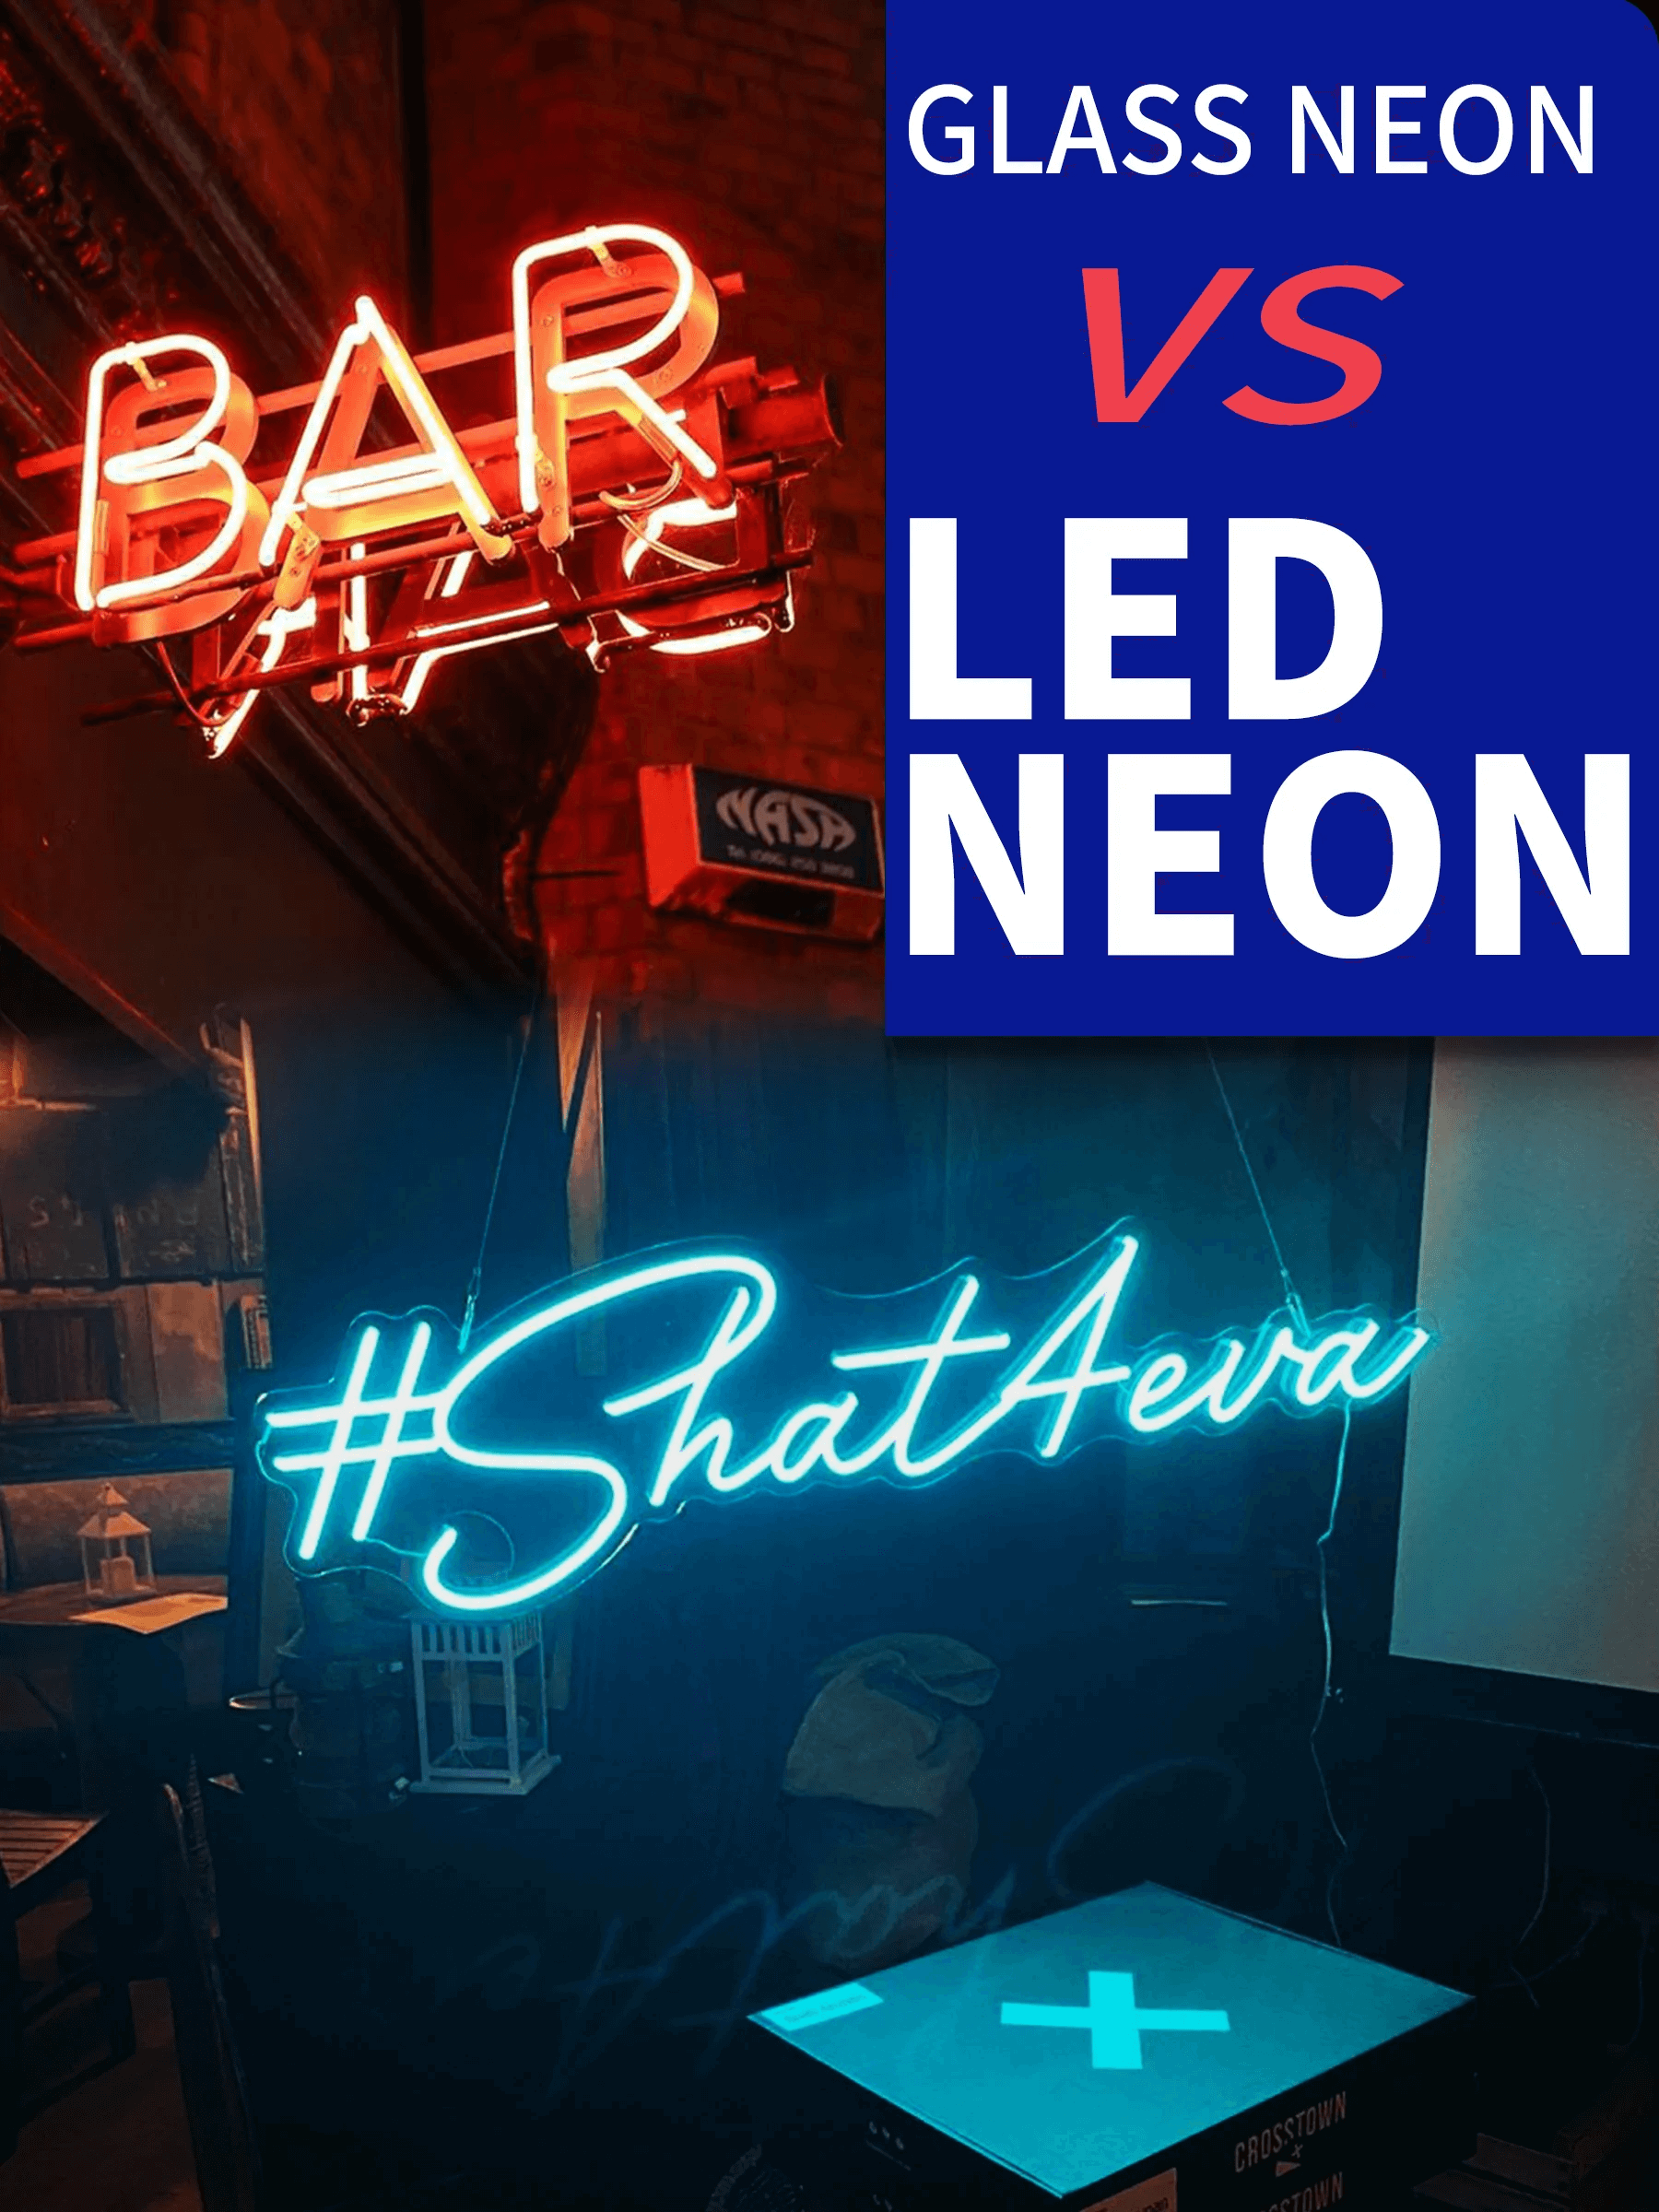
What is the difference between LED neon and real neon?
Traditional glass neon uses gas-filled tubes that glow when electrified, requiring high voltage and skilled glass bending. LED neon uses flexible silicone tubes containing LED strips, running on low-voltage DC power. LED neon is safer (no glass, low voltage), more energy-efficient, easier to install, and available in more colours. Glass neon has a slightly different glow quality that some prefer for authenticity.
Can LED neon signs be used outdoors?
Yes, with proper construction. Outdoor LED neon signs need IP65-rated or higher LED tubes, sealed electrical connections, UV-resistant backing materials, and weatherproof power supplies mounted in protected locations. Indoor-rated signs used outdoors will fail prematurely from moisture ingress and UV degradation.
How much power does an LED neon sign use?
LED neon typically consumes 10-15 watts per metre of tube. A 1-metre wide sign might use 20-40 watts total—comparable to a single light bulb. This is significantly less than traditional glass neon (which uses 3-4 times more power) and far less than illuminated cabinet signs. Running costs are minimal even for large signs.
Conclusion
LED neon sign production combines craft skills with technical precision. Each stage—from design verification through packaging—affects the final product’s appearance, reliability, and lifespan.
For sign shops, understanding this process helps price jobs accurately and set customer expectations. For buyers, it explains why quality signs cost what they do—and why the cheapest option often isn’t the best value.
Looking to offer custom LED neon signs to your customers? Sign Customiser lets customers design their own neon signs on your website, generating production-ready specifications automatically. Check our pricing plans to find the right fit for your business, or explore how other sign types are made in our production workflow guide.