Sign Presets
Last updated:
Sign Presets allows you to save any customiser configuration as a reusable starting design. This makes it easy to showcase popular designs, promote designs, or provide ready-made options that can be customised further.
This guide will show you how to create a preset and display it on your website.
Step 1: Create a Preset
-
Go to the Sign Customiser Admin:
-
Universal subscribers: Go to Home in your account.
-
Shopify users: Navigate to Shopify admin → Apps and select Sign Customiser.
-
-
Click on Customisers in the menu.
-
Select the customiser you want to edit.
-
From the left-hand menu, go to Features → Presets.
-
Click Create Preset.
-
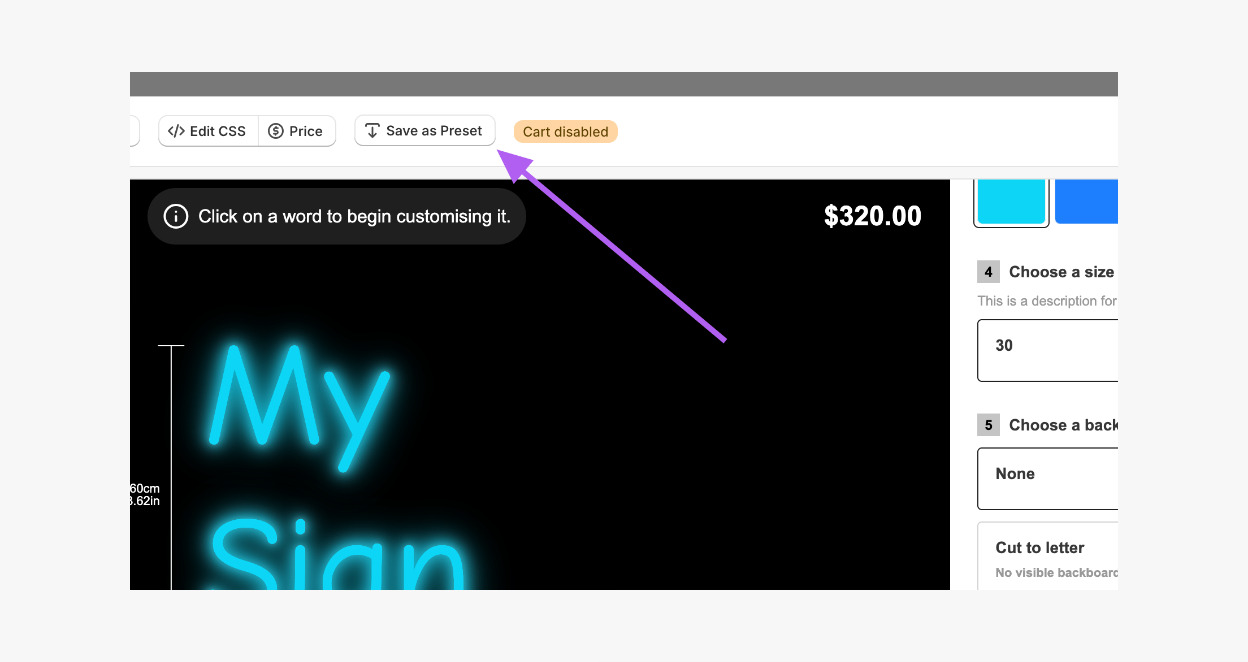
In the pop-up preview of your customiser, adjust all sign options to match your sign design.
-
Click Save as Preset.
Step 2: Displaying Your Preset on the Storefront
Presets can be displayed in two ways:
-
Embedded as a full customiser on a page or product template, just like any other customiser.
-
As a direct link (e.g. as a button).
Option 1: Embed the Preset as a Customiser
For Shopify Users:
-
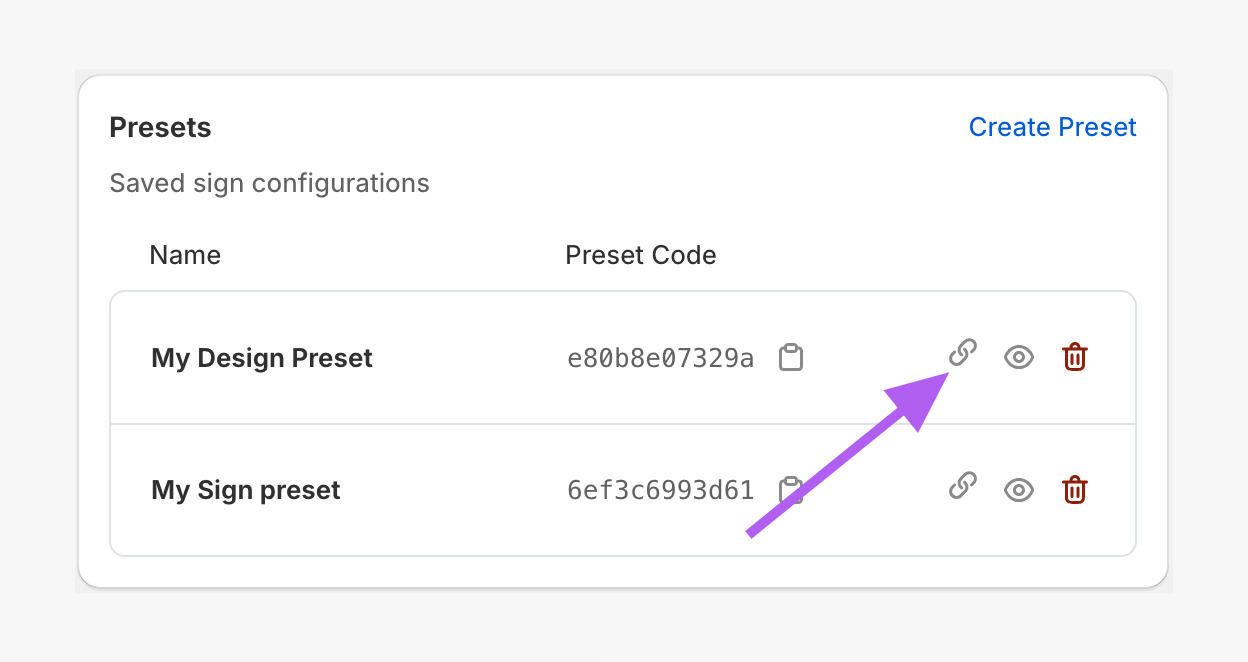
In Features → Presets, click on the Link icon of your chosen preset.
-
Copy the Preset Code.

-
In Shopify admin, go to Online Store → Themes.
-
Click Customise to open the theme editor.
-
Create or edit an existing page/product template.
-
Add the Sign Customiser app block to your template. (Follow this guide for further details: Install Customiser on a Product or Page on your Shopify Storefront - App Blocks.)
-
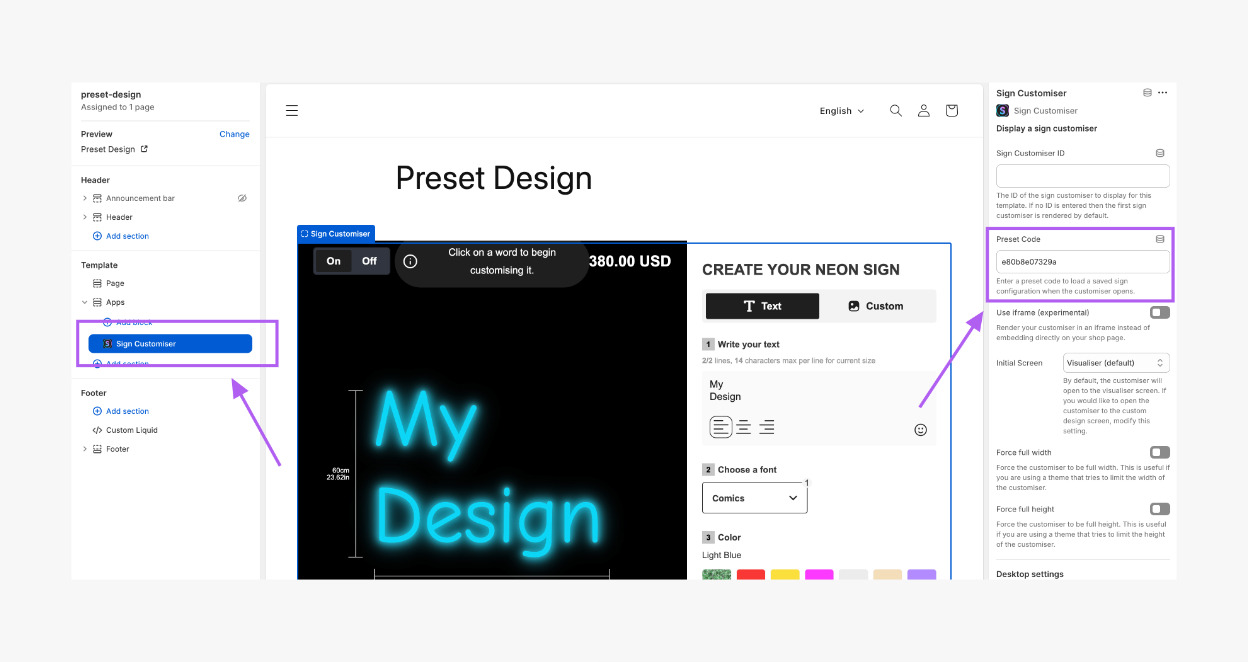
Open the Sign Customiser block settings.
-
Paste your copied Preset Code in the Preset Code field.
-
Click Save.
The preset design will now display as a fully embedded customiser.
For Universal Users:
-
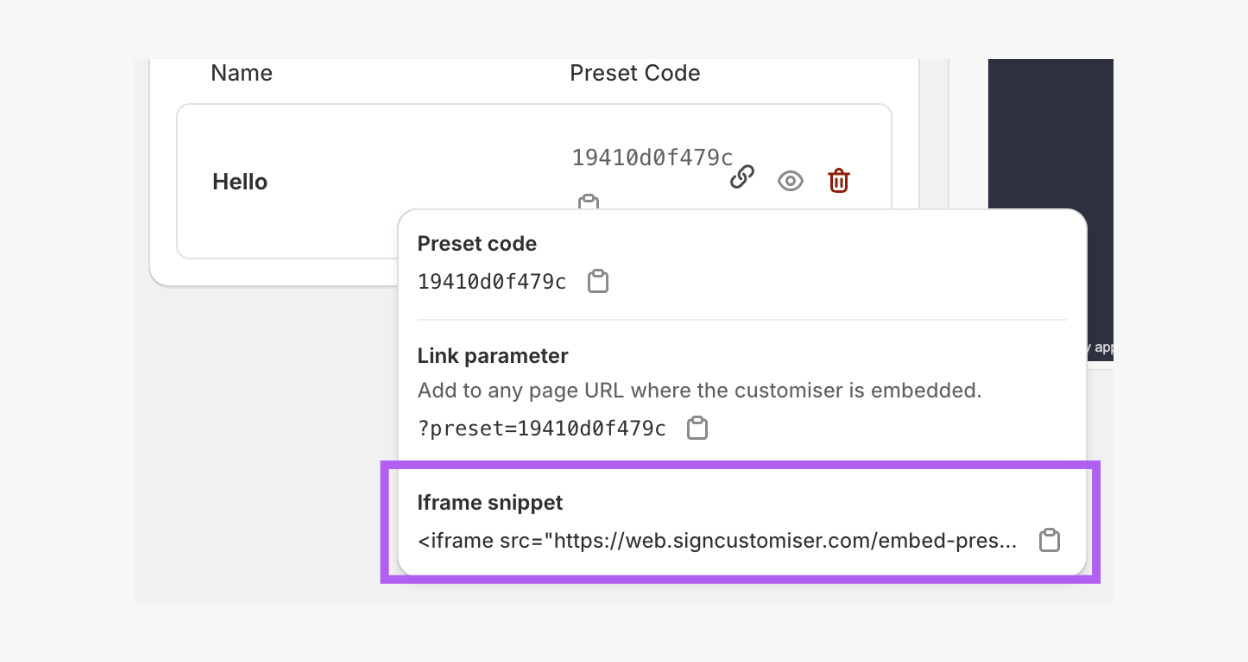
In Features → Presets, click on the Link icon of your chosen preset.
-
Copy the iframe Snippet code.
-
Go to your website admin.
-
Paste the iframe Snippet code in a code section on your page (this depends on your website platform).
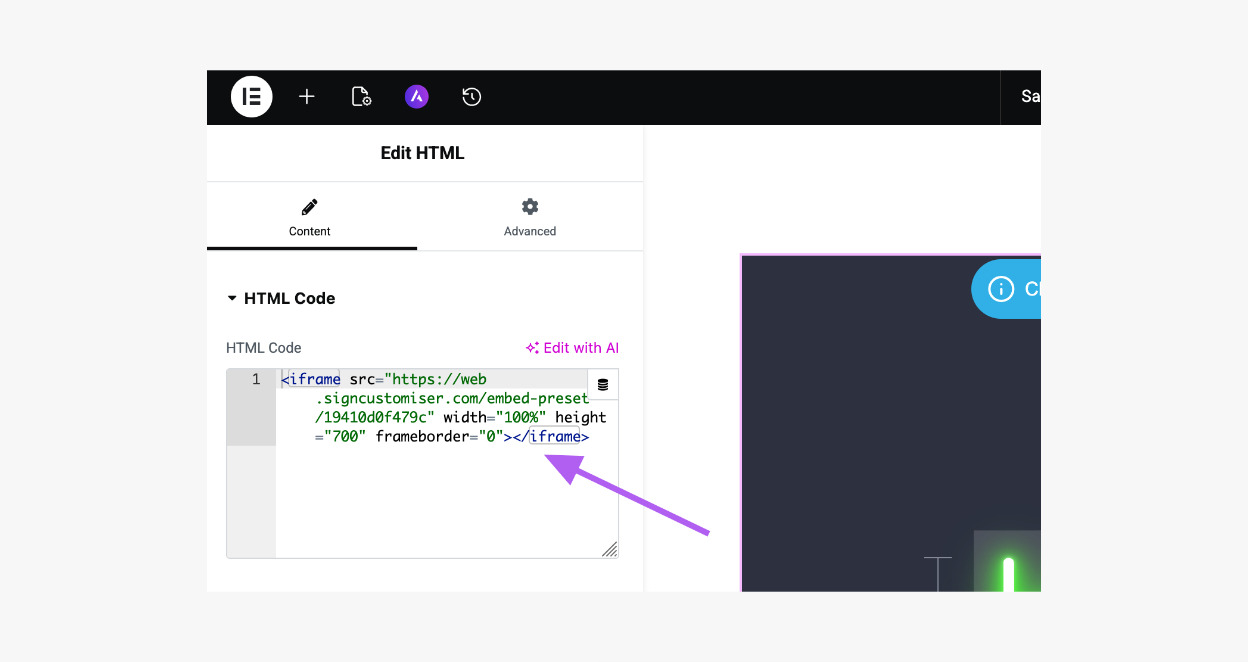
The preset design will now display as a fully embedded customiser.
Option 2: Display the Preset as a Link
To use this option, the main customiser must already be embedded on your website first.
-
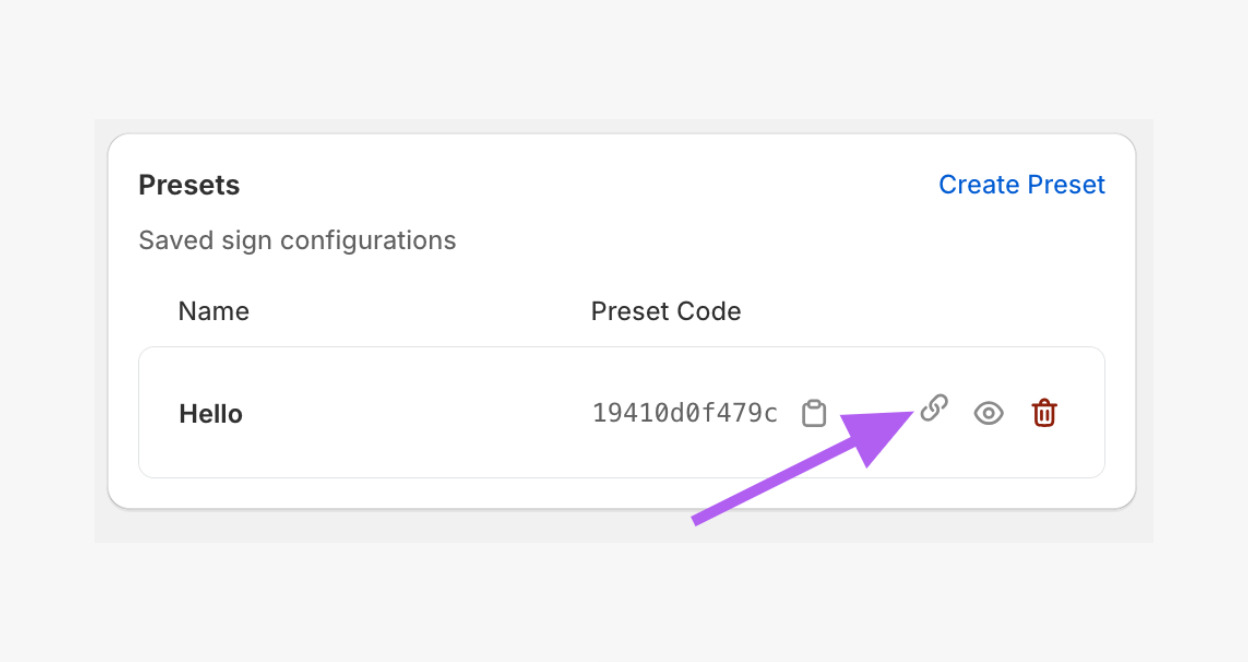
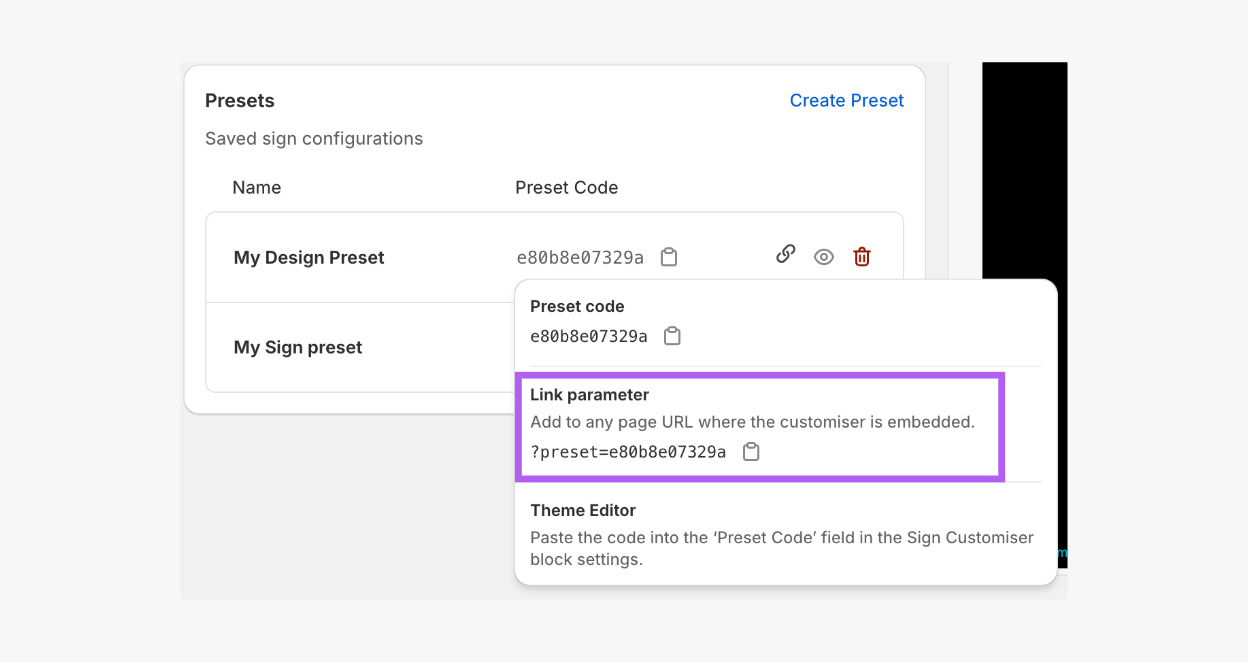
In Features → Presets, click on the Link icon of your chosen preset.
-
Copy the Link parameter link.
-
Add the copied parameter at the end of the page URL where your main customiser is embedded. For example, Main customiser page:
https://demo.signcustomiser.com/pages/neon-sign-fixed-width-modelPreset URL:
https://demo.signcustomiser.com/pages/neon-sign-fixed-width-model?preset=e80b8e07329a
You can use this link anywhere on your website (buttons, catalogues, collections, menu links, campaigns, etc.).
When customisers click the link, the customiser will open pre-filled with your preset design.