Fonts - Advanced Model
This guide explains how to configure fonts for the Advanced Letter Model, assign pricing models, adjust font spacing, and test measurement accuracy.
Last updated:
Before configuring fonts, make sure you have already set up your Pricing and Sizes sections. Fonts in the Advanced Letter Model rely on these settings to accurately calculate sign dimensions and pricing.
Accessing the Font Settings
-
Go to the Sign Customiser admin:
-
Universal subscribers: Go to Home in your account.
-
Shopify users: Navigate to Shopify admin → Apps and select Sign Customiser.
-
-
Click on Customisers in the menu.
-
Select the customiser you want to edit.
-
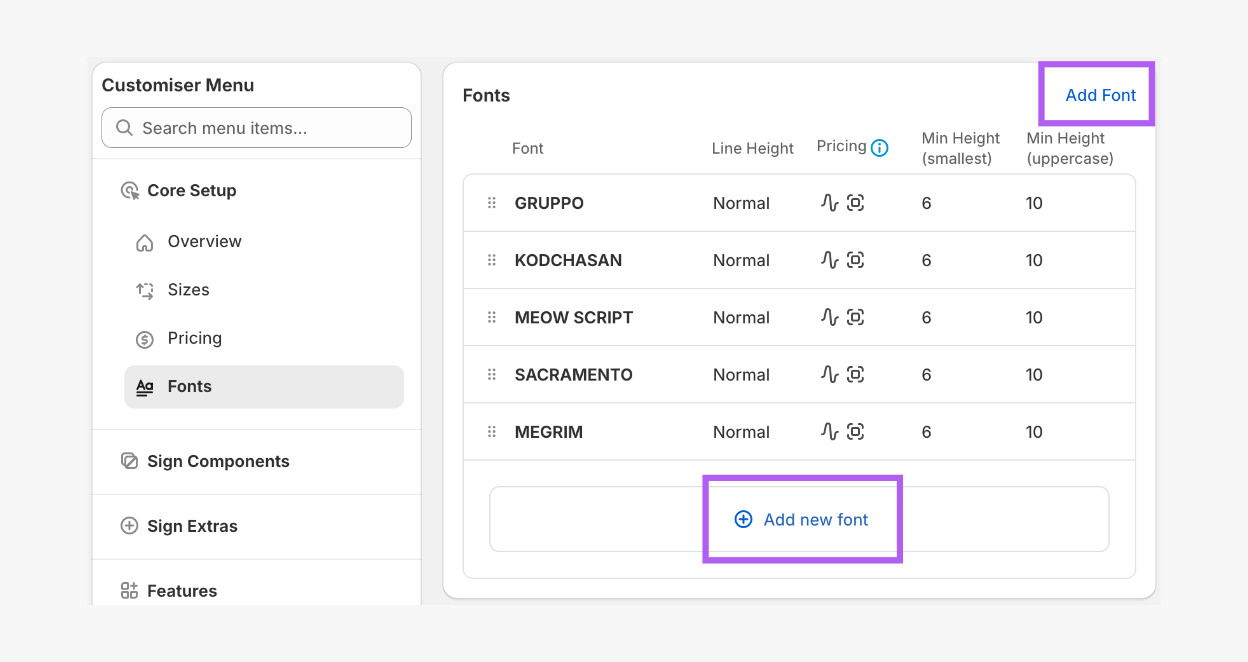
From the left-hand menu, go to Core Setup → Fonts.
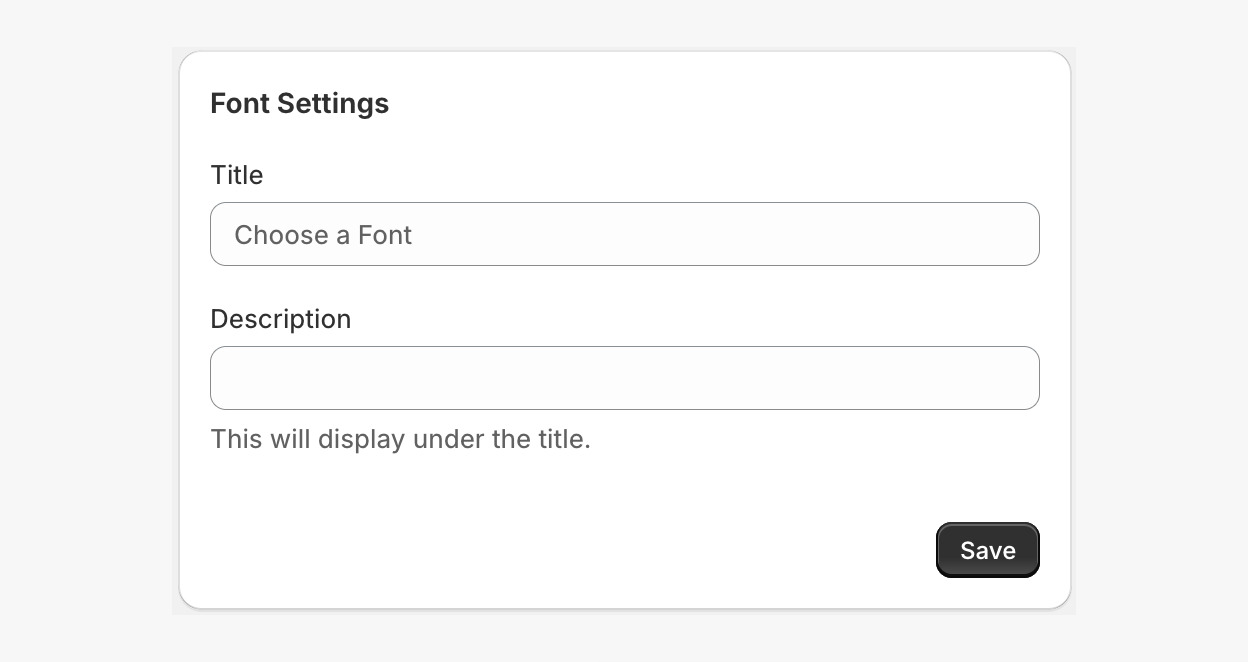
Setting the Font Section Title and Description
You can customise the title and description shown above the font selector on your storefront.
-
In the Fonts section, scroll to Font Settings.
-
Enter:
-
(Optional) Title - heading shown above the font options.
-
(Optional) Description - text shown below the title. If left empty, nothing will display.
-
-
Click Save.
Adding Fonts
Before adding fonts, make sure your fonts are compatible with SVG generation and sign production. Some decorative or highly complex fonts may produce inaccurate measurements or unexpected spacing. Always test your fonts before publishing your customiser.
Step 1: Add a Font
-
In the Fonts section, click Add Font.
-
In the Label field, enter the name of the font (this will be displayed on the storefront).
-
In the Font section, choose one of the following:
-
Upload your own font file (must be .ttf) using Add file button, or
-
Select a font from the Google Fonts list.

Don’t have .ttf format for your font?
Use the Cloud Convert to convert your font for free.
-
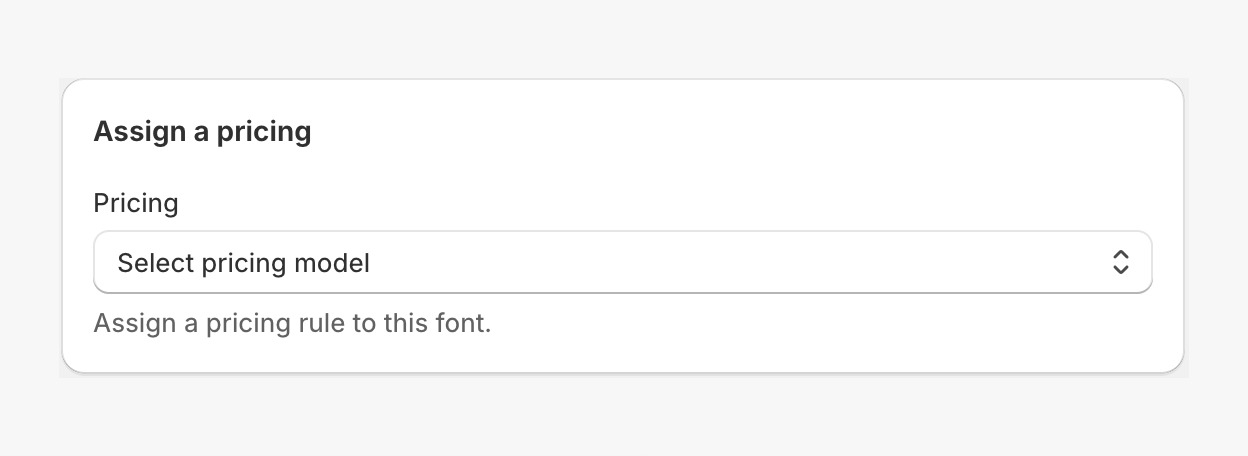
Step 2: Assign a Pricing Model
-
While still in Fonts, scroll to Assign a pricing section.
-
Select a pricing model from the list.
Haven’t configured your pricing? Follow the Pricing - Advanced letter model guide first.
-
Click Save.
Step 3: Configure Font Measurements
The Advanced Letter Model uses these values to calculate the real-world dimensions of signs.
-
While still in Fonts, scroll to the Minimum height of font letters section.
-
Enter:
-
Minimum Height of Smallest Letter – the physical height of the smallest lowercase character in the font.
-
Minimum Height of Uppercase Letter – the physical height of the smallest uppercase character in the font.
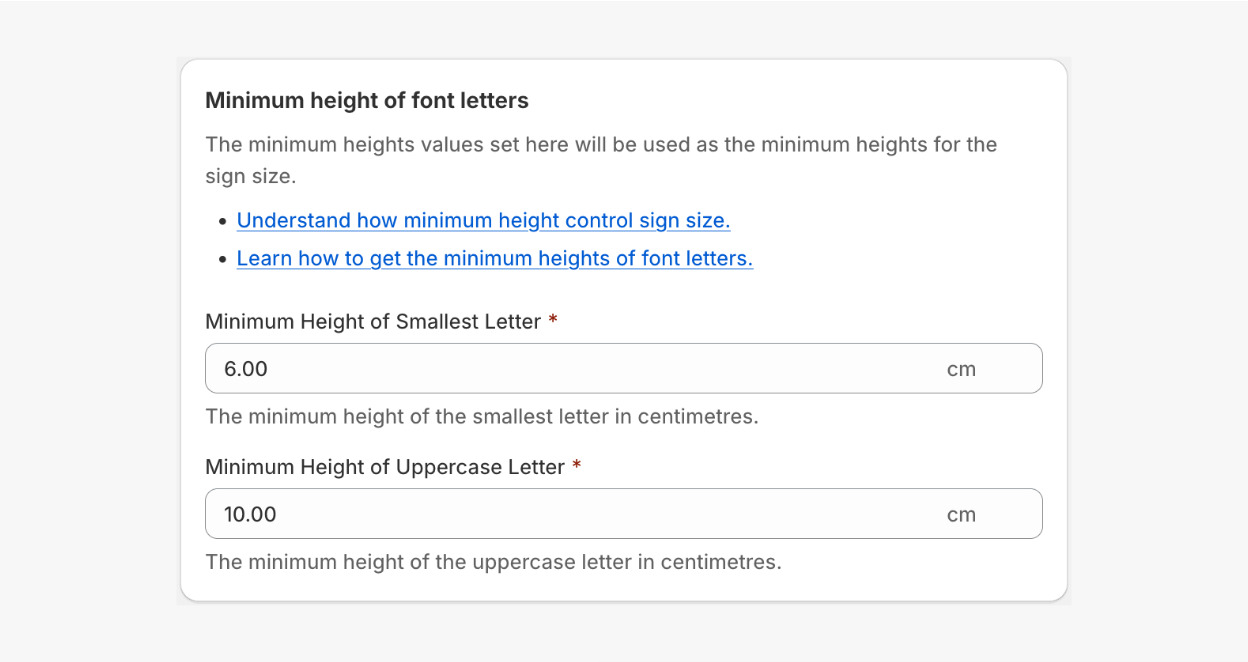
These values are used together with the selected size multiplier to calculate the sign’s final dimensions.
-
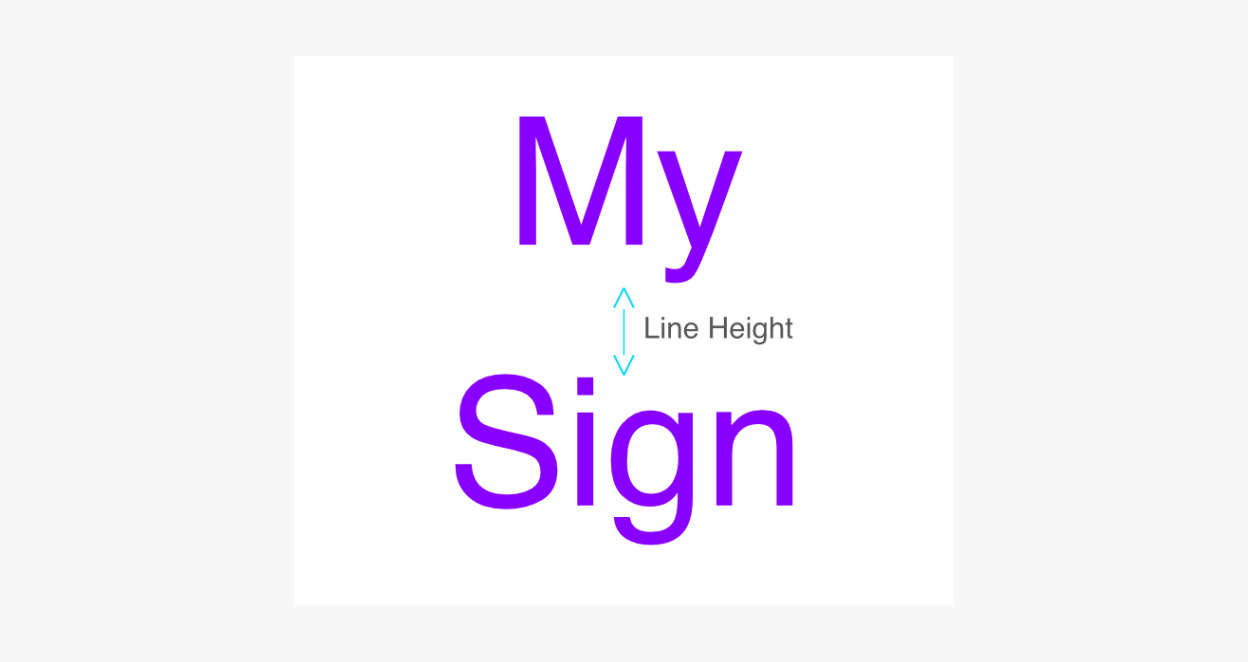
Step 4: Configure Font Line Height
Different fonts naturally have different spacing between lines. Some fonts appear to spread out, while others may overlap vertically. You can override this spacing for each font.
To adjust the line height:
-
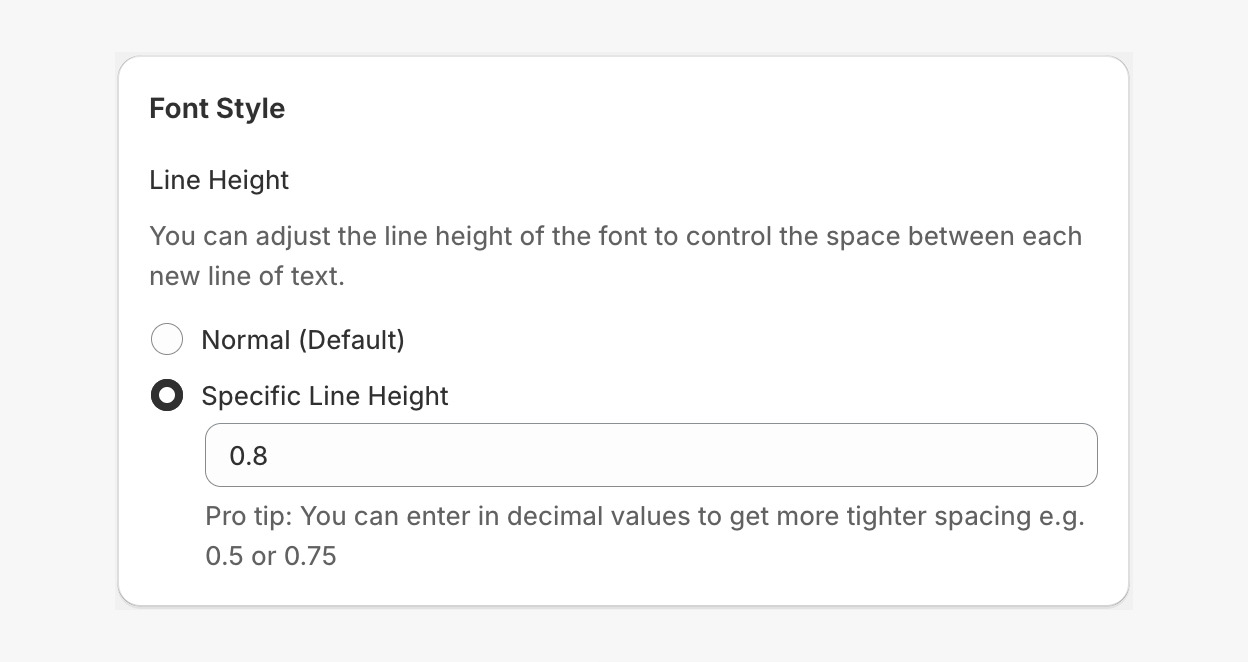
Whilst still in Fonts, scroll to the Font Style section.
-
Select one of the following:
-
Normal – uses the font’s default line spacing.
-
Specific Line Height – lets you manually control the spacing between lines.
How Line Height Works
-
Values less than 1 reduce spacing and create tighter lines.
-
Values greater than 1 increase spacing between lines.
-
Step 5: Test Font Measurement Accuracy
The Advanced Letter Model allows you to generate an SVG version of your font, which you can compare against Adobe Illustrator to test measurement accuracy.
We strongly recommend testing every font you add to your customiser, especially when using:
-
Letter Material Cost pricing (see Pricing)
-
Precise manufacturing workflows
To generate an SVG file:
-
Whilst still in Fonts, scroll to the Test the accuracy of your font using Adobe Illustrator section.
-
Enter your sample text in the Enter your sample text textbox.

-
Click Generate SVG.
-
Save the generated SVG file.
-
Compare the file against one generated in Adobe Illustrator. Need help on how to do this?
Follow this guide for further details: Test Sign Measurement Accuracy.
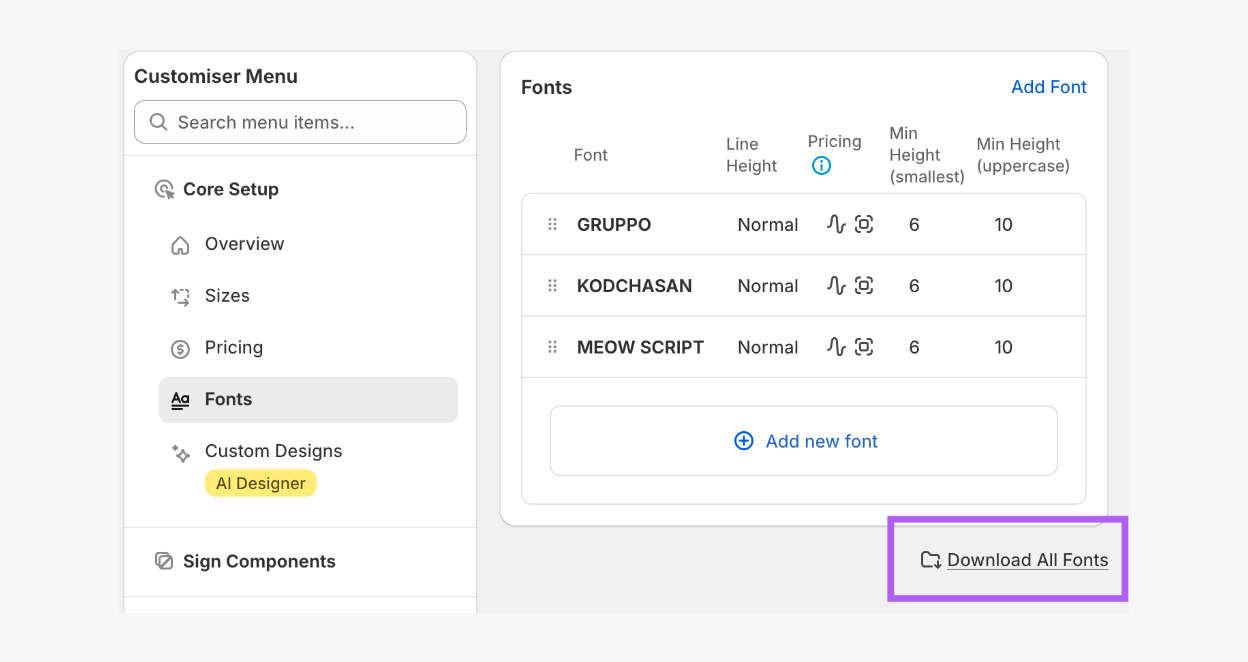
Downloading Fonts from Your Customiser
To download all fonts currently used on your customiser:
-
Go to the Fonts section.
-
Click on the Download All Fonts link.
-
A .zip file containing all font files will be generated for download.
Troubleshooting
Why is my font not taking effect on the storefront?
If your font is not displaying correctly on the visualiser or in your font list, it is likely that your font is not fully compatible with our customiser.
We recommend:
Using fonts from a reputable font provider.
Using fonts from Google Fonts.
Testing the font thoroughly before publishing.
How can I ensure that the customiser uses both English and other languages, e.g. Mandarin characters, but still priced properly?
There are a few options you can consider:
Create two or more customisers: one customiser that only shows Latin-based font characters, and another that shows Chinese-based font characters.
Avoid using the material length pricing model (the advanced letter model). Instead, utilise either our fixed-width or fixed-height letter-based models.
If it is a must to use material length pricing, then for each font, you will need to set the minimum height of the uppercase and lowercase values to a value that you deem would allow the smallest character to be built physically in any character of the language you support.