Translate custom forms
Translate custom form fields, choices, guidance and submission messages while leaving shopper answers unchanged.
Last updated:
Configure the source form first, then translate its shopper-visible wording under Settings -> Languages -> [target language].
Configure the source form
-
Open Customisers -> [customiser].
-
Use Features -> Forms to configure form names, descriptions, fields, choices, submission messages and file guidance.
-
Use Core Setup -> Custom Designs for shopper links between the custom design and text flows.
-
Save the source configuration.
For field setup, see Add and edit custom form field options.
Translate the form
-
Go to Settings -> Languages and open the target language.
-
Find the form and custom-design fields, then translate the shopper-visible wording.
-
Save the draft and preview the target language.
-
Submit a test form, check validation and success messages, then publish.
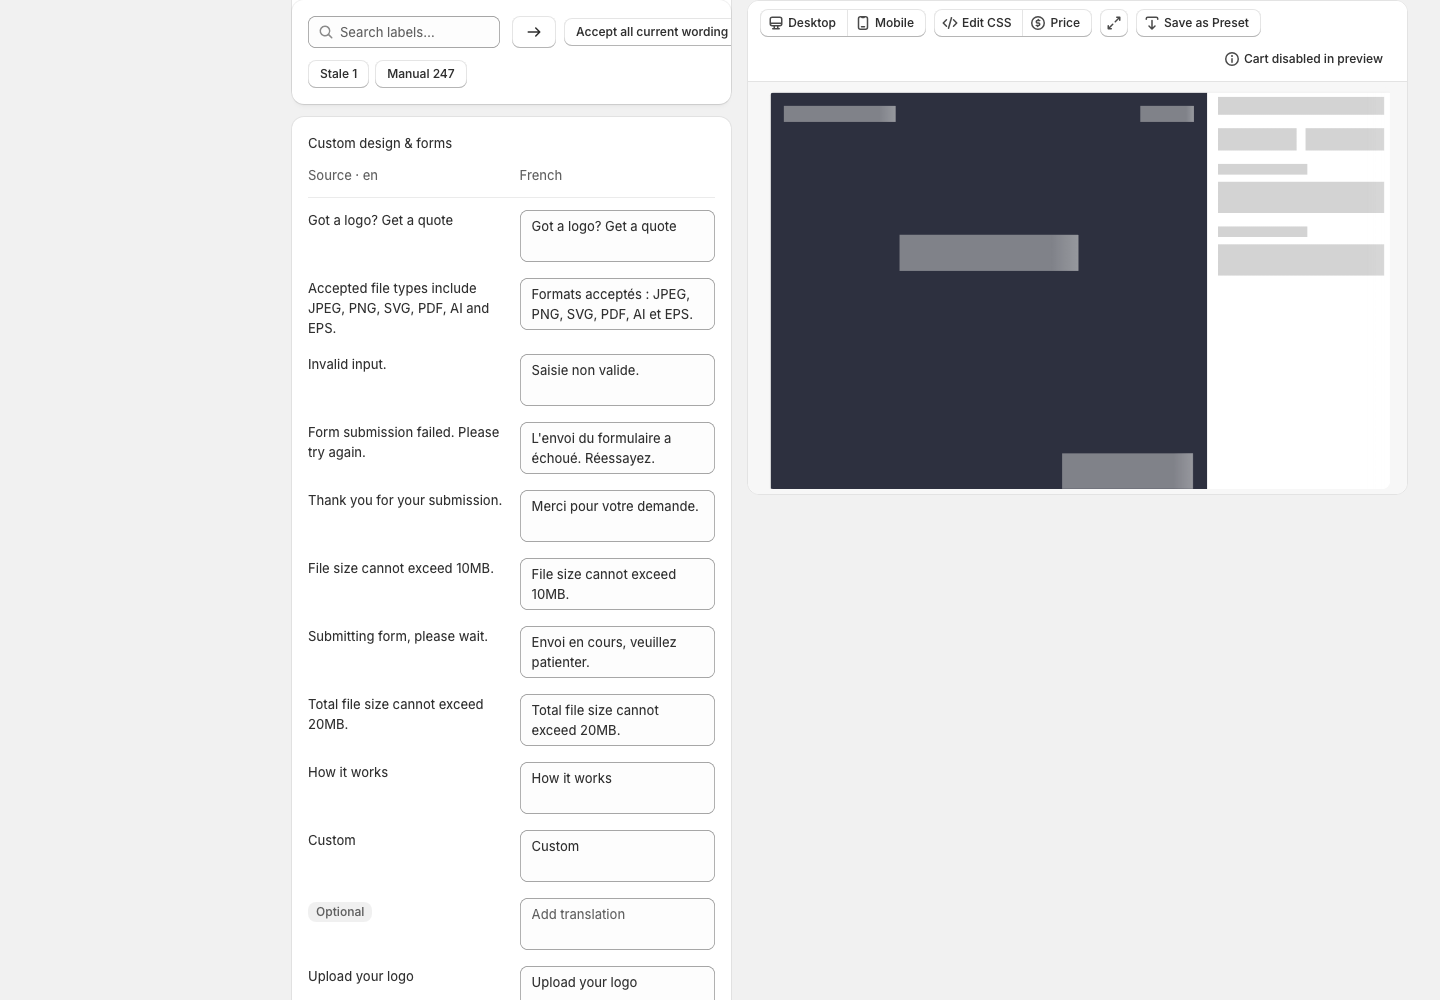
Covered form wording
-
Form title, label, description and submit button.
-
Field labels, descriptions, placeholders and choice values.
-
Validation, upload guidance, file limits, and success and error messages.
-
Links between the custom design and text customiser flows.
Sign Customiser does not translate answers typed by shoppers or uploaded filenames.
Source form edits can mark target translations Stale. Review them before the next publish. Follow Add, translate, preview and publish a language for the complete draft, stale-field and publishing workflow.