
Set up the AI Sign Designer build screen and fallback form
Change the text customers see while AI Sign Designer builds a design, and send refused or failed designs to your fallback form.
Last updated:
This article explains what customers see after they upload an image to AI Sign Designer. It shows which text you can change. It also explains what happens when a design fails. It is for merchants who already use AI Sign Designer.
Before you start
-
Turn on AI Sign Designer for the customiser. Read How to Enable AI Sign Designer.
-
Create a form for this customiser with a File Upload field and a required Email field. Without this form, the settings in this article do not show, unless a fallback form that you chose earlier is still saved. Then the settings show, and the saved form is marked (unavailable). Read Custom Design Forms.
-
For credits, supported sign types and generated files, read the AI Sign Designer Guide.
What customers see while the design builds
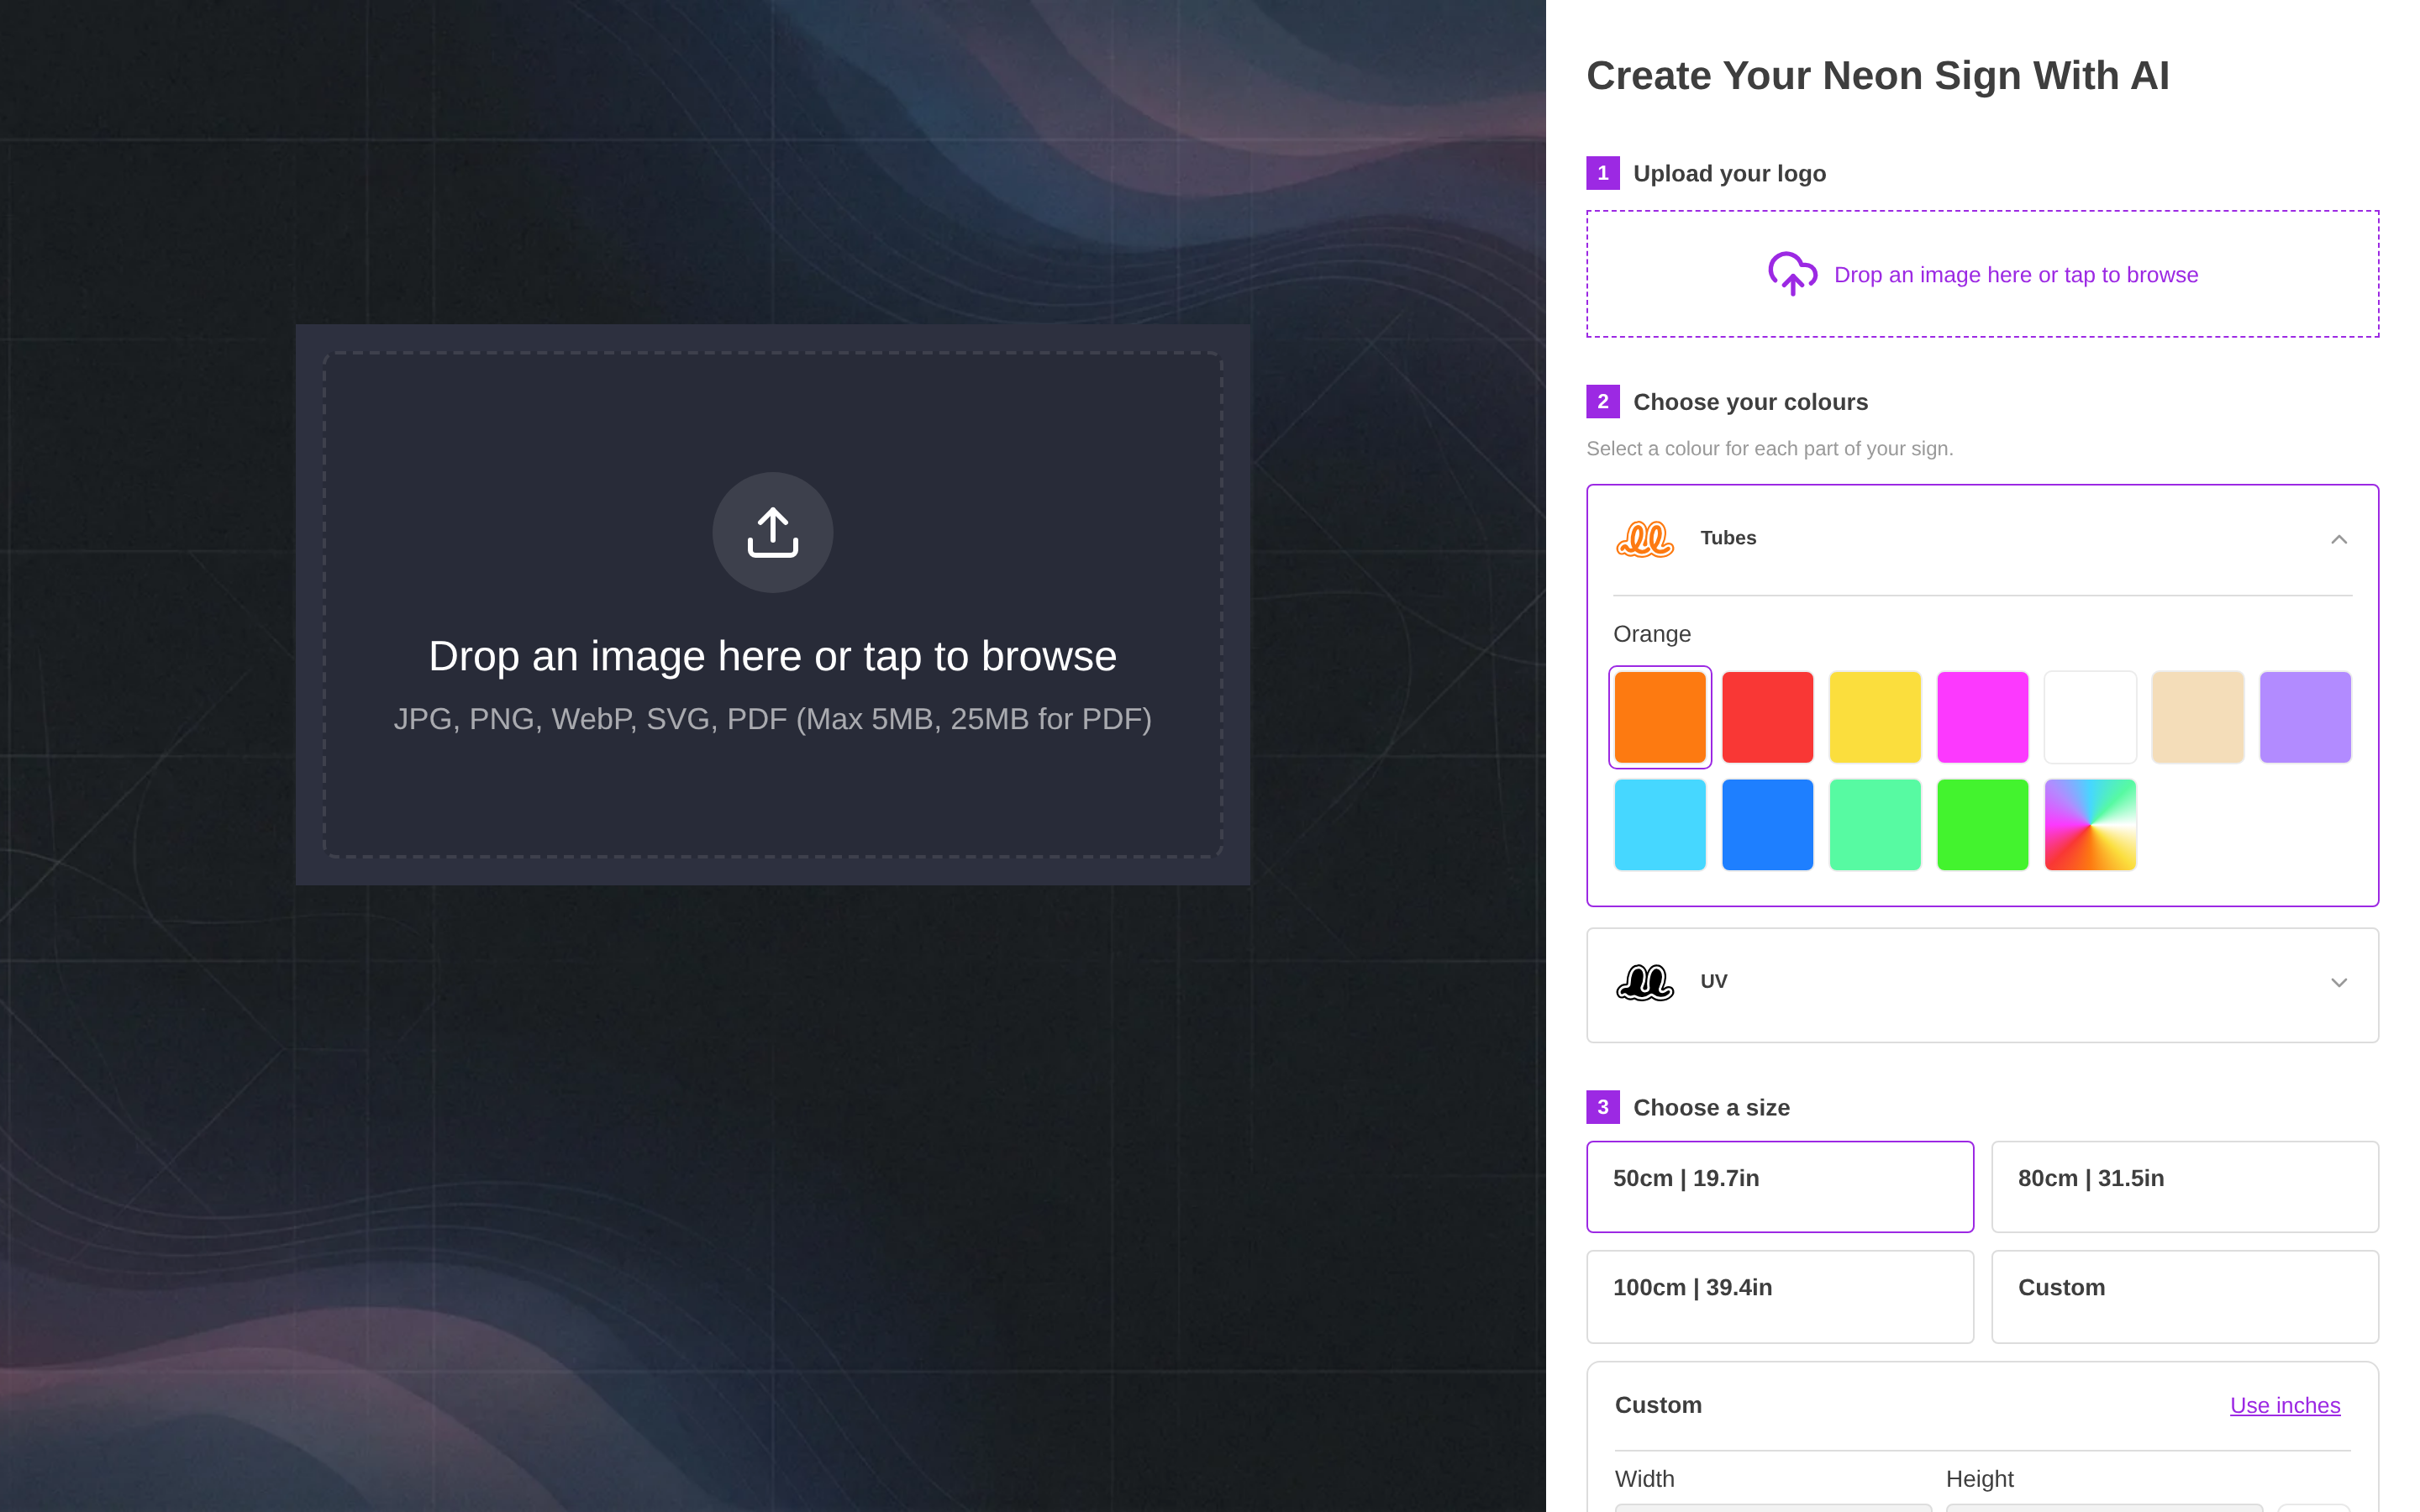
The customer starts in the upload step, shown below. The build screen comes after this step.
After the customer uploads an image, the build screen shows a drawing of a sign and a progress bar. The progress bar has three parts. The title and message change as the design progresses.
Stage | Title | Message |
1 | Reading your image | Finding the shapes and words to keep. |
2 | Designing your sign | Turning your image into clean lines and shapes. |
3 | Refining your design | Detailed images take a little longer. |
4 | Putting it all together | Your design is ready. |
Stage 3 shows only when the design takes more than one minute. After stage 4, the customiser shows the finished design. If the design fails our automatic manufacturing check, the customer sees the Design review required state instead, as described below.
On wide screens, the text Your image is saved. Keep this page open. shows below the progress bar. Small screens do not show this text.
You can change the text for stage 1. You cannot change the text for stages 2, 3 and 4.
Change the build screen text
-
In the merchant admin, select Customisers.
-
Select the name of your customiser.
-
Under Core Setup, select Custom Designs.
-
Go to the Language section.
-
Change the fields that you need.
-
Select Save.
These fields control the build screen and the upload area:
Field | What it changes |
Upload pending title | The title in stage 1. Customers see Reading your image on the build screen until you change this field. The field can show Processing your image. Customers still see Reading your image on the build screen. The upload area in the sidebar also shows this field’s text while the design builds, so it shows Processing your image by default. |
Upload pending description | The message in stage 1. Customers see Finding the shapes and words to keep. until you change this field. |
Upload failed title | The title on the failed screen. Customers see We couldn’t design this one until you change this field, unless a specific failure title applies. For example, a rate-limited upload shows Too many uploads just now. The field can show We couldn’t process your image. Customers still see the first text. |
Upload failed description | The message on the failed screen. Customers see Try again, or use a different image. until you change this field, unless a specific failure message applies or every AI provider declines the image. The field can show different starting text. |
Try another image button | The text on the button that lets the customer upload a different image. On the build screen, customers see Use another image until you change this field. The field can show Try another image. On the Design review required card, customers see this field’s text, which is Try another image by default. |
Failed upload text on desktop | The text in the upload area after a failure, on desktop. |
Failed upload text on mobile | The text in the upload area after a failure, on mobile. |
Some failures have a specific message. The customiser shows that message in place of Upload failed description.
Send refused designs to your fallback form
Sometimes our checks refuse a design because it cannot be made automatically. Sign Customiser then opens your fallback form. The customer’s image is attached to the form.
-
Open Custom Designs, as shown above.
-
In Pricing & Configuration, find Fallback Form.
-
Select a form that has a File Upload field and a required Email field. Other forms do not show in the list. The exception is a form that you chose earlier that no longer qualifies. It shows as (unavailable). Replace it.
-
Make sure that Send designs that cannot be made automatically to the fallback form is selected.
-
Select Save.
This setting is on by default. We also turned it on for customisers that existed before it became the default.
When this setting is on, a fallback form is selected, and the AI run ends with no usable design, the customer sees We can’t make this one automatically. The message is Send it to us with the form and we’ll design it for you. Your fallback form opens in the sidebar, with the image attached. The customer can also select Try again or Use another image.
When the AI makes a design but the design fails our automatic manufacturing check, the fallback form also opens with the image attached. The customer sees Design review required at the File Upload field in the form. You cannot change this text.
The Refused design title and Refused design message fields do not change this text.
Sometimes every AI provider declines an image. The customer then sees a different message. The default is Our AI can’t recreate this image, often because of copyright. Try another image, or send it using the form below. To change it, use Provider refusal message. When no fallback form is available, the customer sees the text in Provider refusal message without a form.
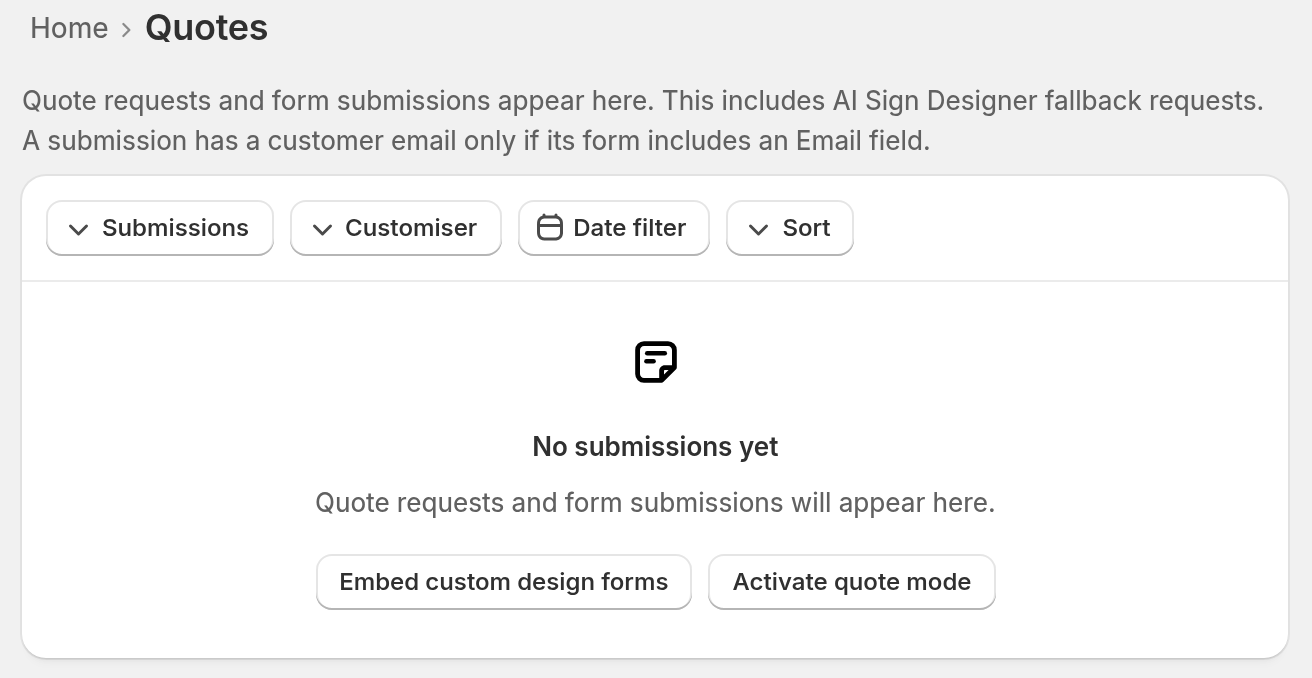
Each form that a customer sends appears in Quotes. In the merchant admin sidebar, select Quotes under Manage.
Turn off the refused design form
To stop this behaviour, clear Send designs that cannot be made automatically to the fallback form. The customer then sees the failed screen with Try again and Use another image. When a design fails the manufacturing check, the customer sees a Design review required card instead. It has the Try another image button text (Try another image by default), and Try Again when the customiser still has the image.
If you do not select a fallback form, this setting has no effect.
When a design fails for another reason
A design can also fail because of an error or a time-out. A design that does not finish in four minutes fails. The customer then sees the failed screen. It has these buttons:
-
Try again - Uses the same image again.
-
Use another image - Lets the customer upload a different image.
-
Submit as a form request - Opens your fallback form with the image attached.
The Submit as a form request button shows only when you select a fallback form with a File Upload field. To change the button text, use Form request button in the Language section. While AI credits remain, the form does not open by itself for these failures.
Limits
-
You cannot change the text for stages 2, 3 and 4.
-
You cannot change the Design review required text.
-
Custom Designs has no field for the text on the Try again button.
-
A refused design goes to your fallback form only when the form has a File Upload field.
-
The Fallback Form list and the Language settings show only when this customiser has a form with a File Upload field and a required Email field, or when a fallback form that you chose earlier is still saved. Without either, Pricing & Configuration shows a warning instead of the settings.