
Set up AI Sign Designer on a Material Length customiser
Set up AI Sign Designer on a Material Length (Advanced Letter) customiser: choose the pricing, set the default size and minimum height, and pick a fallback form.
Last updated:
AI Sign Designer converts a customer image into an SVG sign design. On a Material Length customiser, Sign Customiser measures the length of the SVG paths. It uses that length to calculate the price. The admin shows Material Length as Advanced Letter.
This feature works with Neon signs, Channel Letter signs (Acrylic and Metal) and Metal Cut-Out signs. This article is for merchants who have a Material Length customiser or who want to create one.
Before you start
-
Make sure that the customiser uses Material Length pricing. AI Sign Designer also works with Frame Fit pricing. It does not work with Fixed Width (Simple Letter) pricing. For Frame Fit, read How to Enable AI Sign Designer.
-
Create a Material Length pricing for the customiser. Refer to Pricing - Advanced letter model.
-
Create a fallback form. The form needs a File Upload field and a required Email field. Customers use this form when AI Sign Designer cannot make their design.
-
Make sure that your Store has AI credits. A successful conversion uses one credit. A failed conversion does not use a credit. For plan credits and how to buy more AI credits, read the AI Sign Designer Guide.
Create a new customiser with AI Sign Designer
-
Select Customisers, then select Create customiser.
-
In Step 1, select Neon Letter Signs or Channel Letter Signs. Both cards show an AI Sign Designer badge.
-
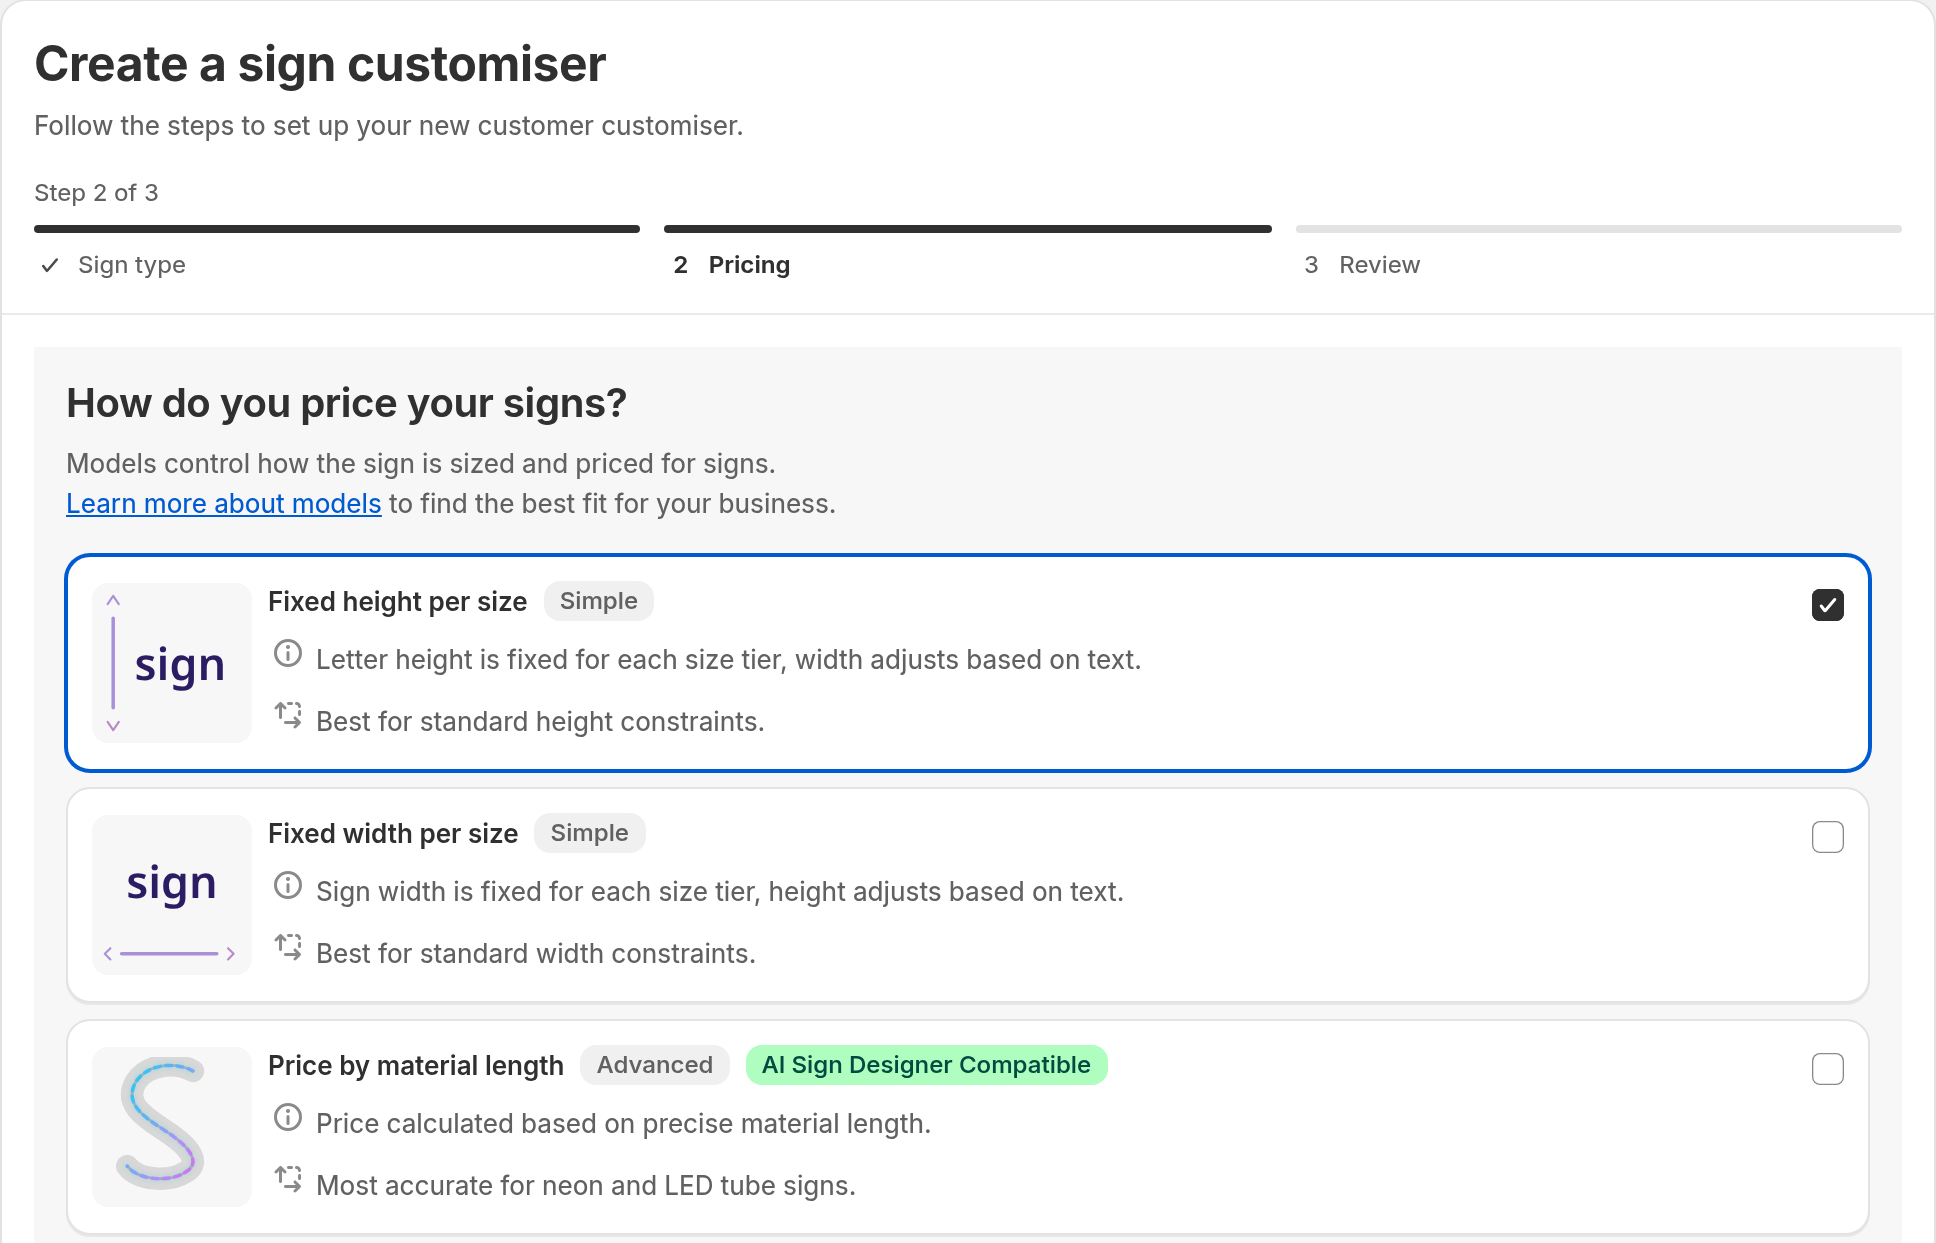
In Step 2, select Price by material length. An eligible option shows an AI Sign Designer Compatible badge.
-
In Step 3, keep Include demo data turned on.
-
Keep Set up AI Sign Designer turned on.
-
Select Create.
The demo data selects a fallback form. On a Neon customiser, it also selects a Material Length pricing. On a Channel Letter customiser, it selects a Fixed Letter pricing instead. Save rejects that pricing. Create a Material Length pricing and select it before you save. You must also check the dimensions in the next section. The correct default size and minimum height depend on your production method.
Turn on AI Sign Designer on an existing customiser
-
Select Customisers, then select the name of your customiser.
-
Under Core Setup, select Custom Designs.
-
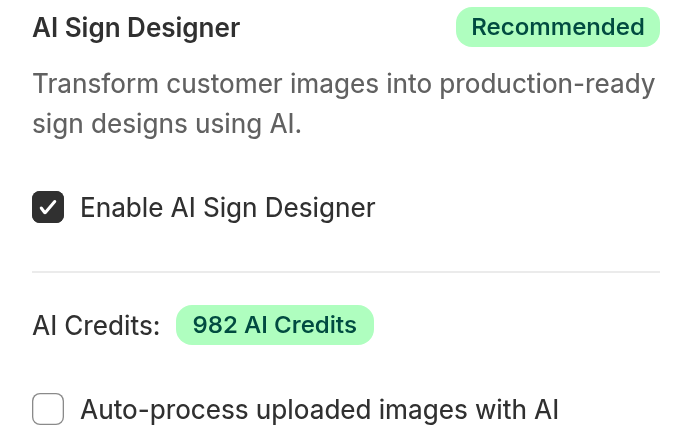
Select Enable AI Sign Designer.
-
If the Form Required banner or the Fallback Form Required banner shows, select the button in the banner.
-
Create a form with a File Upload field and a required Email field. For the form steps, read How to Enable AI Sign Designer.
-
Go back to Custom Designs.
Set the sign dimensions
The Sign Dimensions card shows only on Material Length customisers.
-
Under Default sign size, enter the Default width and the Default height.
-
Under Minimum production height, enter the Minimum height.
Default size
The default size is the size of the base (1x) size tier. Sign Customiser fits the uploaded design inside the default width and height. It keeps the original proportions. A wide logo fills the width. A tall logo fills the height. The card shows a preview of how different logo shapes fit.
Size tiers
On a Material Length customiser, each size on the Sizes page has a Size Scale Multiplier. The multiplier scales the design size at the base (1x) size. For a logo that fills the default width of 50 cm, a size with a multiplier of 1.5 is 75 cm wide. The height changes by the same factor. Material Length pricing uses the length measured at each size to calculate the price for that size.
Minimum height
The minimum height is the smallest height that your production method can make. The card gives a guide for each type of sign:
-
Neon: the tube bend radius.
-
Channel letters: the return depth and the LED clearance.
-
Flat cut metal or acrylic: the structural integrity.
-
3D or built-up letters: the fabrication depth.
A design can be shorter than the minimum height at the selected size. In this case, the shopper sees “The overall sign height is too small. Please increase the height.” The shopper cannot add the sign to the cart. The shopper must select a larger size.
The card shows Dimension conflict detected when the default width is less than 8 times the minimum height. In this case, a logo with a ratio of 8:1 or wider is shorter than your minimum height at the base size. Increase the default width or decrease the minimum height. A shopper can also select a larger size.
Select the pricing and the fallback form
-
Under Pricing & Configuration, open Pricing Model.
-
Select your Material Length pricing. A pricing of a different type causes an error.
-
Open Fallback Form, then select a form. The list shows forms that have a File Upload field and a required Email field. If the saved fallback form does not meet this rule, it also shows in the list, marked (unavailable). Replace it with a correct form.
-
Decide if you want Send designs that cannot be made automatically to the fallback form. This setting is on by default.
-
When it is on, the shopper goes to your fallback form with the image attached.
-
When it is off, the shopper can try again or use another image.
-
It has no effect when you do not select a fallback form.
-
-
Optional: change the customer text under Language. Examples are File Upload Title and Form request button.
-
Select Save. An error shows beside each required field that is empty.
Optional: turn on Auto-process uploaded images with AI. Sign Customiser then sends PNG, JPEG, and SVG files from form submissions through AI Sign Designer. It does not process WebP and PDF files automatically. Each successfully processed file uses one credit.
What the shopper sees
-
The shopper opens the Custom tab. The default upload title is “Upload your logo”.
-
The shopper drops an image. By default, the customiser shows “Reading your image” and “Finding the shapes and words to keep.” It then shows “Designing your sign”. After about 60 seconds, it shows “Refining your design” and “Detailed images take a little longer.”
-
When the design is ready, the customiser shows “Your design is ready.”
-
The shopper selects a size. On a Material Length customiser, the price comes from the material length measured at that size.
-
When AI Sign Designer cannot make a design from the image and the fallback form is on, the shopper sees “We can’t make this one automatically.” The fallback form opens. A design that does not pass the automatic manufacturing check is treated in the same way when the fallback form is on. No “Submit as a form request” button shows.
-
When a design fails for another reason, the shopper sees “We couldn’t design this one” and a short explanation. A run that runs out of time shows the message in step 5 when the server ends the run first and the fallback form is on. If the browser ends the run first at four minutes, the shopper sees “We couldn’t design this one” with a short explanation instead. Some failures show their own title instead. An example is a rate limit, which shows “Too many uploads just now”. The shopper can try again or use another image. When you select a fallback form with a File Upload field, a “Submit as a form request” button also shows.
You can change some of this text under Language on the Custom Designs page.
Limits
-
Simple Letter pricing does not work with AI Sign Designer.
-
A Frame Fit customiser does not show a Sign Dimensions card. It has no Default sign size or Minimum height fields.
-
When you create a Metal Cut-Out customiser, only Frame Fit pricing is available.
-
A shopper cannot add a design that is shorter than the minimum height to the cart.
-
When your Store has no AI credits, AI Sign Designer cannot convert new images. Keep a fallback form selected. Refer to the AI Sign Designer Guide.