
Lit tubes and UV print artwork for AI neon designs
See how AI neon designs show as lit tubes, how to change the glow, and where the manufacturer finds the UV print artwork file on older designs.
Last updated:
When the AI Sign Designer draws a neon design as tubes, your customiser shows the design as lit neon tubes. The tubes have the same glow as neon text. This article shows how to control the glow. It also shows where the manufacturer finds the UV print artwork file. It is for merchants who have a neon customiser and use the AI Sign Designer.
From 1 October 2026, new drawn neon designs have no UV print. Drawn designs that were made before that date and have a UV print keep it. For those designs, the order includes a separate UV print artwork file.
How the tubes look
The customiser shows each tube of a drawn AI neon design as a lit tube.
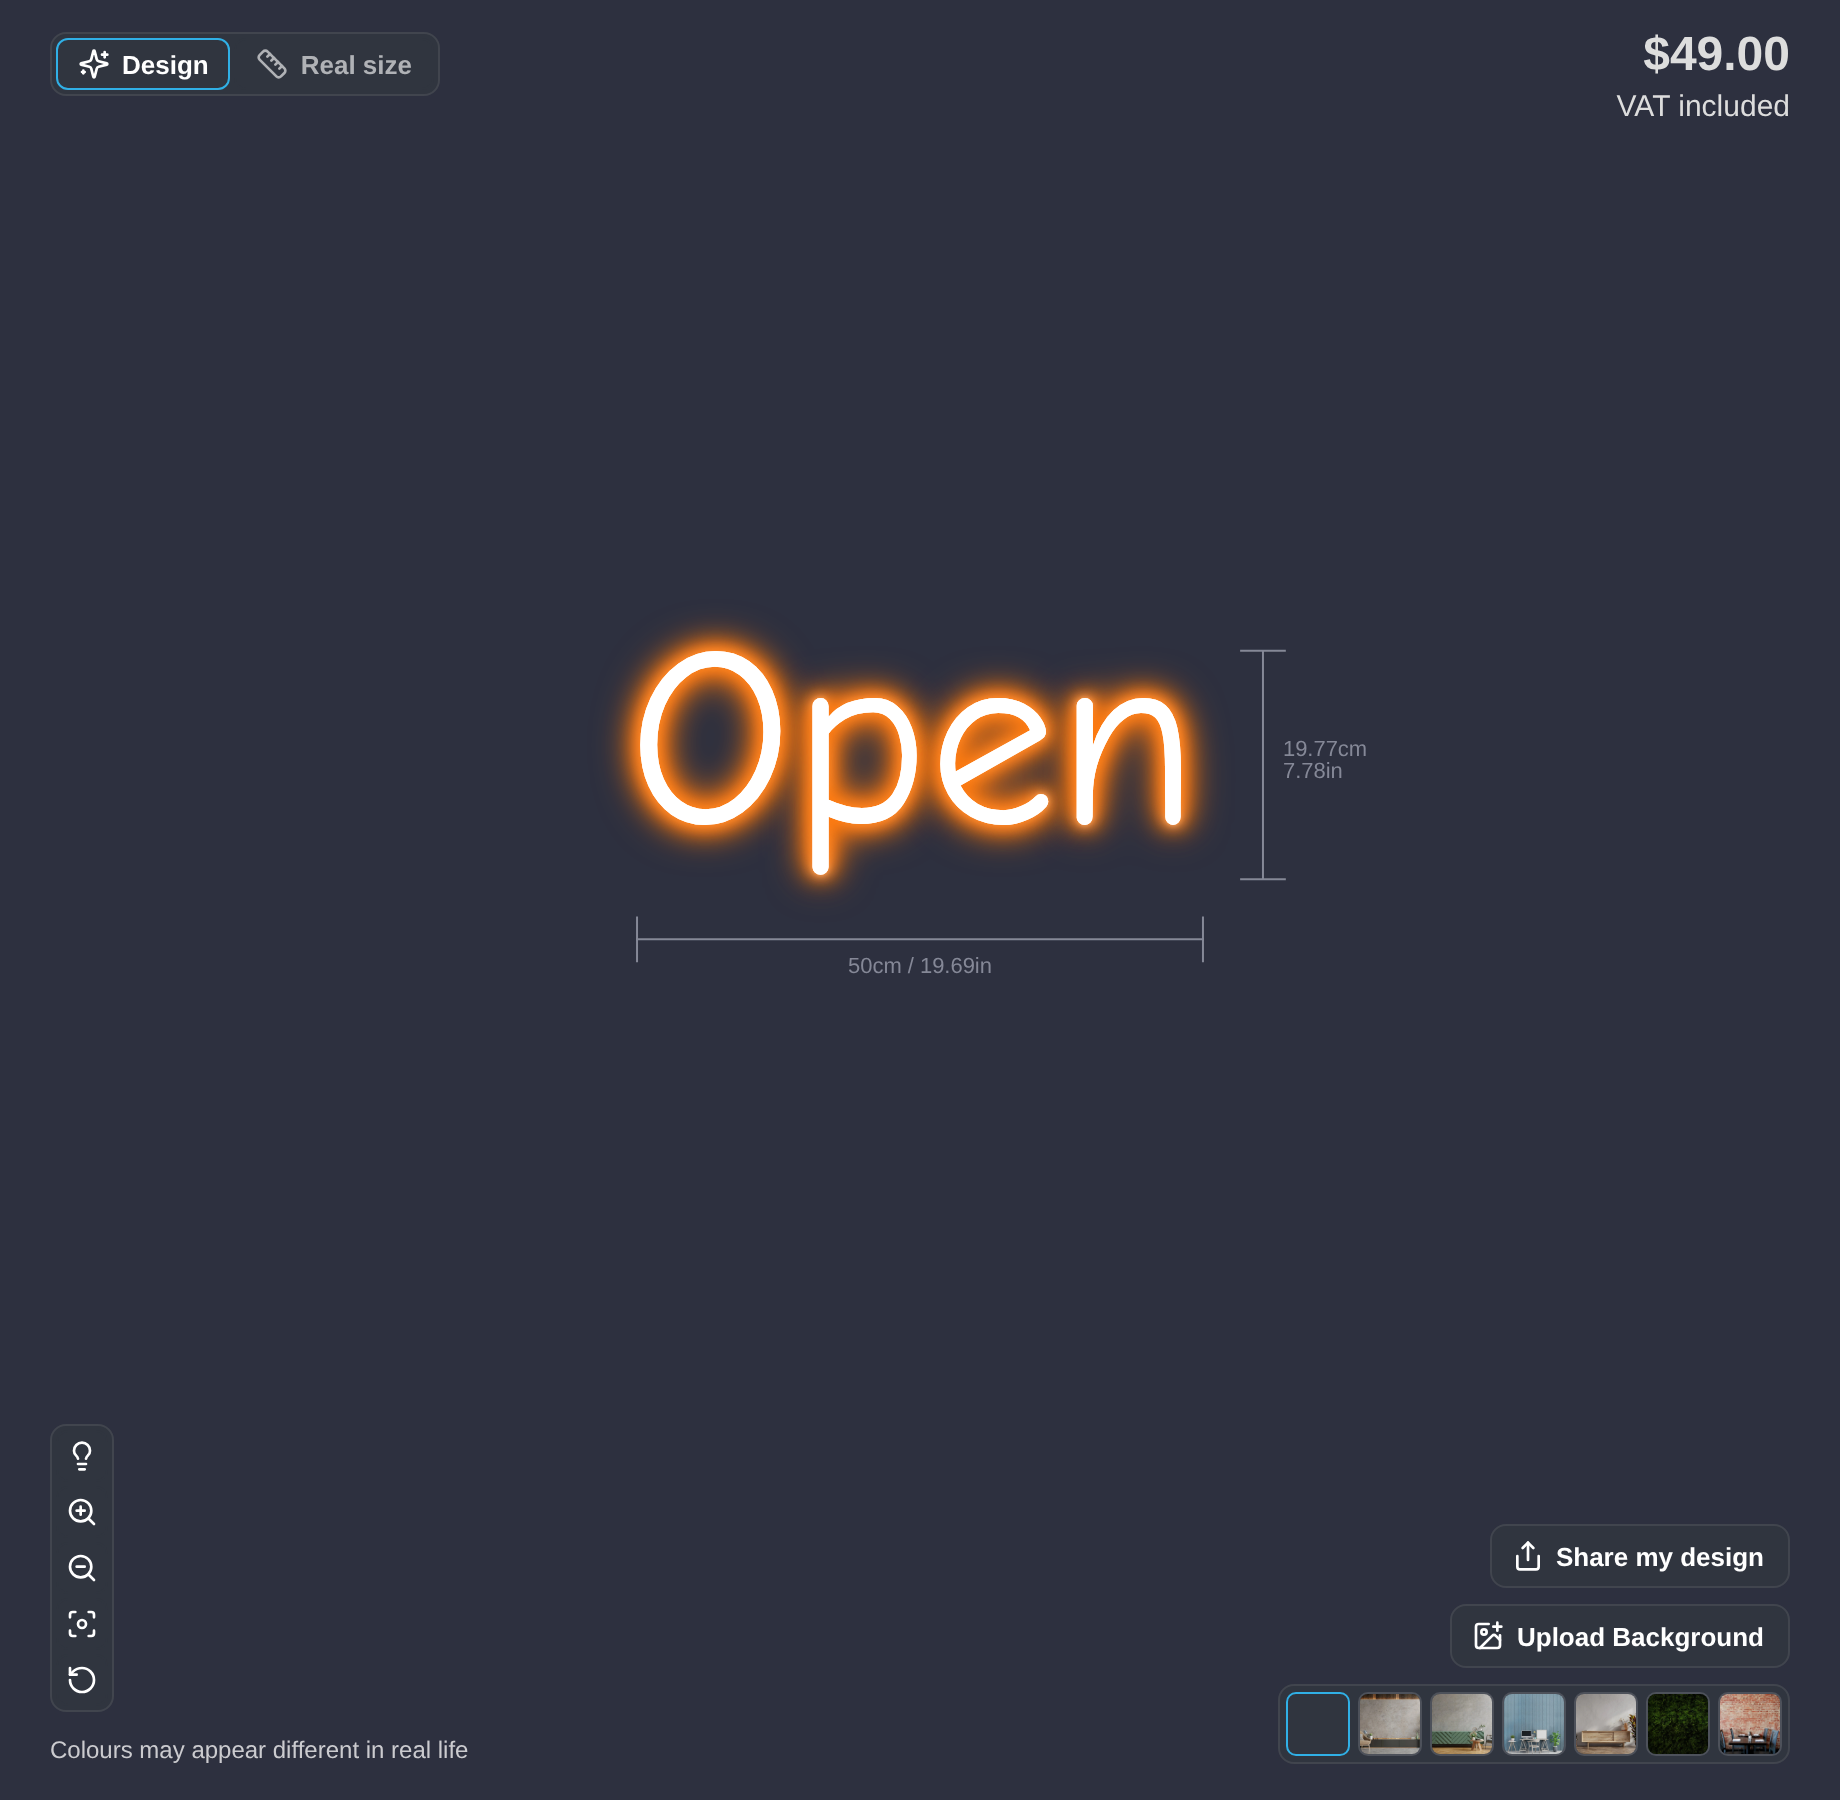
The image shows a neon sign with typed text, not an AI design. A drawn AI design has the same glow.
-
The Glow Effect setting of your tube part controls how the tubes look when the lights are on.
-
Sign Customiser gives each tube the nearest of your tube colours as the start colour.
-
When the shopper turns the lights off, your jacket settings control how the tubes look. A tube is white or it keeps its colour.
-
The light switch shows only when Glow Switch is Display Glow Switch in General Settings.
Change the glow effect
-
Click Customisers. Click your neon customiser.
-
If the menu shows a Menu button, click it to show the sections. If Sign Components is collapsed, click it to expand it. Click Tube Colours.
-
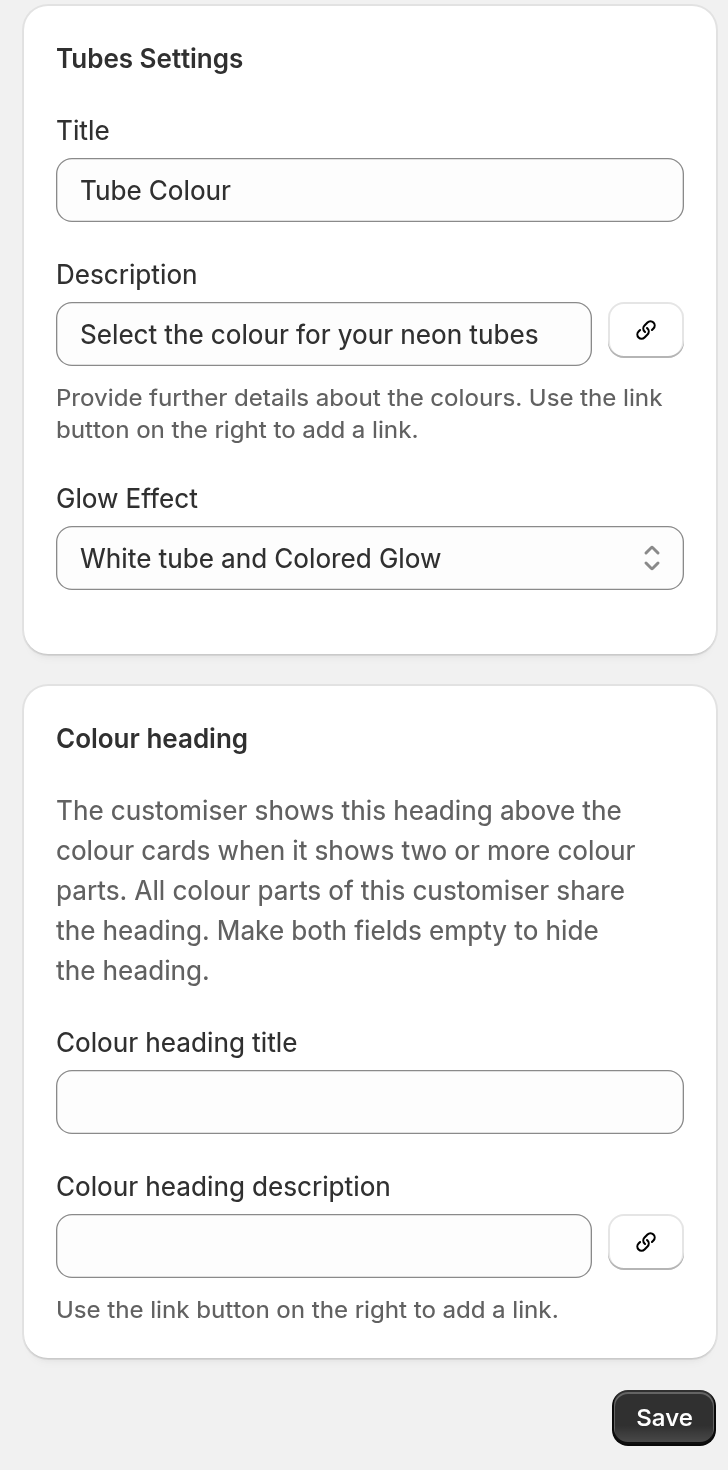
In the Tubes Settings card, find Glow Effect.
-
Select White tube and Coloured Glow or Coloured tube and Coloured Glow.
-
Click Save.
For more information, read the articles Letter glow effects and Jackets and tubes for neon signs in Related articles.
UV print on new designs
From 1 October 2026, the AI Sign Designer does not add a UV print to new drawn neon designs. New drawn designs have no UV print.
Your manual UV print options do not change. You set them on the UV Colours page. To hide your manual UV print options from shoppers, clear Show manual UV print options to customers. This checkbox is in the Customer UV Visibility card.
Designs from before 1 October 2026
Some drawn AI neon designs from before 1 October 2026 have a UV print under the tubes. These designs keep the UV print.
-
The UV print shows only when the selected product type offers UV print. The product type needs an active UV part. The UV part needs at least one UV colour or a custom image.
-
When the shopper selects a product type without UV print, the customiser hides the UV print. When the shopper selects a product type with UV print, the UV print shows again.
-
Show manual UV print options to customers does not hide the UV print of these designs.
-
A hidden UV print is not in the price, the order files or the product image.
-
The UV print adds no price of its own.
What the manufacturer receives
When the design in the cart shows a UV print, Sign Customiser saves a UV print artwork file with the product. The file has only the UV print. It has the colours in the shopper’s design and no outlines. It uses the same frame as the sign SVG.
The file shows in these places:
-
Order email. The default neon order email has a UV print artwork: line with a link. The line shows only when the design has a UV print.
-
Product page. Click Products. Click the product name. The Design Files card shows the file as UV print artwork.
-
Order line item. The line item has a property named
_UV print artwork. The property has the link. The name starts with an underscore, so Shopify hides the property on POS screens and receipts. The value stays visible in the Shopify admin. -
AI Design Files. Click AI Design Files. Click the design. A design with a UV print has a Download UV print artwork button. If the design has more than one delivered candidate, the button label also shows the candidate number, for example Download UV print artwork (Candidate 2). This file has the colours from the AI. It does not have the colours in the shopper’s design.
If your customiser makes an SVG file of the sign, the SVG keeps the UV print and the tubes in separate groups. The tubes use their tube colours.
Add the UV print link to your own order email
A customiser can have its own order email template. That template does not show the UV print link until you add it.
-
Open your customiser.
-
If the menu shows a Menu button, click it to show the sections. If Email Workflows is collapsed, click it to expand it. Click Manufacturer Email.
-
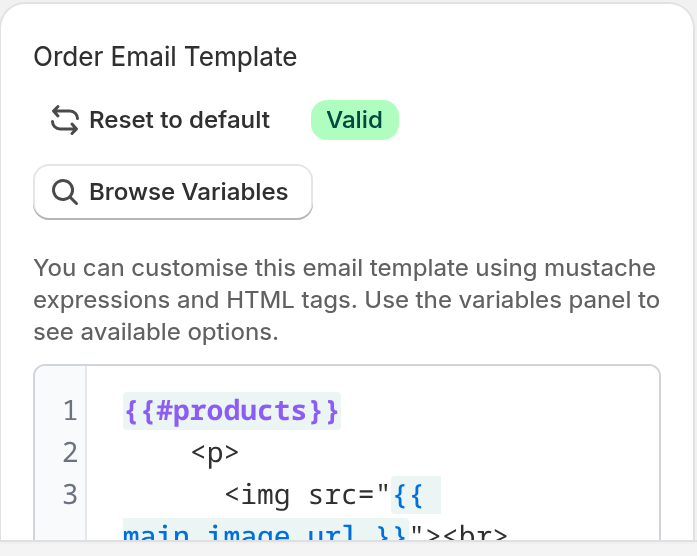
In Order Email Template, click Browse Variables. The list has
uvPrintLink. -
The template has a products loop. Add the UV print lines inside that loop, where you want the link. The code block shows where the lines go.
Liquid {{#products}}...{{#uvPrintLink}}<b>UV print artwork:</b> <a href="{{ uvPrintLink }}" target="_blank">Link</a><br>{{/uvPrintLink}}...{{/products}} -
Click Save.
For a design with no UV print, the UV print lines do not show.
Limits
-
UV print artwork is for neon customisers only.
-
New drawn AI neon designs have no UV print and no UV print artwork file.
-
Your manual UV print options work as before.