
Offer a backlight on metal cut-out signs
Add LED backlight colours to a Metal Cut-Out customiser so customers can pick a glow colour or no backlight.
Last updated:
A backlight is an LED glow behind a metal cut-out sign. The light shows around the edge of the panel and through the cut-out shapes. Add a Backlight step to your customiser. The customer selects a colour or no backlight. The preview shows the glow. The order has the choice and its price.
Backlights work only on Metal Cut-Out customisers. Stencil customisers do not have backlights.
Before you start
You need a Metal Cut-Out customiser. For an overview of the Sign Components menu, see Sign Components Overview.
Set up the backlight options
-
Go to Customisers and open your Metal Cut-Out customiser.
-
In the sidebar, open Sign Components and select Backlights. On a screen narrower than 799 px, select Menu first.
-
In the Backlight options section, set the options for the customer:
-
Turn on Allow no backlight to add a None choice before the colours.
-
Turn on Default to none to start the customiser with no backlight selected. This option works only when Allow no backlight is on.
-
Type a Label for no backlight to replace the word “None”. Leave the field empty to keep “None”.
-
-
Select Save.
If Allow no backlight is off, the customiser starts with the first colour in your list selected.
Add a backlight colour
-
On the Backlights page, select Add Backlight Colour.
-
Type a Label. The customer sees this name, for example “Warm white”. The label is required.
-
Optional: type a Description. The limit is 255 characters.
-
Choose a Colour effect:
-
Single colour: one colour. Use Select a colour.
-
Multiple colours: a group of colours. Select Add Colour to add a colour. The limit is 8 colours.
-
Flow: the light moves between colours. A flow needs at least 2 colours.
-
-
Optional: set a Minimum Size. Type a Minimum Width, a Minimum Height, or both. Then choose a Rule:
-
Disable until one of the minimum values is reached.
-
Disable until both minimum values are reached.
If you set only one minimum, choose Disable until both minimum values are reached. With Disable until one of the minimum values is reached., the customiser never disables the colour when the other minimum is 0.
-
-
Optional: upload a Preview Image. It replaces the colour swatch on the option button. The recommended size is 120 px by 120 px.
-
Optional: upload a Popup Image. The customer sees it when the customer asks for more details about the colour. The recommended size is 1000 px by 1000 px.
-
Optional: add an extra price. In Additional Pricing, choose None, Base Price or Price Multiplier.
-
For Base Price, type the extra cost.
-
For Price Multiplier, type the multiplier. Then choose a Price Multiplier Target: Letter Price Only or Final Price (includes additional costs from other options).
-
-
Select Save.
Each image has a limit of 2 MB and 3840 px by 3840 px.
To change the order of the colours, drag the rows in the Backlights table. To change a colour, select its row. To remove a colour, open the colour and select Delete.
What the customer sees
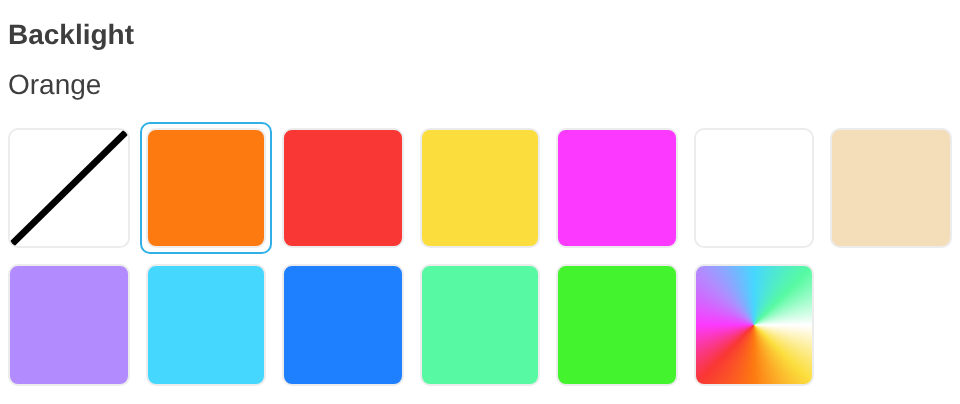
The customiser shows a Backlight step with one swatch for each colour. When Allow no backlight is on, the first swatch is None. The name of the selected colour shows above the swatches. A swatch for a group of colours or a flow shows all of its colours.
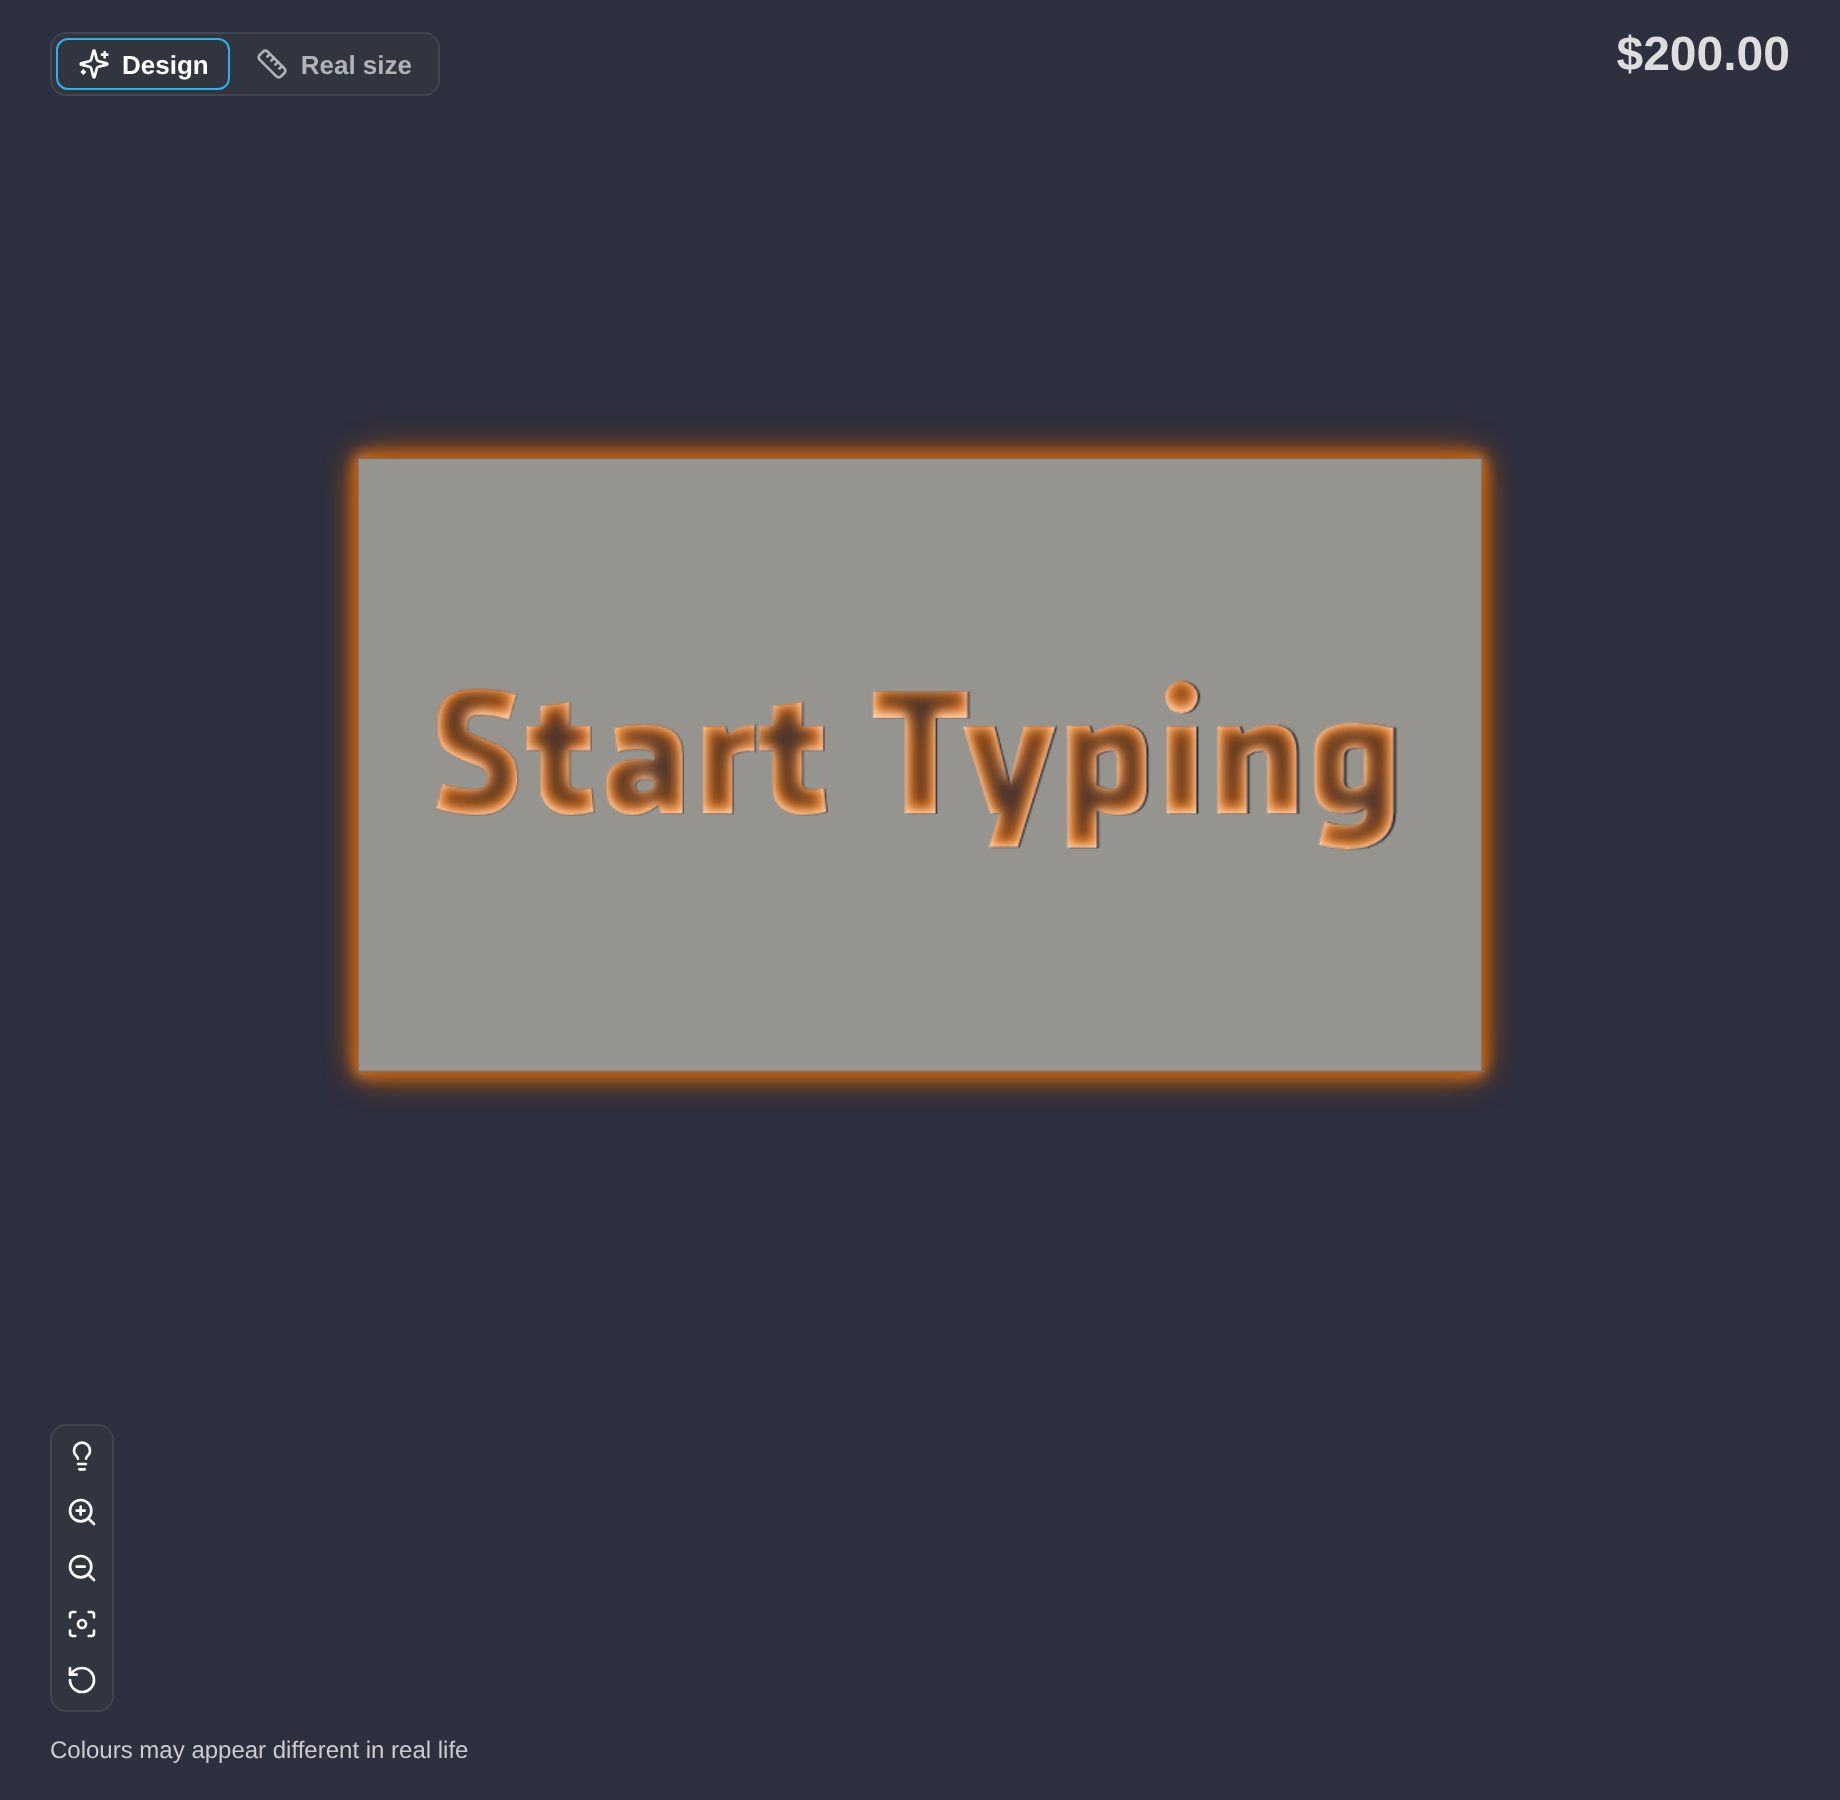
The customer selects a colour. The preview then shows a glow around the edge of the panel and inside the cut-out shapes. A light bulb button on the preview turns the glow on and off.
When the customer selects None, the preview shows no glow.
Your minimum size can block a colour. The customer cannot select that colour while the sign size does not meet your Rule. The customiser shows this message: “The selected backlight is only available for larger sizes.” The customer must select a larger size or a different colour.
The price of the backlight is part of the live price. When Enable review screen is on, the review screen of the customiser shows the selected backlight.
Limits
-
The Glow Switch setting in General Settings controls the glow in the preview. With Display Glow Switch, the customer can turn the light on and off. With Glow Only, the glow is always on, except when the customer selects None. With No Glow, the preview has no glow. The product image always shows the glow, except when the customer selects None.
-
In the preview, Multiple colours and Flow move between colours. The product image shows the colours without movement.
-
If you delete every backlight colour, the Backlight step does not show in the customiser.
-
The Backlights menu item does not show for other sign types.
Backlight in the order
The order stores the backlight colour. The manufacturer email can include the colour. Use this variable.
{{backlight}}The variable is empty when the order has no backlight colour, for example when the customer selects None.