
Automatic and manual width for Advanced signs
Learn how width follows the text on Advanced Letter customisers, how customers set a manual width, and how the padlock returns the sign to automatic width.
Last updated:
On an Advanced Letter customiser, the custom size follows the text that the customer types. The customer can also set the width by hand. A padlock keeps this width. This article explains how automatic width, manual width and the padlock work. It is for merchants who use the Advanced Letter pricing model and want to know what their customers see.
Before you start
-
Make sure that your customiser uses the Advanced Letter pricing model.
-
Make sure that Custom Sizing is on:
-
Go to Customisers and select your customiser.
-
In the menu, open Core Setup and click Sizes.
-
In the Custom Sizing section, select Enable Custom Sizing.
-
Click Save.
-
-
On a window narrower than 799 px, click Menu to show the menu.
For the full setup, see Sizing - Advanced model.
Where it applies
Automatic width works for typed text on Advanced Letter customisers. It does not apply to these customisers:
-
The AI sign designer. It keeps its own sizing.
-
Lightbox customisers.
-
Frame Fit customisers. A Frame Fit sign is a fixed box. Its size does not follow the text. Its padlock is separate.
-
Simple Letter customisers. They do not show the custom size panel. If a size uses Fixed Height - Width scales dynamically with the Letter height measurement, Sizes shows Allow customers to enter an exact letter height. If you select it, customers get a separate Exact letter height input instead.
The custom size panel
The customer finds the custom size panel in the size step of the customiser. The default heading of this step is Choose a size. To change it, use Title in Language Settings in Sizes. The panel has these parts:
-
A heading. The default is Custom. To change it, use Custom size label in Custom Sizing.
-
A slider. A Width reading is above the slider. A Height reading is below it.
-
A Width field and a Height field.
-
A padlock next to the two fields.
-
A Use inches or Use cm button, if the Measurement Unit setting is Both Centimeters and Inches.
The setting When should the custom size input be shown? controls when the panel shows. The panel shows when the customer selects the Custom option, or always when you select Always show the custom size input. If you set Hide the other sizes to Only show custom size, the panel always shows.
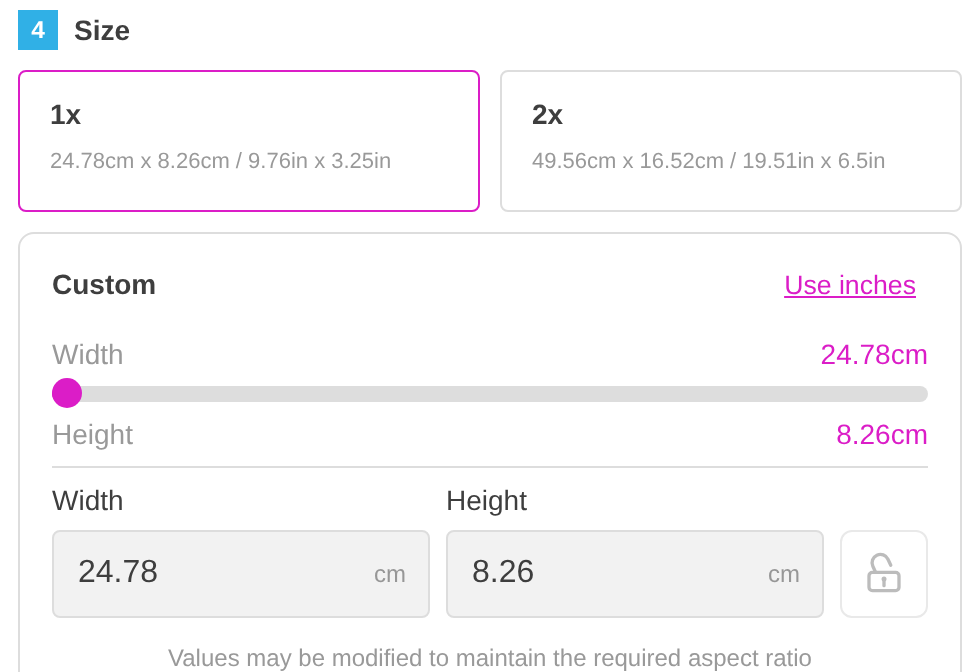
Automatic width
Automatic width is the default for the custom size. When the customer selects the custom size, the sign gets the width that its text needs. If you set Hide the other sizes to Only show custom size, the customer does not have to select it.
To see automatic width in the customiser:
-
In the Write your text step, type text.
-
Go to the size step and find the custom size panel.
-
Make sure that the padlock is open. Put the pointer on it. The tooltip says Size unlocked.
-
Change the text or the font.
The width and the height change with the text. The slider starts at the automatic width. The customer cannot make the sign narrower than its text needs.
If there is no text, the panel shows Enter text to set a custom size.
Manual width
The customer can set a different width. These actions start manual width:
-
Move the slider.
-
Type a number in the Width field. Press Enter or click outside the field.
-
Type a number in the Height field. Press Enter or click outside the field.
The padlock stays open. The sign keeps the chosen width when the customer changes the text or the font, unless the new text is wider than that width. Then the width becomes the automatic width of the new text, and the padlock stays open. The height still changes to fit the text. The panel note Values may be modified to maintain the required aspect ratio tells the customer that the app can change the other value.
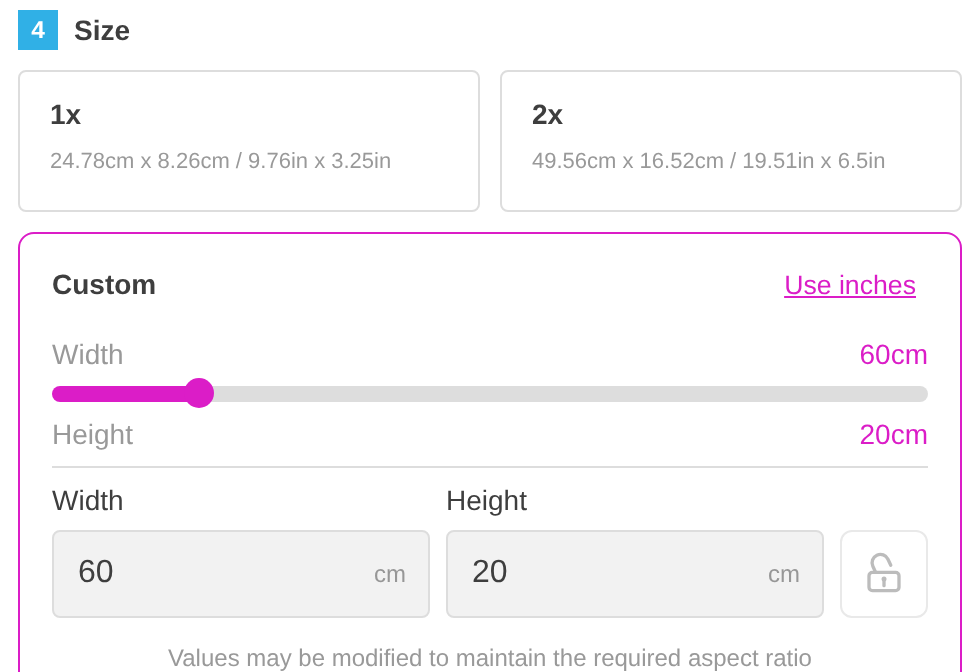
Lock the manual width
The customer can click the open padlock. The padlock closes and the tooltip says Size locked. The sign keeps the width that the panel shows.
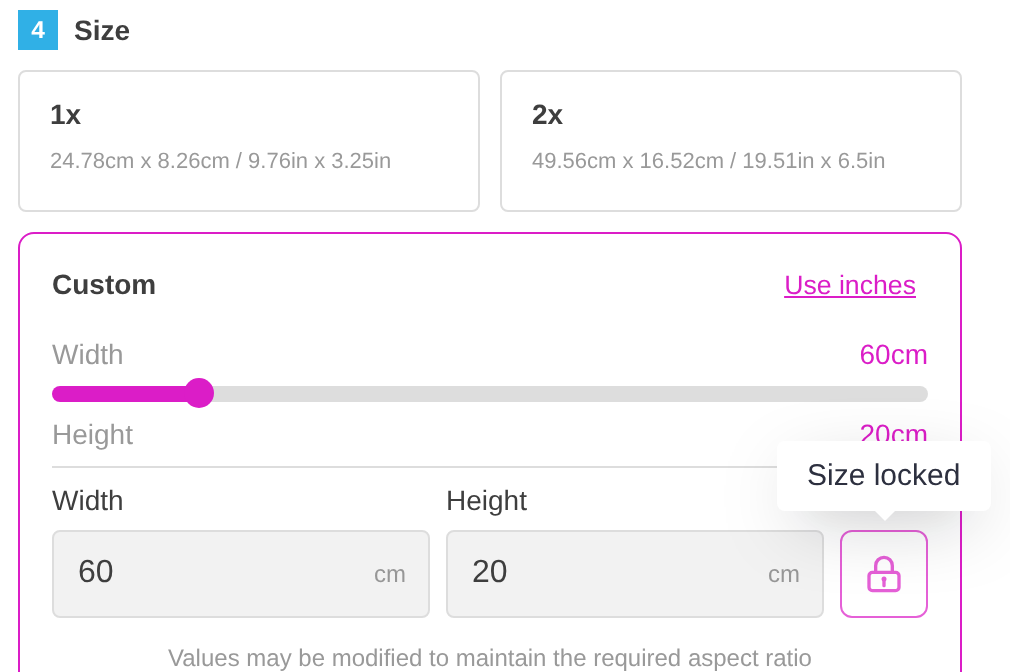
Return to automatic width
The customer can return to automatic width in two ways:
-
Click the closed padlock. The padlock opens. The sign gets the width of the current text. It follows later changes to the text and the font.
-
Drag the slider back to its start. When the slider reaches the start zone, the sign returns to automatic width.
If the customer selects a preset size in the size step, the app clears the manual width and the lock.
Limits
-
The width cannot go below the automatic width. The slider and the typed Width cannot go above the limit that you set in Sizes, such as Maximum Range in centimetres (or Maximum Range in inches for a Store that uses inches). The limit applies before the border margin is added. When a border margin is set, the Width in the panel can be larger than the limit by twice the margin.
-
If you set a border margin in Border / bleed, the field is Border margin (centimetres) or Border margin (inches). The width and the height in the panel include the border.
-
If the Measurement Unit setting is Both Centimeters and Inches, the customer can change between centimetres and inches with the Use inches and Use cm buttons.
-
The padlock tooltip says Size locked or Size unlocked.