

Set up a single-sided lightbox
Light only the face of a lightbox: switch off Back, Top, Bottom, Left or Right, set the Border colour, and make the border flush with Recessed Borders.
Last updated:
A single-sided lightbox has light on its face only. Use it for a sign on a wall or in a recess, where nobody sees the back. You switch off the sides that you do not need. On a rectangle or square, each switched-off side has the Border colour. On a circle, a switched-off Back has the Border colour. Shoppers do not choose a separate colour for it. You can also make the border flush with the frame. This article is for merchants who sell lightbox signs.
Before you start
You need a Lightbox customiser. You set the sides and colours on each Lightbox Type. If your customiser has no Lightbox Type, add one first. Read Lightbox Types for more information.
Switch off the sides that you do not need
A Lightbox Type has parts. The shape of the Lightbox Type decides the parts:
-
Rectangle / Square: Face, Back, Top, Bottom, Left, Right, Border and Internal Light.
-
Circle: Face, Back, Side, Border and Internal Light.
Face and Border are always on. You cannot switch them off.
-
Open your Lightbox customiser in the Sign Customiser admin.
-
In the menu on the left, find Sign Components. If Sign Components is closed, click it to open it.
-
Click Lightbox Types. If a Menu button appears above the menu list, click it first.
-
Click the Lightbox Type that you want to change. To make a new one, click Add lightbox type.
-
For a new Lightbox Type, click a shape under Sign Shape (Rectangle / Square or Circle). Then enter a Label.
-
In the Sides section, find the Active switch in each row.
-
Make sure that Back is off. A new Lightbox Type starts with only Face and Border on.
-
On a Rectangle / Square type, switch off Top, Bottom, Left or Right if you do not need them.
-
Click Save.
A part that is off has the Inactive badge. A part that is on but has no materials has the Needs setup badge. Click that part. Then click Add texture to add a material.
On a Circle type, switch off Back. The back then has the Border colour, and the light behind the sign is off.
Set the Border colour
On a rectangle or square, each switched-off side has the Border colour. On a circle, a switched-off Back has the Border colour. This colour decides how the unlit sides look.
-
In the parts list, click Border.
-
Click Add texture for each material. Add at least one material, because the admin says that an active part needs at least one material to work properly. A part with one material and no image upload gives shoppers no card. If you add two or more materials, shoppers get a Border card and can choose the Border colour. If the Border has the same materials as the Face, in the same order, shoppers get one Front + borders card instead. Their choice then sets both the Face and the Border.
-
Click Save.
Make the border flush (optional)
In the visualiser, the border normally extends a little from the face and back panels. Recessed Borders makes the border flush with the frame. The face and back then have no border overlay.
-
Open any Lightbox Type.
-
Click the Border part.
-
Under Recessed Borders, tick Recessed Borders.
-
Click Save.
This setting is for the whole customiser. It applies to each Lightbox Type, not only the one that you opened.
What the shopper sees
-
On a rectangle or square, the visualiser shows the Border colour on each switched-off side. On a circle, it shows the Border colour on a switched-off Back. When Back is off, the light behind the sign is also off.
-
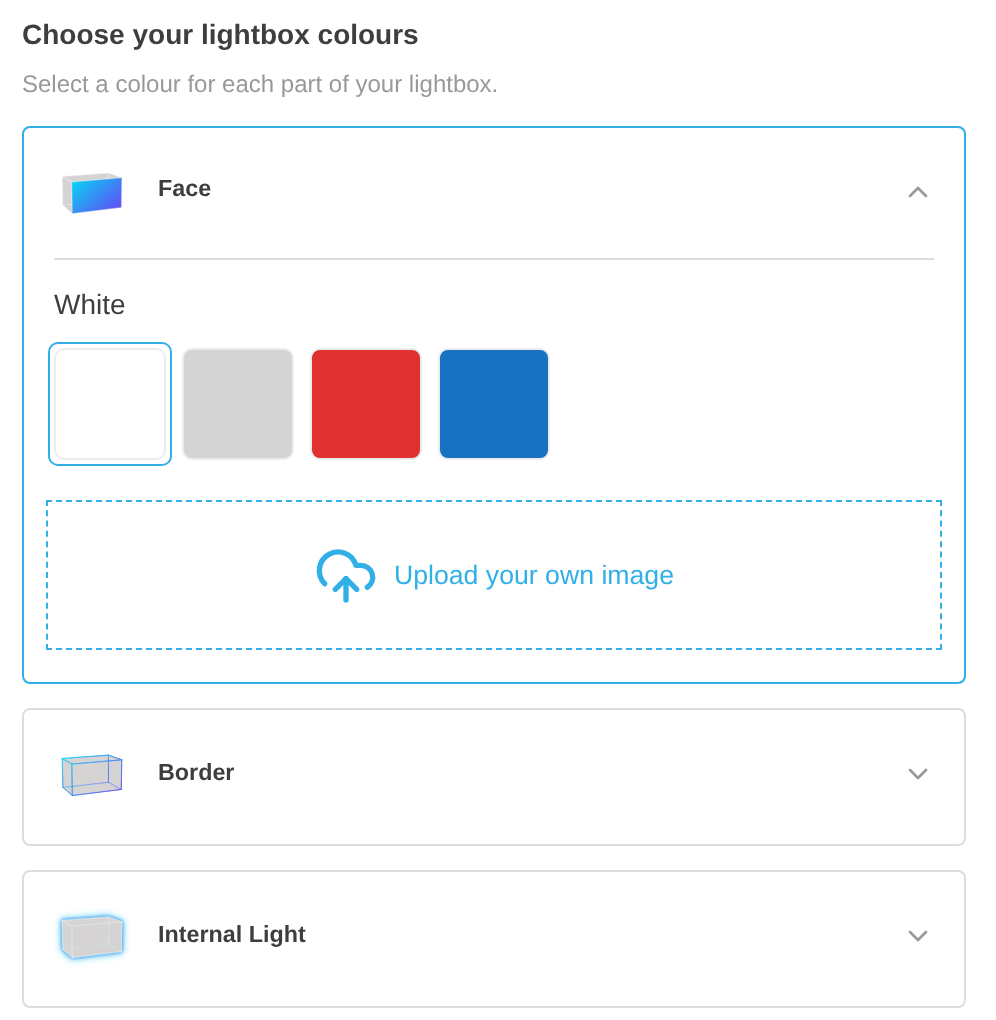
Shoppers see no colour card for a switched-off part. The first picture below shows a single-sided lightbox with cards for Face, Border and Internal Light and no card for Back.
-
The visualiser does not show images that a shopper uploads for a switched-off side.
-
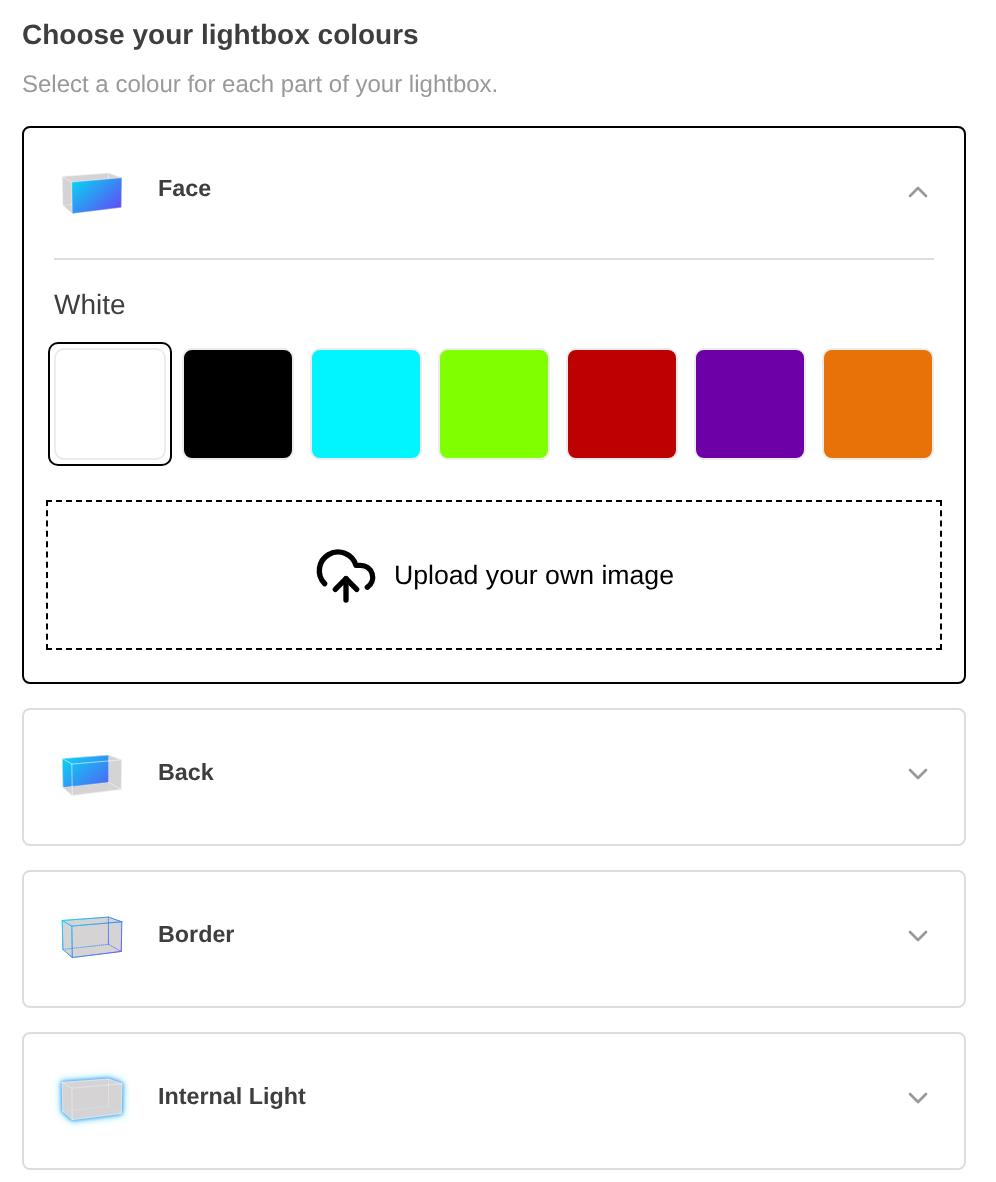
A lightbox with Back switched on has a Back card when Back has two or more materials or lets shoppers upload an image. The second picture below shows this.
Limits
-
You cannot switch off Face or Border.
-
You cannot change the shape of a Lightbox Type after you save it. To use a different shape, make a new Lightbox Type.
-
Recessed Borders is one setting for the whole customiser.